Phone:
(701)814-6992
Physical address:
6296 Donnelly Plaza
Ratkeville, Bahamas.

Phone:
(701)814-6992
Physical address:
6296 Donnelly Plaza
Ratkeville, Bahamas.

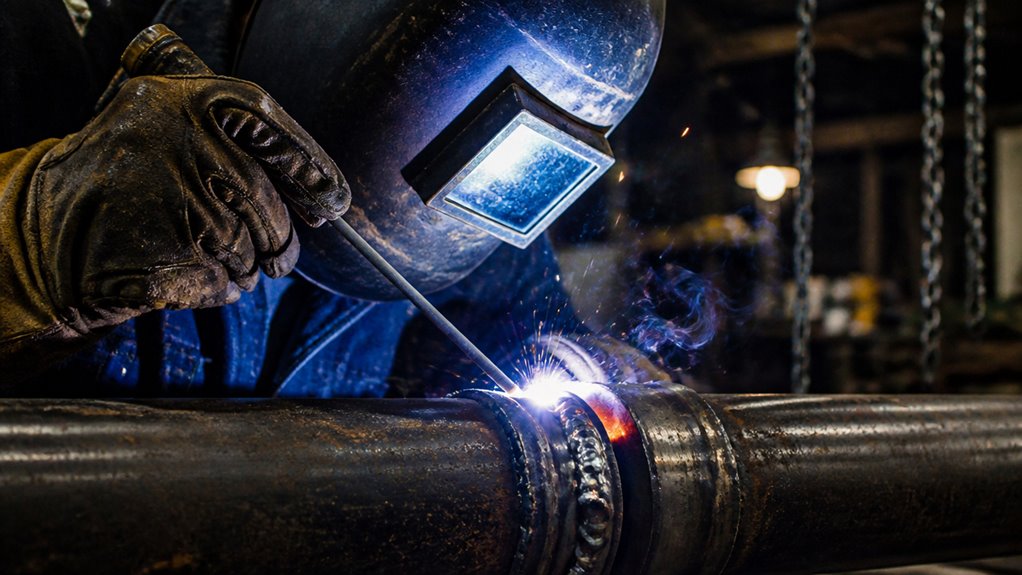
To weld pipes, start by thoroughly cleaning and aligning pipe sections with proper root gaps and secure clamps. Choose the welding method based on pipe material and thickness, such as TIG for thin stainless steel.
Apply multiple shallow tack welds evenly to prevent distortion. Then perform welding passes: root, hot, fill, and cap while maintaining steady rod angles and consistent travel speed.
Inspect welds for alignment and defects. Clean slag and finish the surface smoothly. Understanding these steps guarantees strong, precise pipe welds and sets the stage for mastering advanced techniques.
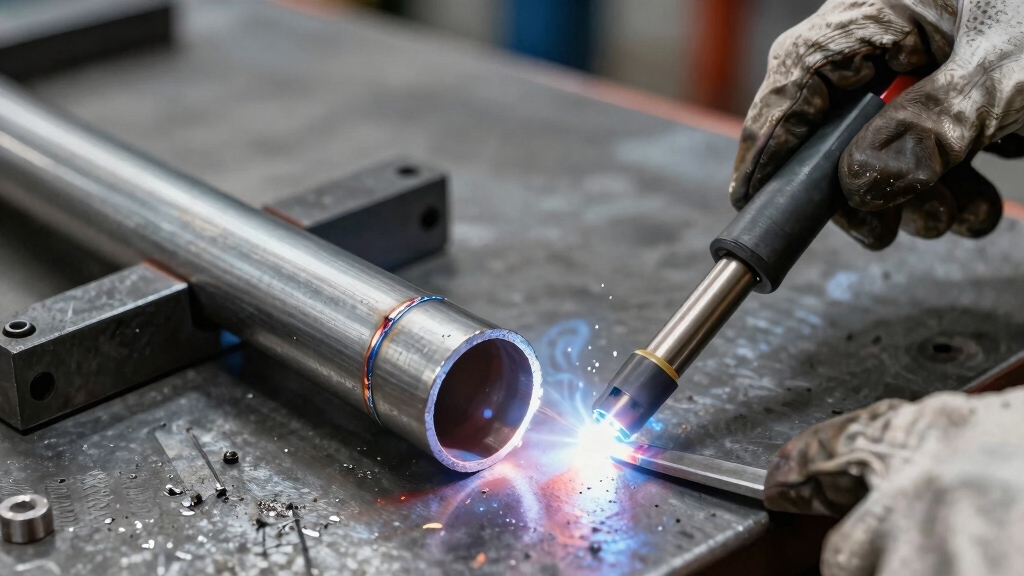
Before you begin welding, you must thoroughly prepare and align the pipes to guarantee a strong, precise joint. Start by cleaning pipe surfaces, removing rust, grease, oil, paint, and moisture with wire brushes or chemical cleaners.
Cut pipe ends straight, then dress edges with a chamfer or bevel to ensure proper fit-up. Leave a specific root gap to allow complete penetration of the first weld. Position pipe sections on angle iron or a jig to maintain a 90-degree edge and correct alignment.
Use clamps like Kantwist clamps to lock the joint firmly in place. Proper preparation and exact alignment prevent defects, assure weld integrity, and facilitate easier welding. This creates a reliable, durable pipe connection. Special attention to machining or beveling pipe edges is essential for consistent root penetration and joint strength.
Once the pipes are properly prepared and aligned, you’ll select the appropriate welding method based on the pipe material, thickness, and environment. Connect your welding machine to a power source and attach the welding gun. Make certain the correct electrode and shielding gas match the metal type. Position the gun at the joint to prepare for striking an arc.
Different methods suit different applications; choose SMAW, TIG, or MIG accordingly. For stainless steel pipes up to 6 inches in diameter, TIG welding is preferred due to its precise control and superior weld quality.
| Welding Method | Best For | Shielding Gas |
|---|---|---|
| SMAW | Thick carbon steel | None (flux coated) |
| TIG | Thin stainless steel | Argon |
| MIG | Aluminum and mild steel | Argon/CO2 mix |
Set up your equipment precisely to guarantee a quality weld.
Alright, let’s get started!
First, you’ll want to apply shallow tack welds evenly around the pipe joint. It’s a good idea to place them at the top, bottom, and both sides. This helps to prevent any bowing, which we definitely want to avoid.
Now, while you’re doing this, make sure to use clamps to hold the pipes securely in place. It really makes a difference!
After you’ve tacked them, take a moment to check the alignment carefully. If anything seems off, don’t hesitate to adjust the pipes. Getting that precise fit is crucial for the final weld. You’ve got this!
Using the same welding process at lower power for tacking ensures compatibility and stable temporary holds before the final weld.
You’ll want to tack weld the pipe joints at multiple points to firmly hold the sections in place before completing the full weld.
Apply tack welds shallowly at the top, bottom, and both sides, covering all four corners to guarantee stable positioning.
Use a consistent arc length and electrode angle to produce uniform tacks that won’t distort under heat.
After placing these tacks, check alignment carefully and adjust if necessary to maintain a proper 90-degree joint.
Roll the pipe and reclamp to tack the opposite side, promoting even distribution of stresses.
This method locks the pipes securely, preventing movement during welding and supporting accurate penetration in subsequent passes.
Proper tack weld placement is essential for a strong, defect-free final joint.
Controlling heat input during tack welding is crucial to minimize distortion and avoid excessive heat-affected zones.
Applying tack welds strategically prevents joint bowing by firmly anchoring pipe sections before full welding. Place tack welds evenly around the joint: top, bottom, and sides to counteract thermal distortion. Use multiple shallow tacks instead of a single deep weld to maintain pipe alignment and prevent warping.
Between tacking opposite sides, rotate and reclamp the pipe to distribute stress evenly.
| Tack Location | Purpose | Recommended Depth |
|---|---|---|
| Top | Prevents upward bowing | 2-3 mm |
| Bottom | Prevents downward bowing | 2-3 mm |
| Sides | Controls lateral bowing | 2-3 mm |
| Opposite Side | Balances heat input | Equal to first tack |
Consistent tack weld placement guarantees joint integrity and dimensional stability during welding. Always ensure the use of corrosion-resistant clamps to maintain stable joint positioning and avoid heat soak during the tack welding process.
After placing tack welds evenly around the joint to prevent bowing, verify the alignment of the pipe sections before proceeding.
Use a straight edge or a specialized gauge to check for gaps or misalignment at the joint interface.
Look for any angular deviations or offset between the pipes.
If you detect misalignment, carefully loosen the clamps or reposition the pipe sections, then reapply tack welds as needed to maintain stability.
Rotate the pipe and inspect all sides, assuring the root gap remains consistent and the joint is flush.
Confirm that the pipe sections maintain a true 90-degree angle relative to each other.
Only after verifying precise alignment should you proceed with full welding passes to guarantee a structurally sound and leak-free joint.
Proper joint fit-up and root opening control are critical to ensure weld integrity, especially when performing downhill welding on pipelines.
When performing welding passes, start with the root pass to fill the root opening and establish a strong foundation for the weld. This pass assures complete penetration and fusion of the pipe edges.
Next, execute the hot pass immediately after the root pass to join the root weld to both groove faces, reducing the risk of defects. Follow with fill passes to build up the weld bulk, carefully controlling heat input and bead profile.
Finally, apply the cap pass to produce a smooth, uniform surface that protects the joint from external stresses. Maintain a vertical-up welding direction, beginning at the 6 o’clock position and progressing to 12 o’clock.
Adhering to this sequence guarantees structural integrity and consistent weld quality throughout the pipe joint. For thicker sections, multi-pass welding with controlled interpass temperature is essential to ensure full penetration and minimize distortion.
To get the best results when welding, it’s crucial to keep the rod centered on the joint. You really want to pay attention to those angles; they ensure you achieve consistent penetration.
Now, let’s talk about your welding motions. Using controlled techniques like the eyebrow or lazy triangle pattern can make a big difference. These patterns help you evenly distribute both heat and filler.
Maintaining a steady rhythm and pausing briefly at weave edges promotes proper fusion without overheating.
Mastering rod positioning is critical for achieving consistent penetration and strong welds in pipe welding. You need to keep the rod’s center aimed precisely at the weld joint’s centerline, ensuring the arc maintains steady contact with the root area.
Hold the rod at an angle that ties into the toe of the weld bead and blends smoothly into the bevel face, preventing undercut or overlap. Adjust your hand to maintain a slight upward tilt, allowing the molten pool to flow evenly into the groove.
Use controlled, subtle movements to manipulate the rod, supporting proper fusion without excessive weaving. Maintain a consistent distance between the rod tip and workpiece to stabilize the arc and control heat input effectively throughout the welding process.
Using 6013 welding rods with their stable arc and balanced penetration enhances control and consistency, especially on thin materials like pipes.
Control your welding motions carefully to guarantee consistent penetration and a smooth weld bead. Keep the rod centered, pointing at the pipe’s centerline, and maintain a steady, controlled travel speed.
Use an eyebrow or slight upside-down U motion to manipulate the rod, ensuring the weld pool spreads evenly. For low hydrogen rods, employ a gentle U or lazy triangle motion, tying into the sides of the weld to lay the metal flat and prevent undercutting.
Pause briefly on the toes to fill the groove fully and blend into the bevel face. Avoid abrupt or erratic movements that cause uneven bead profiles. Mastering these rod handling patterns guarantees uniform weld bead geometry and peak fusion along the joint without defects.
Maintain a short arc length and proper electrode angle to stabilize the weld puddle and improve bead quality.
Achieving proper weld penetration hinges on precise rod handling and consistent welding motions. You need to keep the rod centered on the joint while maintaining a steady angle to guarantee the arc penetrates deeply and evenly.
Use controlled movements to avoid excessive buildup or shallow penetration, which weakens the weld. Focus on these key techniques:
Utilize an eyebrow or slight upside-down U motion to distribute heat evenly across the joint. Tie into the weld toe and bevel face, moving slightly upward into the groove for thorough fusion.
Maintain a steady travel speed; slow enough for penetration but fast enough to avoid burn-through. Mastering these rod manipulations and motions will give you strong, consistent weld penetration critical for pipe integrity.
Always inspect pipe welds thoroughly for quality and alignment immediately after welding.
Begin by visually checking for uniform bead shape, consistent width, and absence of cracks or porosity.
Use a straight edge to detect misalignment or gaps between pipes.
Tap the weld lightly to listen for hollow sounds indicating internal flaws.
Measure weld dimensions to ensure they meet specifications.
| Inspection Aspect | What to Check |
|---|---|
| Bead Appearance | Consistent width, smooth surface |
| Alignment | No gaps, pipes flush using straight edge |
| Weld Penetration | Full penetration without undercut |
| Defects | No cracks, porosity, or slag inclusions |
| Sound Test | Solid sound, no hollow indication |
Address any defects before proceeding to cleaning and finishing.
Once the weld has cooled, you should begin cleaning the pipe surface to remove slag, spatter, and oxidation that can compromise the weld’s integrity.
Start by using an angle grinder with a soft pad to smooth the welded joint flush with the pipe surface.
If necessary, grind back the cap layer to enhance weld bead formation and eliminate contamination.
Follow this by finishing the surface with 80 grit and 120 grit abrasives, applying long, even passes to blend the weld marks seamlessly.
Key steps include:
These actions guarantee a clean, durable weld surface ready for final inspection.
Before finalizing your pipe weld, perform thorough checks to guarantee structural integrity and alignment. Inspect the weld visually for cracks, porosity, or undercut.
Use a straight edge to verify alignment and assure no gaps exist. Confirm weld bead uniformity and penetration consistency. Cool the pipe sufficiently before handling to avoid distortion.
Follow these essential final tips:
| Check Point | Method | Purpose |
|---|---|---|
| Visual Inspection | Examine weld surface | Detect cracks or porosity |
| Alignment | Use straight edge | Assure pipe straightness |
| Bead Uniformity | Consistent weld bead | Prevent weak points |
| Penetration Depth | Measure weld depth | Assure full joint fusion |
| Cooling Time | Wait 1-2 minutes | Avoid heat distortion |
Adhering to these checks assures durable, reliable pipe welds.
You might think welding gear slows you down, but you’ll need a flame-resistant jacket, welding gloves, and a helmet with an auto-darkening lens to protect your skin and eyes from sparks and UV radiation.
Don’t forget safety boots and ear protection to shield against heavy equipment noise.
Respirators are essential when fumes form.
Proper safety gear guarantees you work efficiently without injury, keeping you focused and safe throughout your welding tasks.
In windy outdoor conditions, you’ll need to shield your welding area by setting up windbreaks or screens to prevent shielding gas loss.
This loss can cause weld defects.
Use welding processes like SMAW or flux-cored welding, as they’re less sensitive to wind compared to MIG or TIG.
Position yourself and the equipment to minimize exposure to wind.
Increase gas flow rate slightly to compensate.
Always monitor weld quality closely and adjust settings as needed.
Weld cracking often stems from rapid cooling, excessive stress, and contamination.
You can prevent it by controlling heat input, preheating thicker materials, and using proper joint design to reduce stress.
Always clean surfaces thoroughly to avoid inclusions, maintain appropriate welding parameters, and apply post-weld heat treatment when necessary.
You should also verify correct filler materials and avoid excessive weld passes.
Consistent technique and inspection help you catch cracks early before they propagate.
You should store welding electrodes in a dry, moisture-free environment to prevent hydrogen-induced cracking.
Keep them in sealed containers or electrode ovens at recommended temperatures.
Handle electrodes with clean, dry hands or gloves to avoid contamination.
Avoid dropping or damaging the coating.
When ready to use, remove only the needed amount and reseal the rest promptly.
Proper storage and careful handling guarantee consistent arc stability and weld quality.
You should keep welding temperatures between 1,200°F and 2,500°F, depending on the metal.
For example, stainless steel welds best around 2,200°F to 2,500°F, while carbon steel requires 1,200°F to 1,800°F.
Aluminum’s ideal range is lower, about 1,000°F to 1,200°F.
Maintaining these temperatures guarantees proper fusion and prevents defects.
Always monitor heat input closely to avoid warping or weakening the pipe joint.
Even if you’re worried that pipe welding seems complex, following these precise steps simplifies the process markedly.
By carefully preparing, aligning, and tack welding your pipes before performing each welding pass with proper rod handling, you guarantee strong, durable joints.
Don’t rush inspection and cleaning; they’re critical for quality and longevity.
With practice and attention to detail, you’ll consistently produce professional-grade pipe welds that meet rigorous standards and withstand demanding conditions.
[…] your ability to build reliable piping systems in industrial and commercial settings. Proper heat input control during tack welding is essential to minimize distortion and ensure quality […]