Phone:
(701)814-6992
Physical address:
6296 Donnelly Plaza
Ratkeville, Bahamas.
Phone:
(701)814-6992
Physical address:
6296 Donnelly Plaza
Ratkeville, Bahamas.
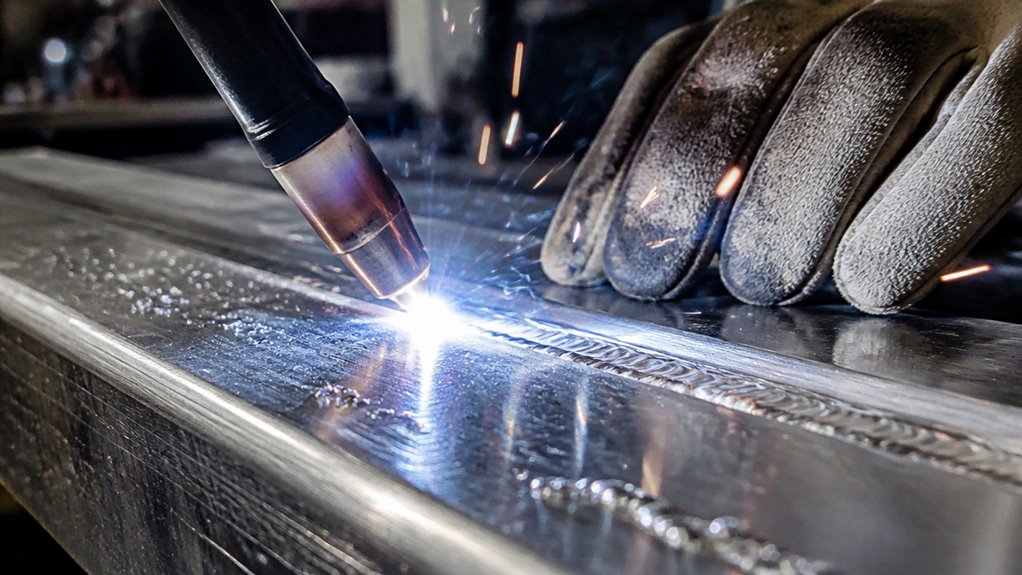
To torch weld aluminum successfully, start by thoroughly removing the oxide layer with a stainless steel wire brush. Wipe the surface clean to prevent weak fusion.
Use a soft, neutral flame just off the feather and adjust heat carefully to avoid burn-through. Select filler rods matched to your base metal and torch type, applying flux to inhibit oxide formation.
Maintain steady torch angle and puddle control for uniform welds. Master these fundamentals to guarantee strong joints and avoid common defects.
Because aluminum rapidly forms a tough oxide layer that impedes proper fusion, you must thoroughly clean its surface before torch welding. This oxide, primarily aluminum oxide, acts as a barrier, preventing the molten metal from bonding correctly.
Aluminum’s tough oxide layer hinders fusion, making thorough surface cleaning essential before torch welding.
To remove it, use a stainless steel wire brush specifically reserved for aluminum, followed by wiping with a clean rag or acetone to eliminate residual contaminants. Neglecting this step results in poor wetting, weak fusion, and potential weld defects.
Cleaning becomes even more critical on thicker or load-bearing parts where contamination compromises strength and durability. Additionally, applying flux during oxy-fuel welding helps inhibit oxide reformation in the weld puddle, but it can’t substitute for proper surface preparation.
Meticulous cleaning guarantees consistent, high-quality welds and reduces the risk of structural failure. Be sure to avoid delayed welding after cleaning since aluminum quickly re-oxidizes, necessitating re-cleaning to maintain weld integrity.
When you’re picking a torch for aluminum, you’ve got to consider a few key options. You might be deciding between oxy-fuel and propane or MAP gas. The choice really depends on things like the thickness of the metal you’re working with and how much heat you need.
Now, when it comes to the process, think about whether you’re going for brazing or fusion welding. Each of these has its own set of requirements, especially when it comes to rods and flux. Additionally, controlling heat input precisely is crucial in aluminum welding to minimize thermal distortion and ensure quality welds.
Selecting the right torch and welding process plays an essential role in successfully joining aluminum.
You’ll find oxy-fuel torches workable but challenging due to aluminum’s rapid oxide formation and heat sensitivity.
Propane torches suit small pieces and brazing rods, while thicker aluminum demands MAP gas or oxy-acetylene with specialized nozzles and flux.
TIG welding remains the preferred method for control and consistency.
Key points to keep in mind:
Preheating the aluminum workpiece can reduce thermal stress and improve weld quality, especially on thicker sections, making preheat temperature management an important consideration.
Understanding the strengths and limitations of each torch type helps you determine the most effective process for aluminum welding.
For thin aluminum, a propane torch with proper flux and filler rod can suffice. However, thicker sections demand a hotter MAP gas or an oxy-acetylene setup with a specialized aluminum nozzle.
TIG welding offers superior control over torch angle, distance, and puddle management. This makes it preferable for precision and fusion quality.
When selecting a process, consider joint thickness, alloy type, and the required weld strength.
Remember, flux is essential for oxy-fuel welding to prevent oxide interference. Filler rod compatibility is also critical for both brazing and fusion.
Ultimately, your process choice should balance heat control, accessibility, and desired weld characteristics. This will help guarantee sound, contamination-free joints.
For optimal results, many professionals recommend using an AC/DC TIG welder to effectively break the aluminum oxide layer and ensure strong weld penetration.
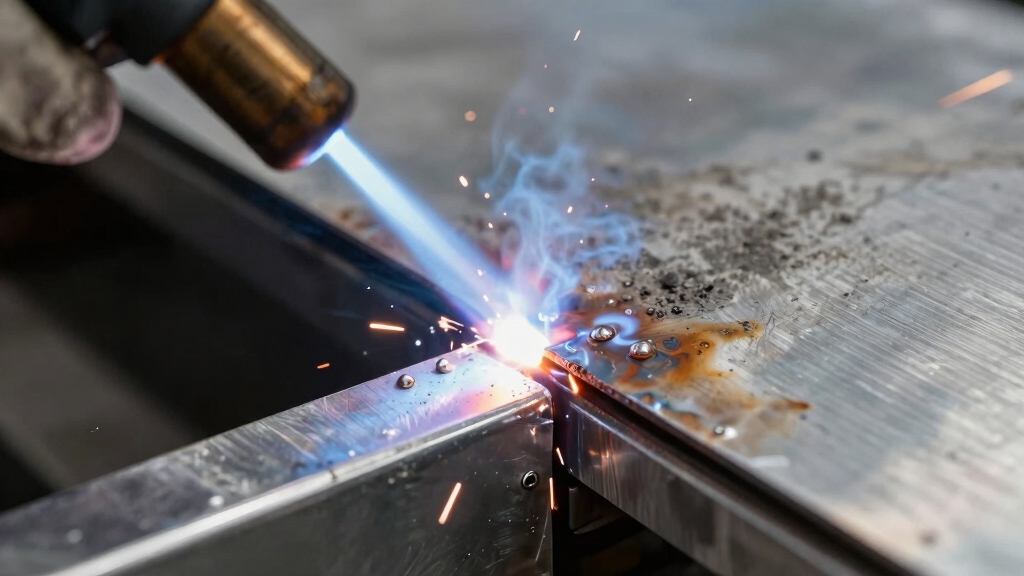
To kick things off, you’ll want to choose a soft, neutral flame that’s just off the feather. This helps prevent oxidation and overheating—both of which can be real problems. It’s all about finding that sweet spot!
As you adjust the heat, remember to do it carefully. You only want to increase it as necessary. If you crank it up too much, you risk blow-through or puddle washout, especially on those thicker sections. Nobody wants that!
For aluminum torch welding, using specialized filler rods is often necessary to achieve a strong, clean weld without contamination.
Achieving the correct flame type is essential when torch welding aluminum, as the flame directly influences heat distribution and oxidation control. You want a soft, neutral flame that’s just off the feather. This guarantees balanced oxygen and fuel gases, minimizing oxidation while delivering consistent heat.
Avoid oxidizing or carburizing flames, as they disrupt weld integrity and increase contamination risks. Focus on these key points when selecting your flame:
Use a neutral flame to prevent excessive oxidation of aluminum’s surface.
Adjust the flame to be soft and feathered for even heat application.
Avoid excess oxygen, which can cause oxidation and porosity.
Prevent carbon buildup by steering clear of carburizing flames.
Maintain flame stability to guarantee consistent weld puddle formation.
This precise flame control optimizes fusion and weld quality.
For best results, always fine-tune flame settings according to manufacturer charts to achieve the ideal combustion.
Although setting up the flame correctly is essential, fine-tuning heat during torch welding aluminum demands careful control to avoid common issues like burn-through or poor puddle formation.
Start with a neutral, “just-off-feather” flame to minimize oxidation and excessive heat. Adjust flame intensity incrementally, increasing only as joint thickness requires.
Preheat larger pieces to about 500–600°F to promote even puddle formation while reducing thermal shock. Maintain a steady torch angle and distance to ensure consistent heat distribution.
Watch for signs of overheating, such as puddle washout or aluminum dropping out near weld ends, and reduce flame accordingly. Precise heat management prevents defects and supports proper filler rod melting, guaranteeing sound fusion and uniform bead geometry.
Use a foot pedal to precisely control amperage and maintain consistent heat input throughout the weld.
When working with thicker aluminum sections, you should preheat the parts to around 500–600°F before torch welding. This step minimizes thermal shock, promotes even heat distribution, and enhances puddle formation.
Preheating also reduces the risk of cracking and improves fusion quality by lowering the thermal gradient between the torch flame and the base metal.
Key factors to consider when preheating aluminum:
Use a neutral flame for controlled, even heating. Monitor temperature with an infrared pyrometer or temperature-indicating crayons.
Avoid overheating to prevent warping or burn-through. Preheat gradually to reduce thermal stress on the material.
Maintain clean surfaces to guarantee oxide removal before welding. Proper preheating sets the stage for a stable weld pool and stronger joints.
Because oxyfuel flames can reach temperatures near 6,000°F, careful flame control is essential to avoid damaging aluminum during preheating.
Because tight joint fit-up directly affects fusion quality, you must make certain minimal gaps between aluminum parts before torch welding. Excessive gaps cause uneven heat distribution, leading to holes or weak fusion zones.
For thicker assemblies or certain aluminum alloys, tack welds help maintain alignment and prevent separation during heating. Position the joint to allow steady torch angles, maintaining a close working distance to enhance puddle control.
Since thin aluminum heats rapidly, adjust torch speed to avoid burn-through, especially near edges where heat concentrates. Consistent torch movement prevents localized overheating and guarantees uniform fusion. Proper surface preparation, including thorough oxide removal, is essential to ensure strong fusion and prevent weld defects.
Maintaining proper joint fit-up and positioning sets the stage for effective filler rod selection in torch welding aluminum. You need rods that match the base alloy and process, whether true fusion welding or brazing.
Proper joint fit-up and matching filler rods to alloy and process ensure successful aluminum torch welding.
Flux-coated rods are essential for oxy-fuel welding, preventing oxide interference. Choose rods by taking into account thickness, alloy compatibility, and whether you aim for brazing or fusion weld strength.
Key points to take into account when picking filler rods include:
This precise selection guarantees sound welds with proper metallurgical integrity. Proper surface preparation and oxide removal are also critical to prevent porosity and ensure fusion with the filler rod during welding, as aluminum’s oxide layer can impede weld quality without adequate cleaning techniques.
Control the puddle carefully by introducing the filler rod at the leading edge once the base metal reaches the proper temperature to melt it.
You’ll want to maintain a steady torch movement, advancing smoothly while dipping the rod briefly into the molten pool.
Avoid lingering with the rod in the puddle, as excessive contact can cause contamination or irregular bead shape.
If the rod fails to melt, increase heat incrementally before adding filler.
Consistency in rhythm guarantees even bead width and proper fusion.
Keep the torch angle steady and work at a close distance to manage puddle fluidity effectively.
This methodical approach prevents overheating and assures the filler integrates seamlessly, producing a sound, uniform weld bead.
When working with aluminum, you’ll need to carefully manage heat input to prevent burn-through and fusion defects. These issues commonly arise from excessive temperature or poor joint fit-up.
Controlling flame intensity and speed minimizes overheating, while tight joint fit-up reduces gaps that can cause holes. Proper flame setup using a soft, neutral flame helps maintain consistent puddle temperature.
You should also preheat thicker sections moderately to avoid thermal shock, but not so much as to weaken the metal. Finally, avoid lingering too long in one spot, especially near edges, to prevent collapse.
Because aluminum torch welding involves intense heat and bright glare, you must wear appropriate protective gear, including welding gloves, a helmet with suitable filter lenses, and flame-resistant clothing. These protect you from thermal burns, ultraviolet radiation, and molten metal splatter.
Make sure your helmet’s lens shade matches the torch’s brightness to prevent eye damage. Use gloves with dexterity and heat resistance to maintain control while shielding your hands. Flame-resistant clothing minimizes burn risk from sparks and hot slag.
Additionally, maintain a clean, well-ventilated workspace to avoid inhaling harmful fumes generated by flux and aluminum oxides. Always check your torch setup for leaks before ignition.
Practice consistent torch handling to prevent uncontrolled heat buildup, reducing the risk of accidents or material failure. Prioritize safety protocols to achieve effective, secure aluminum welds.
Aluminum alloys markedly influence your torch welding approach due to varying melting points and thermal conductivity.
Higher alloy content often demands tighter fit-up and more precise heat control to prevent burn-through or distortion.
Some alloys require special flux or filler rods to guarantee fusion, while others tolerate brazing better.
You’ll need to adjust flame intensity, preheat heavier sections, and maintain steady torch movement to accommodate differences in alloy composition and avoid weld defects.
You can torch weld aluminum outdoors in windy conditions, but be prepared for challenges.
Wind disrupts your flame’s stability, causing inconsistent heat and oxidation, which can ruin your weld.
To succeed, you’ll need wind shields or barriers to protect the flame and maintain a steady temperature.
Without this, expect poor puddle control and weak fusion.
If you face oxidation during welding, first make certain your aluminum surface is meticulously cleaned using a stainless steel wire brush and wiped with acetone.
Always apply appropriate aluminum flux to prevent oxide formation in the weld puddle.
Maintain a soft, neutral flame and preheat thicker parts to reduce oxide buildup.
Avoid excessive heat that can disrupt the flux.
Consistently replenish filler rods promptly, and keep a steady torch angle and distance to minimize exposure to air.
It typically takes about 15 to 30 minutes for an aluminum torch weld to fully cool, depending on the thickness and ambient conditions.
Thicker parts retain heat longer, extending cooling time.
You should allow the weld to cool naturally to avoid thermal shock or distortion.
Using forced cooling risks weakening the joint.
Always wait until the weld and surrounding metal reach near ambient temperature before handling or inspection for best results.
Yes, you should store aluminum filler rods in a dry, clean environment to prevent contamination and oxidation.
Keep them in sealed containers or moisture-resistant packaging, away from direct sunlight and humidity.
Avoid exposure to dirt, grease, or oil, as these can compromise weld quality.
If rods come with flux coatings, handle carefully to maintain their integrity.
Proper storage guarantees consistent welding performance and reduces defects caused by surface impurities.
You might think torch welding aluminum is as simple as lighting a flame and melting metal.
Until you see the mess from skipping cleaning or preheating.
Precision matters: choosing the right torch, setting your flame correctly, and handling filler rods with care prevent costly defects.
Ironically, the torch in torch welding demands more finesse than brute force.
Master these steps, and you’ll turn what seems like chaos into a controlled, high-quality weld every time.