Phone:
(701)814-6992
Physical address:
6296 Donnelly Plaza
Ratkeville, Bahamas.

Phone:
(701)814-6992
Physical address:
6296 Donnelly Plaza
Ratkeville, Bahamas.

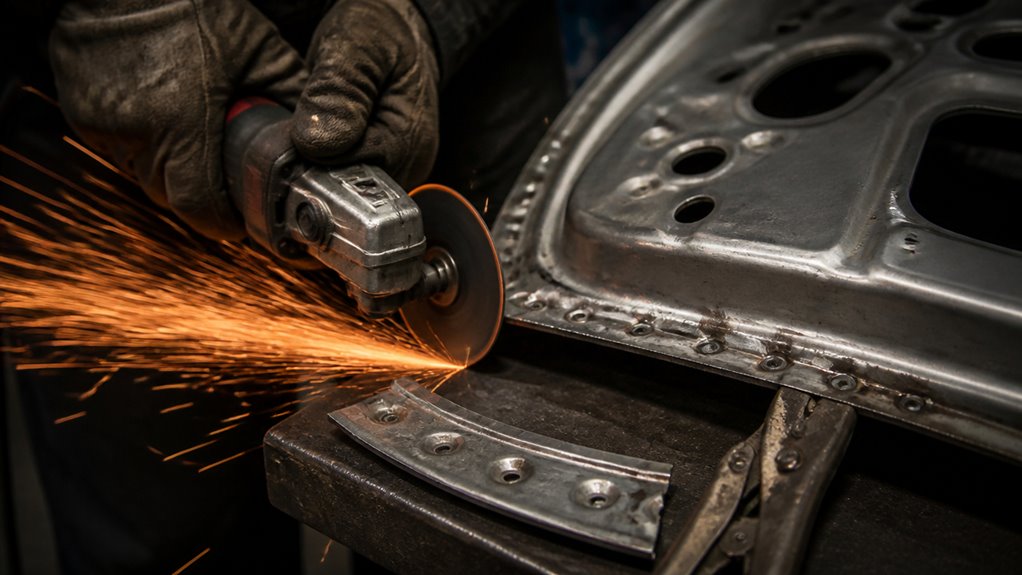
To cut spot welds, start by cleaning the weld area and marking the nugget center with a punch to keep your cutter aligned.
Use a cutter slightly larger than the weld size, typically a 6 to 8 mm hole saw or carbide-tipped drill, matched to panel thickness.
Drill at moderate speed with steady pressure, reducing speed near completion to avoid damaging the base panel.
After drilling, gently separate panels using a pry tool. Keep going to discover safe practices and finishing techniques for best results.
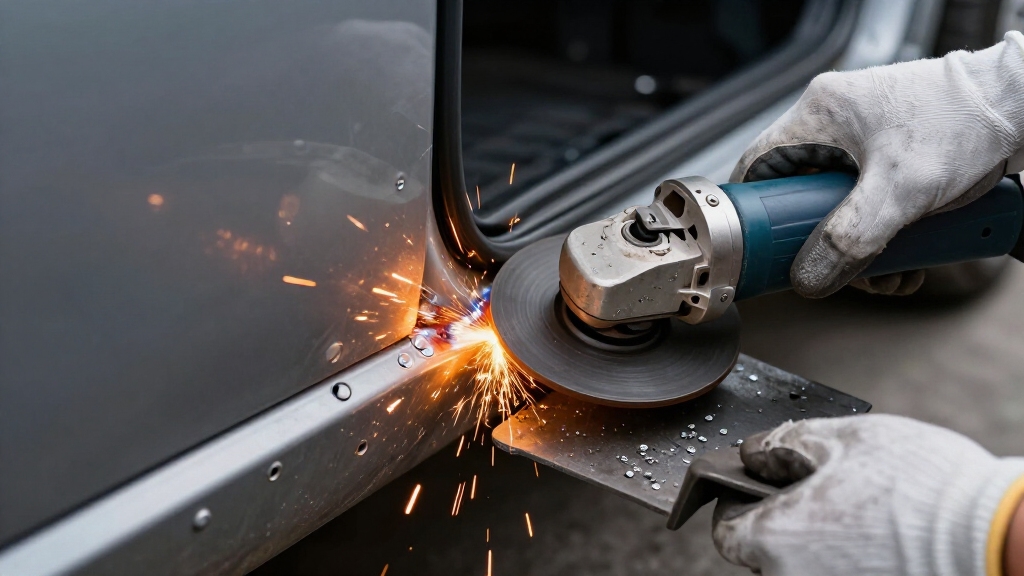
Spot welds hold overlapping metal panels together at specific points, creating a strong but localized bond commonly used in automotive and fabrication work.
Spot welds join overlapping metal panels with strong, precise bonds essential in automotive and fabrication industries.
You cut spot welds primarily to separate panels without damaging the underlying metal, which is vital during repairs or part replacements.
These welds join sheets by fusing discrete “nuggets” of metal, so your goal is to remove only the top layer.
Using a spot weld cutter helps you achieve this by drilling precisely around the weld nugget, avoiding penetration through both panels.
Properly cutting spot welds guarantees you maintain the integrity of the base panel, facilitating clean panel removal and reducing the need for extensive repairs or metal replacement afterward.
This precision makes spot weld cutting essential in bodywork and structural maintenance.
Maintaining precise alignment of the sheets during cutting helps prevent damage and ensures clean separation of the welded panels.
Before cutting, you need to prepare each weld carefully to guarantee a clean and controlled removal. Start by thoroughly cleaning the weld area to expose the weld nugget and remove debris or rust.
Then, use a center punch to mark the exact center of the weld, which prevents the cutter from wandering during drilling. Proper preparation guarantees minimal damage to the underlying panel and precise cutter alignment.
Maintaining precise sheet alignment during preparation helps ensure consistent electrical contact and uniform pressure distribution if re-welding is necessary.
| Step | Tool Needed | Purpose |
|---|---|---|
| Clean weld area | Wire brush | Improve weld visibility |
| Mark weld center | Center punch | Prevent tool slip |
| Inspect surface | Visual check | Confirm weld location |
Taking these steps sets the foundation for efficient, accurate spot weld cutting.
When you’re picking a spot weld cutter, it’s important to choose one that fits the size and thickness of the weld. This ensures you can separate the pieces cleanly without risking damage to the underlying panel.
You’ll also want to have some essential tools on hand, like a center punch and an adjustable-speed drill. These tools really help you maintain control and precision while you’re cutting.
And don’t forget about the cutter diameter! Usually, something in the range of 6 to 8 mm works best for most applications. Getting this right is key for efficient and accurate weld removal.
Additionally, understanding proper hole sizing relative to material thickness can improve the effectiveness and safety of the cutting process.
Selecting the right cutter is essential for efficiently removing spot welds without damaging the underlying panel.
You’ll mainly choose between hole-saw style spot weld cutters and carbide-tipped drill bits. Hole-saw cutters feature a pilot pin that centers the tool, guaranteeing precise alignment over the weld nugget.
Their design allows cutting only the top sheet, minimizing panel damage. Carbide-tipped cutters handle harder metals and last longer but require careful speed and pressure control to avoid breakthrough.
Sizes typically range from 6 to 8 mm, matching common weld nugget diameters. For tight spaces, smaller cutters or specialized bits let you maintain control where larger tools won’t fit.
Always pick a cutter that suits the material thickness and accessibility to ensure clean, controlled weld removal. Proper tool selection also helps preserve the heat-affected zone and prevents compromising corrosion resistance.
Matching your spot weld cutter to the specific job is just one part of the equation. Having the right supporting tools can make the difference between a clean separation and damaged panels.
Start with a quality drill featuring adjustable speed to maintain control and avoid overheating. Use a center punch to mark weld centers precisely, preventing cutter wandering.
Keep a reliable set of carbide burrs or small grinders handy for tight spots where cutters can’t sit square. An angle grinder can assist in stubborn welds but demands caution to protect the lower panel.
Finally, employ panel separators or flat chisels to pry panels apart gently, minimizing hole enlargement. With these tools, you guarantee precision, reduce risk of damage, and streamline the spot weld cutting process efficiently.
Always ensure you use protective gloves during the cutting process to safeguard your hands from sharp edges and debris.
Choose a spot weld cutter that closely matches the diameter of the weld nugget to guarantee clean separation without damaging the underlying panel.
Typically, cutters sized between 6 and 8 mm suit most automotive spot welds. Selecting a cutter slightly larger than the weld nugget guarantees you remove the weld without cutting into the base sheet.
Use a pilot tip or center punch to keep the cutter aligned and prevent wandering. For tight areas, consider smaller cutters or carbide burrs, but stay cautious to avoid damaging adjacent metal.
Always match your drill’s chuck capacity with the cutter shank size for stability and control. Proper tool size selection reduces cutting time, minimizes panel damage, and improves overall weld removal quality.
Keep in mind that improper cutting can affect the structural integrity of the metal, so careful technique is essential.
When you’re getting ready to cut spot welds, it’s super important to gear up for safety. Make sure you’ve got your eye protection on, gloves in place, and hearing protection ready to go. You want to be safe while you work!
Now, when it comes to your drill, keep the speed at a moderate level. This way, you’ll have better control, and it helps prevent overheating both the tool and the metal. Just remember to apply steady pressure and keep everything aligned just right. This will help you avoid any damage to the underlying panel. Happy cutting!
Always wear gloves with heat-resistant stitching to help prevent burns and ensure durability while handling tools and materials.
Always wear proper safety gear when cutting spot welds to protect yourself from metal shards, sparks, and loud noise.
Start with ANSI-approved safety glasses or a full-face shield to guard your eyes and face from flying debris.
Use heavy-duty, cut-resistant gloves to protect your hands from sharp edges and hot metal particles.
Wearing hearing protection, such as earplugs or earmuffs, is essential to prevent noise-induced hearing damage from drills and grinders.
Long sleeves and flame-resistant clothing shield your skin from sparks and heat.
Non-slip, closed-toe footwear protects your feet from falling tools or metal fragments.
Make sure your work area is well-ventilated to reduce inhalation of metal dust and fumes.
Proper safety gear minimizes injury risks, enabling you to focus on precise, controlled spot weld removal.
Additionally, regularly inspecting and maintaining your protective equipment ensures consistent PPE effectiveness and safety during the cutting process.
Maintaining a controlled drill speed is essential when cutting spot welds to prevent damage to the underlying panel and extend the life of your tools.
Start with a moderate speed to guarantee the cutter engages the weld nugget cleanly without wandering.
Avoid high speeds that generate excessive heat, which can dull the cutter and risk burning the metal.
Apply consistent, light to moderate pressure, letting the drill’s torque do the work rather than forcing it.
As you approach the weld’s depth, reduce speed to maintain control and minimize the chance of drilling through the lower sheet.
Periodically stop to clear debris and assess progress.
Using a drill with adjustable speed settings allows you to fine-tune this process, guaranteeing precise, efficient weld removal while protecting both your tools and the panels.
Additionally, maintaining a clean contact area during the process helps minimize resistance and prevents damage to the metal surfaces.
Controlling drill speed helps minimize heat buildup and reduces the risk of damaging the underlying panel when cutting spot welds. To prevent panel damage, follow these essential steps:
Always wear protective gear such as gloves and safety glasses to enhance safety during cutting operations.
When cutting spot welds, you must carefully regulate pressure and drill speed to guarantee penetrating the lower panel.
Start by center-punching the weld to keep the cutter aligned and use a drill speed moderate enough to maintain control without overheating.
Apply light to moderate pressure, letting the cutter do the work rather than forcing it.
Frequently check your cut depth to avoid breaking through the bottom sheet.
Clean debris regularly to maintain visibility of the weld and cutting progress.
Selecting a cutter sized just larger than the weld nugget guarantees you remove only the top layer.
Avoid aggressive prying after cutting, as it can deform or damage the lower panel.
Following these steps helps preserve the panel beneath for proper refitting or repair.
Once you’ve cut through the spot weld, carefully pry the panels apart to avoid damaging the underlying metal.
Use a flat pry bar or panel separator to apply even pressure and prevent tearing.
Follow these steps for clean separation:
Avoid levering at the edge of the hole to prevent enlarging the opening.
Maintaining control and patience during separation preserves the integrity of the lower panel, ensuring a clean break between sheets.
This method minimizes deformation and prepares the panels for subsequent finishing steps.
After you’ve separated the panels cleanly, focus on finishing the exposed metal edges to prevent corrosion and guarantee a proper base for further work.
Use a grinder or sanding disc to smooth burrs and sharp edges left by the cutter. Remove all slag and debris to assure a clean surface.
Grind burrs and remove slag to ensure a clean, smooth metal surface for optimal finishing.
Next, clean the metal with a solvent to eliminate oils or contaminants. Apply a rust-inhibiting primer immediately to protect against oxidation, especially if the metal will be exposed for extended periods.
If you plan to weld or paint later, make certain the primer is compatible with those processes. Proper edge finishing and corrosion protection maintain structural integrity and improve adhesion for subsequent repairs or coatings.
This ensures your spot weld removal doesn’t compromise the overall panel quality.
Yes, you can use spot weld cutters on materials other than steel, like aluminum or stainless steel.
However, you need to choose the right cutter type and adjust your technique.
Since these metals have different hardness and thermal properties, reduce drill speed and use cutters designed for non-ferrous metals to avoid overheating or tool wear.
Always test on a scrap piece first to guarantee clean separation without damaging the underlying panel.
Imagine you’ve just finished separating panels but notice your spot weld cutter bit isn’t slicing cleanly. To sharpen it, use a fine diamond file or sharpening stone to carefully hone the cutting edges, maintaining the original angle.
Avoid overheating the bit by applying light pressure and frequent cooling. Regularly clean debris buildup after use to prevent dulling. Proper maintenance guarantees you’ll keep precise cuts without damaging underlying metal.
Yes, you can use cordless drills for spot weld cutting, but choose one with variable speed control and sufficient torque, ideally 18V or higher.
This lets you maintain moderate drill speed essential for clean cuts without damaging the lower panel.
Look for models with brushless motors for better efficiency and longer runtime.
Make sure the drill’s chuck fits your spot weld cutter securely to prevent bit wandering during cutting.
The best way to recycle metal scraps from spot weld removal is to separate ferrous metals from non-ferrous ones for efficient processing.
Clean and sort scraps by type: steel, aluminum, or others to avoid contamination.
Store them in labeled containers and remove any plastic, paint, or coatings to improve recyclability.
Contact local scrap yards or recycling centers that accept automotive metal waste. Ensure you comply with their requirements for drop-off or pickup.
Yes, spot weld cutting can damage nearby electronic components or wiring if you’re not careful. The vibrations, sparks, and metal shavings generated during drilling or grinding may cause shorts or physical harm to sensitive parts.
To avoid this, always disconnect the battery, shield wiring harnesses, and keep debris away. Use moderate drill speeds and controlled pressure to minimize shock and heat transfer, protecting your vehicle’s electronics effectively.
Cutting spot welds is like carefully untying a knot in delicate fabric. You need precision and the right tools to avoid tearing the underlying material.
By preparing properly, choosing the correct cutter, and working methodically, you’ll separate panels cleanly without damage. Think of each cut as a measured step, preserving the integrity beneath.
In the end, finishing and protecting the exposed metal makes certain your work stands strong, just like a well-mended seam.