Phone:
(701)814-6992
Physical address:
6296 Donnelly Plaza
Ratkeville, Bahamas.

Phone:
(701)814-6992
Physical address:
6296 Donnelly Plaza
Ratkeville, Bahamas.

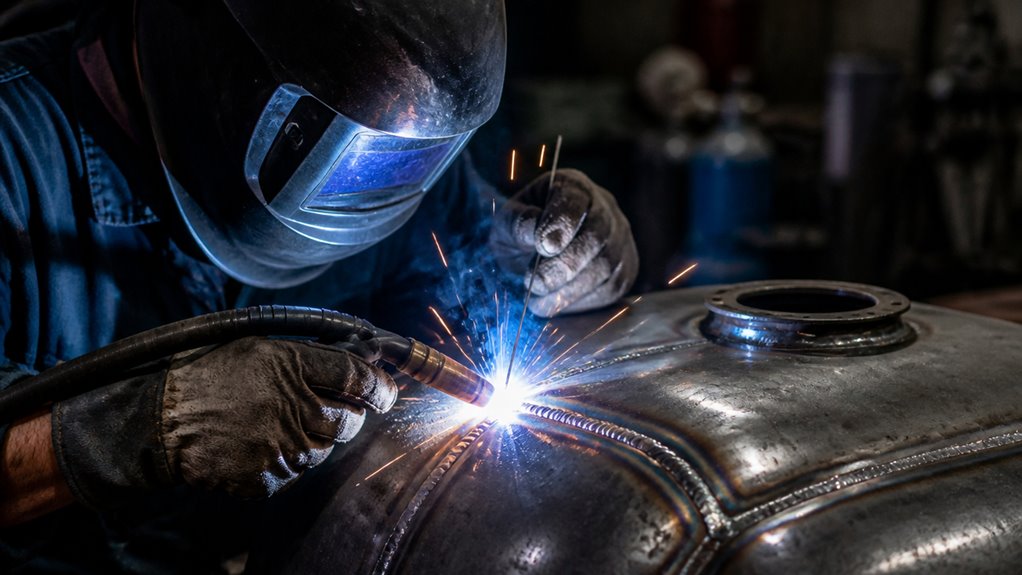
To weld a fuel tank safely, first fully drain and clean it to remove flammable residues. Then ventilate or inert it with nitrogen to displace vapors.
Use calibrated gas detectors to verify vapor levels stay below 10% LEL, continuously monitoring during work.
Always weld in a well-ventilated, organized area with fire suppression ready. Wear proper PPE and confirm a gas-free atmosphere with trained personnel.
You’ll want to follow precise steps before, during, and after welding to guarantee safety and integrity.
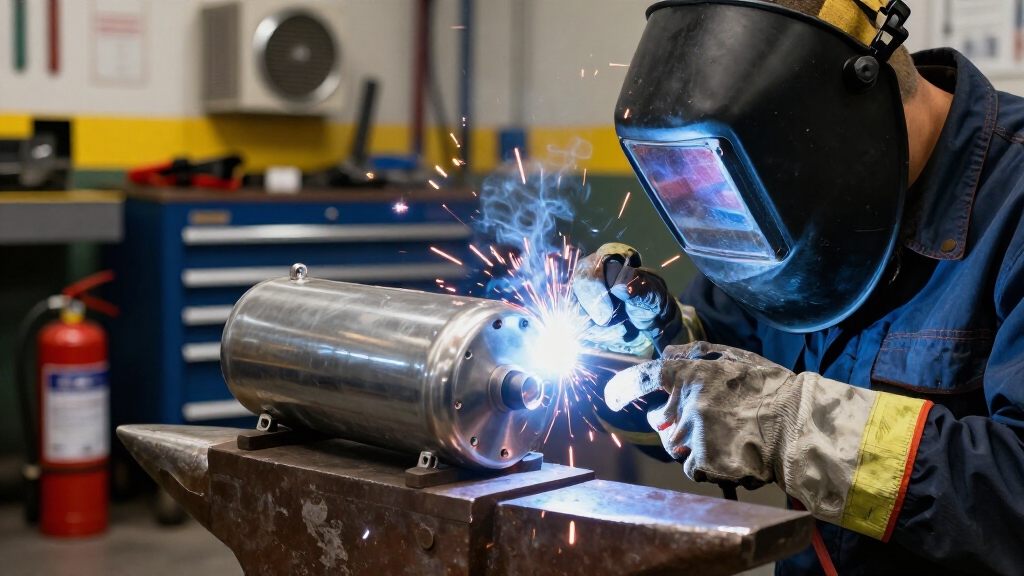
Because fuel tanks contain residual fuel and vapors, welding them demands extra caution to prevent ignition or explosion.
Even small amounts of liquid or vapor inside the tank can create flammable atmospheres when exposed to welding heat or sparks.
Small fuel residues can ignite from welding heat or sparks, creating dangerous flammable atmospheres.
This risk makes fuel tanks hazardous hot-work targets requiring strict controls and competent procedures.
Welding should only occur after confirming the tank is gas-free or safely purged, verified through continuous gas testing.
Many safety standards recommend replacement over repair when tanks are contaminated or structurally compromised.
Limiting welding tasks to specialized shops with trained personnel reduces risk and guarantees proper hot-work permits, ventilation, and fire suppression are in place.
Taking these precautions protects you and prevents catastrophic accidents during fuel tank welding.
It is critical to shield fuel tanks with fire-resistant material and remove or cover nearby flammable components to reduce fire hazards during welding.
Before you start working on a fuel tank, always disconnect the vehicle battery and shut off all ignition sources to eliminate the risk of sparks.
Next, drain the tank completely into approved flammable liquid containers. Work in a well-ventilated or outdoor area to avoid vapor accumulation.
Avoid open flames, sparks, or grinding near the tank during this process. Whenever possible, remove the tank from the vehicle rather than welding it in place to provide safer access and control.
Once removed, isolate the tank by placing it on a stable, non-flammable surface away from heat sources. Keep fire suppression equipment nearby and maintain strict control over potential ignition sources throughout.
These precautions reduce the risk of ignition and prepare the tank safely for subsequent cleaning and welding steps.
Proper storage conditions for welding rods are essential to prevent moisture absorption that could compromise weld quality during repairs.
Before you dive into welding, the first step is to give that fuel tank a good clean. You really need to scrub it down to get rid of any leftover fuel residues. Just rinsing it with water? That won’t cut it because it won’t take care of those lingering vapors.
Next up, let’s talk about purging the tank. It’s crucial to do this right so that you can effectively displace the vapors. You want to keep those concentrations below the safety thresholds—safety first, right?
And don’t forget about gas testing! Make sure to test the atmosphere inside the tank both before you start and while you’re welding. This way, you can be sure everything is safe for hot work. Better safe than sorry!
Additionally, ensure proper gas flow settings are maintained during welding to prevent oxidation and protect weld quality.
Ensuring thorough cleaning and purging of a fuel tank is critical to eliminate residual fuel and vapors that pose severe ignition risks during welding.
Start by fully draining the tank into approved containers, avoiding any ignition sources nearby.
Then, perform a rigorous cleaning using appropriate solvents or detergents designed for fuel system components, as water rinsing alone won’t remove all residues or vapors.
Inspect the tank interior carefully to confirm no visible contamination remains.
After cleaning, dry the tank completely before proceeding.
Avoid welding until you verify the absence of flammable vapors through continuous gas testing or other reliable methods.
Using proper safety equipment such as safety glasses and gloves during cleaning and welding preparation helps protect against sharp metal, heat, and debris.
Thorough cleaning removes visible contamination, but it doesn’t guarantee that all flammable vapors are eliminated from the tank interior. To ensure safe welding, you must purge the tank effectively to reduce vapor concentration below hazardous levels.
Follow these steps:
Adhering to these purging protocols greatly lowers the risk of ignition during hot work on fuel tanks. Additionally, ensure proper ventilation and respiratory protection to avoid inhaling hazardous fumes, such as zinc oxide fumes, which can be released during welding.
Maintaining continuous gas testing during the cleaning and purging process is critical to preventing hazardous vapor buildup inside the fuel tank.
Before and throughout welding preparation, use a calibrated combustible gas detector to monitor vapor levels. Make certain readings remain below 10% of the lower explosive limit (LEL) before beginning any hot work.
Test multiple tank locations, including near baffles or fittings, to detect any trapped vapors. If you use inert gases like nitrogen or argon for purging, keep testing active to verify effective displacement of flammable gases.
Continuous monitoring lets you respond immediately if vapor concentrations rise, maintaining a safe atmosphere.
Never start welding unless you confirm the tank is gas-free or at a safe threshold. Follow established hot-work safety protocols to prevent ignition or explosion risks.
Ensure proper ventilation and continuous airflow during welding to minimize exposure to hazardous fumes and maintain a safe working environment with effective local exhaust ventilation.
Before you kick off the welding process, it’s crucial to check the vapor levels inside the tank. Grab a reliable gas detector for this—it’s all about safety, after all!
And hey, don’t forget that continuous gas monitoring is key throughout the entire operation. This is especially important if you’re purging with inert gases.
Just a heads-up: you should only proceed with welding when those flammable vapors are below the established lower explosive limit. Typically, you want to keep it under 10% LEL. Better safe than sorry!
Additionally, using local exhaust ventilation during welding helps to capture and remove hazardous fumes at the source, improving safety.
Measuring vapor levels inside a fuel tank is critical to guarantee a safe welding environment. Before starting, you need to confirm that flammable vapors are below hazardous thresholds.
Use a calibrated combustible gas detector to measure vapor concentration accurately. Follow these steps:
This precise measurement process prevents fire or explosion risks during welding, ensuring a controlled repair environment. Additionally, maintaining proper grounding techniques during welding operations is essential to minimize the risk of electric shock in such hazardous environments.
Continuously monitoring gas levels inside the fuel tank guarantees that flammable vapors remain at safe concentrations throughout the welding process.
You must use calibrated gas detectors designed to measure lower explosive limit (LEL) values in real time.
Position sensors inside the tank’s interior or at critical vent points to detect vapor buildup promptly.
Begin monitoring before any hot work and maintain it continuously during welding, especially if purging with inert gases like nitrogen or argon.
Immediate alerts allow you to halt work if concentrations rise unexpectedly.
Make certain your monitoring equipment has alarms and data logging for compliance and safety audits.
This continuous testing prevents ignition risks by confirming that the tank atmosphere stays within safe limits.
It enables you to weld confidently and maintain strict hazard control.
Keep in mind that propane ignites more readily at lower temperatures, so monitoring is especially crucial when propane vapors may be present.
Although welding a fuel tank requires careful preparation, ensuring that flammable vapor levels remain below acceptable thresholds is critical to prevent ignition hazards.
Before starting, you must verify the tank atmosphere is safe by testing vapor concentrations with a combustible gas detector.
Safety standards generally require the vapor concentration to be below 10% of the Lower Explosive Limit (LEL).
Follow these steps for practical assessment:
Strict adherence to these thresholds prevents fire or explosion risks during welding. Additionally, maintaining a fireproof shelter over the work area can help protect against moisture and reduce electrical hazards during welding.
When preparing a fuel tank welding site, you must prioritize ventilation and fire safety from the start. Choose a well-ventilated area, ideally outdoors, to prevent vapor accumulation.
Prioritize ventilation and fire safety by selecting a well-ventilated, preferably outdoor, site to avoid vapor buildup.
Remove all flammable materials and make certain the tank is isolated from ignition sources, including sparks and open flames. Position fire suppression equipment within immediate reach before beginning any work.
Confirm that the tank is thoroughly cleaned, purged, and tested for flammable vapors, maintaining levels below 10% of the lower explosive limit. Establish a hot-work permit system and conduct a risk assessment to control hazards.
Keep the workspace organized and free from clutter, and verify continuous atmospheric monitoring during welding. By rigorously following these safety controls, you reduce the risk of ignition or explosion during the fuel tank welding process.
Since fuel tank welding involves significant risks from heat, sparks, and flammable vapors, you must wear appropriate personal protective equipment (PPE) designed for these hazards.
This gear is essential to protect you from burns, toxic fumes, and potential fire hazards. Focus on using PPE that meets industry safety standards.
Key protective gear includes:
Always inspect your PPE for damage before starting work. Replace any compromised equipment immediately.
Before you start welding, you must thoroughly prepare the fuel tank interior to eliminate all residual fuel, vapors, and contaminants that could pose ignition hazards.
Begin by draining the tank completely using approved containers and ventilate the area well. Clean the interior to remove residues; note rinsing with water alone won’t suffice.
Next, purge the tank with air or inert gas, ensuring vapors drop below 10% of the lower explosive limit (LEL). Continuously test the atmosphere inside the tank before and during welding to confirm safety.
Confirm no baffles or fittings obstruct cleaning or access. Always perform this work in a dedicated, well-ventilated space with fire suppression nearby.
Never weld unless you verify the tank is gas-free through reliable testing methods.
Before you start welding on a fuel tank, it’s crucial to prepare it properly. First things first, make sure to drain and isolate the tank completely. This step helps eliminate any fuel residues that could pose a risk during the welding process.
Next up, let’s talk about creating a safe environment. You’ll want to establish a controlled atmosphere by purging the tank and continuously testing for gas. This ensures that any flammable vapors are kept below safe limits, which is super important for safety.
Of course, we can’t overlook hot work safety measures. Make sure you have good ventilation in place, and always be ready with fire suppression equipment. Plus, don’t forget your personal protective equipment! These steps are essential to minimize the risk of ignition and keep everyone safe on the job.
When preparing a fuel tank for welding, controlling flammable vapors inside the tank is critical to minimizing fire risks. You must make certain the tank is completely drained and cleaned, removing all residual fuel and vapors.
Work in a well-ventilated area, preferably outdoors, away from ignition sources. Disconnect the vehicle battery and eliminate sparks before starting.
Follow these key steps:
These precautions minimize fire hazards and prepare the tank safely for welding.
Controlling flammable vapors inside the tank goes beyond thorough cleaning and ventilation. It requires establishing a safe internal atmosphere through purging.
You’ll need to continuously flush the tank with inert gases like nitrogen or argon to displace oxygen and flammable vapors. Always test vapor levels before and during welding. Keep the lower explosive limit (LEL) below 10%.
Purging should continue until you confirm a non-flammable environment with reliable gas detectors.
| Step | Purpose | Recommended Gas |
|---|---|---|
| Initial Flush | Remove residual vapors | Nitrogen |
| Continuous Purge | Maintain inert atmosphere | Argon/Nitrogen |
| Vapor Monitoring | Make sure LEL < 10% | Gas Detector |
| Duration | Minimum 1 hour or until safe levels | N/A |
| Safety Check | Confirm safe conditions pre-weld | LEL Tester |
Although purging and preparation markedly reduce fire risks, strict hot work safety measures remain essential during fuel tank welding.
You must never start welding unless the tank is confirmed gas-free by continuous testing. Always work in a well-ventilated area, preferably outdoors, to prevent vapor accumulation.
Keep fire suppression equipment immediately accessible and eliminate all potential ignition sources. Wear appropriate PPE, including flame-resistant clothing and welding protection.
Follow these key steps:
These measures minimize fire hazards and protect your health.
Before inspecting fuel tank welds, ensure the tank has cooled completely to avoid injury and inaccurate assessments. Use visual inspection first, looking for cracks, porosity, or incomplete fusion.
Then perform leak testing with a safe method, such as low-pressure air or inert gas, while avoiding ignition sources. Document any defects for repair or replacement decisions.
| Inspection Aspect | Recommended Procedure |
|---|---|
| Visual Check | Examine weld bead uniformity, cracks, and surface defects |
| Leak Test | Apply low-pressure inert gas, monitor for pressure drop or bubbles |
| Documentation | Record findings with photos and notes for traceability |
Following this assures weld integrity and safety before moving to further testing or reinstallation.
Begin by ensuring the fuel tank has completely cooled and passed all leak inspections after welding. Handling a hot or untested tank risks injury and fuel leaks.
Once confirmed secure, follow these steps to reinstall the tank properly:
Following these steps guarantees a safe, functional reinstallation that maintains the integrity of your fuel system.
You’ll find that steel fuel tanks are typically safer to weld than plastic or composite ones. Steel withstands heat better and can be properly cleaned and purged.
However, only tanks that have been thoroughly drained, cleaned, and tested free of vapors should be considered. Tanks with simple internal layouts and no contamination are safer candidates.
Always prioritize tanks designed for repair. When in doubt, opt for replacement instead of welding.
Yes, welding can compromise your fuel tank’s long-term structural integrity. The heat from welding may weaken metal around the weld, cause warping, or create stress points prone to cracking.
Improper technique or inadequate cleaning can worsen this. To minimize damage, ensure thorough cleaning, proper purging, and use qualified welders following strict procedures.
Even then, inspect welds carefully post-repair and consider replacement if structural concerns persist.
You should purge the tank for at least one hour or until fuel fumes are no longer detectable.
Studies show that flammable vapor levels above 10% of the lower explosive limit (LEL) pose significant ignition risk during welding.
To keep safe, continuously test the tank’s atmosphere before and during work.
Use inert gases like nitrogen or argon if possible.
Never start welding until air quality confirms the tank is gas-free or within safe limits.
You should use low-hydrogen welding rods specifically designed for mild steel fuel tanks, like E7018 or similar. These rods minimize hydrogen-induced cracking and provide strong, ductile welds.
Avoid rods that produce slag inclusions or excessive spatter. Always match the rod type with the tank’s material and welding process, and follow manufacturer specs.
Using the correct rod guarantees integrity and safety, reducing risks of leaks or failures after repair.
You won’t find a miracle fix that’s easier than replacing a fuel tank, but alternatives to welding do exist.
You can use specialized fuel tank sealants or epoxy adhesives designed to withstand fuel exposure and pressure.
Some opt for mechanical patch kits or fuel-safe plastic welding on certain plastics.
Welding a fuel tank demands meticulous attention, like defusing a delicate bomb. You must strictly follow safety protocols: removing fuel, thoroughly cleaning, and testing for vapors to prevent ignition.
Employ precise welding techniques and inspect your work carefully to guarantee structural integrity. By treating each step with disciplined care, you’ll minimize fire risks and extend the tank’s lifespan.
Remember, safety isn’t optional; it’s the foundation of every successful weld.