Phone:
(701)814-6992
Physical address:
6296 Donnelly Plaza
Ratkeville, Bahamas.

Phone:
(701)814-6992
Physical address:
6296 Donnelly Plaza
Ratkeville, Bahamas.

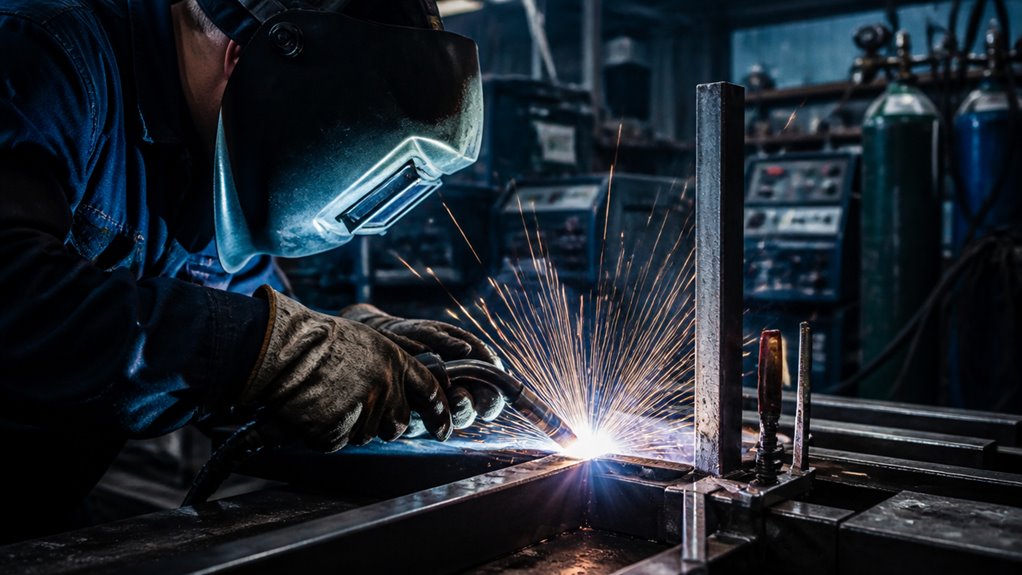
You’ll want a welder that fits your material type, thickness, and working environment.
For thin or precision work on aluminum or stainless steel, go with TIG. For general steel fabrication and automotive repair, MIG is fast and clean.
Stick or flux-core welders work best outdoors or on rusty, dirty surfaces. Match amperage to material thickness—about 1 amp per 0.001 inch of steel.
Also, consider your power supply: 120V for light tasks, 240V for heavy duty. Exploring these factors guarantees you pick the right tool for quality, efficiency, and durability.
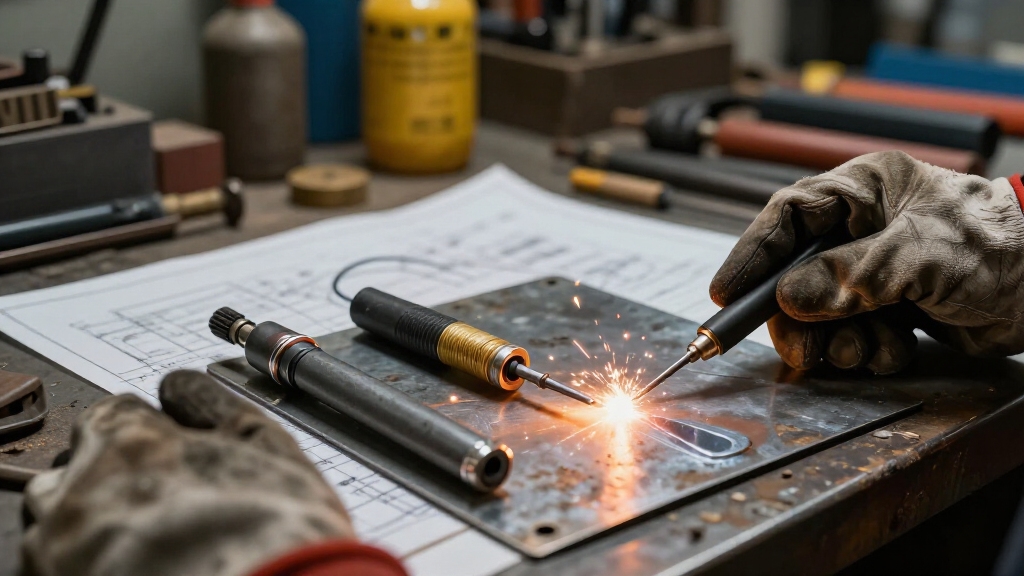
When choosing the right welder for your project, you need to take into account the type of materials, their thickness, and the working environment. These factors directly influence the welding process and equipment requirements.
Selecting the right welder depends on material type, thickness, and your working environment.
Start by identifying the metal type: steel, aluminum, or stainless—and its thickness. Amperage needs scale roughly with thickness, about 1 amp per 0.001 inch.
Consider if you’ll work indoors or outdoors, as contamination and wind affect shielding gas use. Power supply is critical: 120V suits thin materials and light repairs, while 240V supports heavier fabrication and higher amperage.
Also, evaluate duty cycle requirements based on your welding duration to avoid overheating. Balancing these factors guarantees you select a welder that delivers efficient, quality welds tailored to your specific project demands. Machines capable of delivering 200–250 amps are recommended for single-pass welding on 1/4-inch steel to ensure strong penetration and structural integrity.
When it comes to choosing a welder, it’s important to grasp the differences between MIG, TIG, Stick, and Flux-Core welding. Each has its unique strengths and applications that can really influence your decision.
So, let’s start with MIG welding. It’s fantastic for general fabrication and lighter steel projects. If you’re working on something that doesn’t require super precise control, MIG is often the way to go.
On the flip side, we’ve TIG welding. This one’s all about precision. It shines when you’re dealing with thin metals, especially stainless steel and aluminum. If you need clean and delicate welds, TIG is definitely your best bet.
Now, let’s talk about Stick and Flux-Core welding. These options are great for outdoor work or in less-than-ideal conditions. If you’re facing dirt or wind, these methods perform well where shielding gas just isn’t practical. Plus, they’re ideal for thicker materials, making them really versatile for tougher jobs.
For even more precise control over heat input and metal transfer in thin to medium metals, you might consider Pulse MIG welding as an advanced MIG option.
Understanding the fundamental differences between MIG, TIG, Stick, and Flux-Core welding is essential for selecting the right process for your project.
MIG uses a consumable wire and shielding gas for fast, clean welds. TIG employs a non-consumable tungsten electrode and filler rod, offering precise, high-quality control.
Stick welding uses a flux-coated electrode ideal for outdoor and dirty surfaces. Flux-Core resembles MIG but uses a flux-filled wire, enabling welding without external gas. It is suited for outdoor or thick materials.
| Process | Key Features |
|---|---|
| MIG | Consumable wire, gas shielded |
| TIG | Tungsten electrode, filler rod |
| Stick | Flux-coated electrode |
| Flux-Core | Flux-filled wire, gasless option |
Each method demands different skill levels, equipment, and shielding requirements. MIG welding uses an inert shielding gas to protect the weld pool from contamination, which is essential for producing clean and strong welds.
Choose your welding process by matching the welder type to your project’s material, environment, and precision needs. Each welding method excels in specific applications, so selecting the right one boosts efficiency and weld quality.
Consider these ideal uses:
Match your choice to the material thickness, environment, and required weld quality to optimize performance and durability. Understanding the role of shielding gas in protecting the weld from atmospheric contamination can significantly improve weld quality.
Matching the right welder to your material guarantees peak weld quality and efficiency.
For mild steel, MIG welding offers fast, clean welds with minimal spatter. It’s ideal for general fabrication and automotive repairs.
When working with thin materials like stainless steel, aluminum, or titanium, TIG welding provides superior control and precision. This method produces clean, high-quality welds without distortion.
Stick welding excels on thicker, dirty, or rusty steel. It delivers reliable penetration outdoors where shielding gas is impractical.
Flux-core welding suits thicker materials and outdoor conditions, combining speed with portability.
Selecting your welding process based on material type guarantees optimal penetration, structural integrity, and weld appearance.
Also, consider the metal thickness carefully to prevent burn-through or insufficient penetration when choosing your welding method.
Calculate the correct amperage by considering your steel’s thickness to guarantee a strong, consistent weld. Use the general rule of thumb: roughly 1 amp per 0.001 inch of mild steel thickness. This ensures sufficient heat input without burning through or producing weak welds.
Calculate amperage by steel thickness—about 1 amp per 0.001 inch—for strong, consistent welds.
Here’s a quick guide:
Matching amperage precisely protects your workpiece and maximizes weld penetration and strength. Adjust amperage according to thickness to maintain ideal arc stability and bead quality. It’s also important to reduce amperage by about 20–30% when welding in vertical or overhead positions to prevent burn-through and maintain control.
When it comes to welding, knowing about voltage options—like 120V and 240V—is really important. These choices can greatly impact how well your welder performs and whether it’s right for your specific projects.
Higher voltage supplies tend to provide more consistent amperage. This means you can tackle longer welds and work with thicker materials without worrying about overheating. So, making the right power choice is crucial. You want to ensure your welder meets the demands of your work, whether you’re doing some light repairs or diving into heavy fabrication. Additionally, selecting the proper wire gauge for your welder’s voltage and amperage requirements helps prevent overheating and voltage drop, ensuring safe and efficient operation.
Because different welding projects demand varying power levels, understanding voltage options is essential for selecting the right welder. The voltage of your power supply directly affects your machine’s output capacity and welding capability.
Generally, welders come in two main voltage categories: 120V and 240V.
Here’s what you need to know:
Choosing the correct voltage guarantees your welder meets project requirements without compromising performance or safety. Additionally, selecting the proper cable gauge ensures efficient power delivery and prevents voltage drop during welding.
Selecting the appropriate power supply voltage directly influences your welder’s performance, affecting amperage capacity, duty cycle, and consistency during operation.
A 120V supply limits your machine’s maximum amperage, restricting you to thinner materials and shorter welds due to lower duty cycles. Conversely, a 240V input enables higher amperage ranges essential for welding thicker metals and sustaining longer welds without overheating.
This guarantees stable arc characteristics and uniform penetration, which are critical for professional-quality welds. Additionally, increased voltage availability enhances your welder’s ability to maintain consistent output under load, reducing arc fluctuations and improving bead appearance.
Choosing the right voltage power supply is consequently fundamental to achieving reliable, efficient welding performance tailored to your project demands. Proper breaker sizing at 125% of the welder’s maximum current draw ensures safe and reliable operation without nuisance trips or equipment damage.
Understanding how power supply voltage influences welding capabilities helps you match your equipment to project demands effectively. Voltage determines the maximum amperage your welder can deliver, directly impacting the thickness and type of materials you can weld.
A 120V welder suits thin materials and occasional repairs, while 240V machines handle heavier fabrication with higher, more consistent amperage.
Consider these points when choosing power for your project:
Selecting proper voltage guarantees efficient, reliable welding performance tailored to your needs. Note that machine derating on 120V supplies limits maximum amperage output, restricting welding capacity compared to higher voltage models.
When you run a welding machine at its rated amperage, the duty cycle determines how long you can weld continuously before the unit needs to cool down.
The duty cycle at rated amperage sets your continuous welding time before cooling is necessary.
Duty cycle is expressed as a percentage of a 10-minute period. For example, a 60% duty cycle at 200 amps means you can weld for 6 minutes continuously, followed by 4 minutes of rest to prevent overheating.
If you exceed this, the machine risks thermal shutdown or permanent damage.
Lower duty cycles, like 20-30%, suit occasional home repairs.
Higher duty cycles of 40-60% support more demanding farm, ranch, or light production work. Always match the welder’s duty cycle rating to your typical workload to ensure reliable, efficient operation and avoid costly downtime.
Explore welders designed to balance performance and convenience for home and light fabrication projects.
MIG welders are typically your best starting point. They deliver versatility and ease for general steel work and automotive repairs.
Flux-core welders offer similar benefits with added portability. This makes them ideal when shielding gas is impractical.
TIG welders provide precision for thin materials and clean welds but require more skill.
Stick welders handle outdoor and rusty materials but might be less convenient indoors.
Consider these factors:
Choose accordingly to optimize efficiency and weld quality.
When you’re welding outdoors, it’s crucial to pick a machine that can cope with the elements. You know, things like rain or wind, and even surface contaminants like rust can really throw a wrench in the works.
That’s why stick and flux-core welders are great options. They shine in these conditions because of their flux shielding. Plus, they can handle dirty metals better than other types.
So, when you’re choosing the right welder, think about the environment you’ll be working in. A solid choice will help ensure that you get reliable, strong welds, even when the conditions are less than ideal.
Just remember, it’s all about finding the right tool for the job!
Outdoor welding often demands equipment and methods that can handle challenging environments like wind, moisture, and surface contaminants.
You need techniques that maintain arc stability and weld integrity despite these variables.
Stick welding and flux-core arc welding excel outdoors due to their flux shielding, which protects weld pools without external gas.
MIG welding struggles in wind because shielding gas disperses easily.
Consider these weather-resistant methods:
Selecting the right method assures reliable welds under harsh outdoor conditions.
Because environmental factors like wind and moisture can disrupt weld quality, selecting the right welder for outdoor conditions is critical.
Stick and flux-core welders excel outdoors since their flux coatings and self-shielding wires protect the arc from wind and contaminants without requiring external shielding gas.
MIG welders struggle in windy environments because gas shielding disperses easily, compromising weld integrity.
Stick welding also handles thicker materials and dirty surfaces well, making it versatile for outdoor repairs and fabrication.
When choosing, consider amperage needs and duty cycle to guarantee consistent performance under variable conditions.
A 240V power supply often supports heavier outdoor projects, while 120V machines suit light repairs.
Prioritize welders with robust duty cycles to minimize overheating during extended outdoor use, assuring reliable, high-quality welds despite weather challenges.
You’ll frequently encounter rusty surfaces in outdoor welding projects, which demand specific techniques and equipment to guarantee strong, reliable welds. Rust contaminates welds, leading to porosity and weak joints. Choosing the right welder is critical.
Stick and flux-core welders excel here due to their flux shielding, which tolerates dirt and rust better than MIG or TIG.
Consider these key points:
Selecting a rugged welder suited for outdoor, rusty conditions assures durable, structurally sound welds.
When welding speed and precision become critical factors, selecting the right type of welder can dramatically impact both the quality and efficiency of your work.
MIG welding offers faster deposition rates, making it ideal when speed is paramount, especially for general fabrication and medium-thickness steel.
However, if your project demands exceptional precision, such as thin stainless steel or aluminum, TIG welding excels by giving you greater control over heat input and weld bead formation.
Stick and flux-core welders handle rougher conditions but sacrifice speed and finesse.
Remember, TIG’s slower pace suits detailed, cosmetic welds, while MIG’s rapid output serves structural tasks.
Understanding these trade-offs helps you match your welder to your project’s requirements, ensuring peak weld integrity without compromising workflow efficiency.
Balancing welding speed and precision with your budget requires careful consideration of features that impact performance and usability.
Prioritize capabilities that align with your typical projects to avoid overspending on unnecessary functions.
Focus on these key features when budgeting:
You maintain and clean your welding equipment by regularly inspecting cables, connections, and consumables for wear or damage.
Clean the torch tip and nozzle with a wire brush to remove spatter.
Replace worn contact tips and liners promptly.
Keep your machine’s vents clear of dust and debris to prevent overheating.
Store your welder in a dry, dust-free environment.
Routine maintenance guarantees consistent performance and extends your equipment’s lifespan.
You might think safety gear slows you down, but it actually protects you from serious harm.
You need a welding helmet with an auto-darkening lens to shield your eyes from intense UV light.
Wear flame-resistant gloves and a long-sleeve jacket to protect skin from sparks and heat.
Don’t forget sturdy boots and ear protection to guard against burns and noise.
Always use respiratory protection if fumes are present to keep breathing safe.
You can weld different metals together, but you need to take into account their compatibility and filler materials carefully.
Dissimilar metals may cause weak joints, cracking, or corrosion if not matched properly.
Use appropriate welding processes like TIG for precision and select filler rods designed for both metals.
Preheating and post-weld treatments might be necessary to reduce stress.
Always verify metallurgical compatibility to make certain a strong, safe weld.
You should know that welding in windy conditions can reduce shielding gas coverage by up to 50%. This causes porous, weak welds.
Cold weather cools the weld pool too quickly, increasing the risk of cracking.
Moisture from rain or humidity introduces hydrogen, which causes brittle welds and porosity.
To maintain quality, weld in sheltered areas, use windshields, preheat the metal in cold weather, and keep surfaces dry to guarantee strong, defect-free welds.
You can troubleshoot welding defects by first checking your settings. Ensure amperage matches material thickness.
Clean the workpiece to remove rust, oil, or paint that cause porosity. Adjust travel speed to avoid undercuts or excessive spatter.
Verify proper shielding gas flow to prevent oxidation. Inspect electrode angle and stick out for consistent bead shape.
If cracks appear, slow cooling or preheat thicker materials. Regularly maintain equipment to avoid inconsistent arcs.
When choosing a welder, remember that 70% of welding projects involve steel under 1/4 inch thick. Matching amperage to material thickness is essential.
Whether you need MIG for speed, TIG for precision, or stick for outdoor durability, selecting the right type and power supply voltage guarantees efficiency and quality.
Prioritize features that suit your specific conditions and budget to achieve professional results every time.
Your perfect welder is the one tailored to your project’s demands.