Phone:
(701)814-6992
Physical address:
6296 Donnelly Plaza
Ratkeville, Bahamas.

Phone:
(701)814-6992
Physical address:
6296 Donnelly Plaza
Ratkeville, Bahamas.

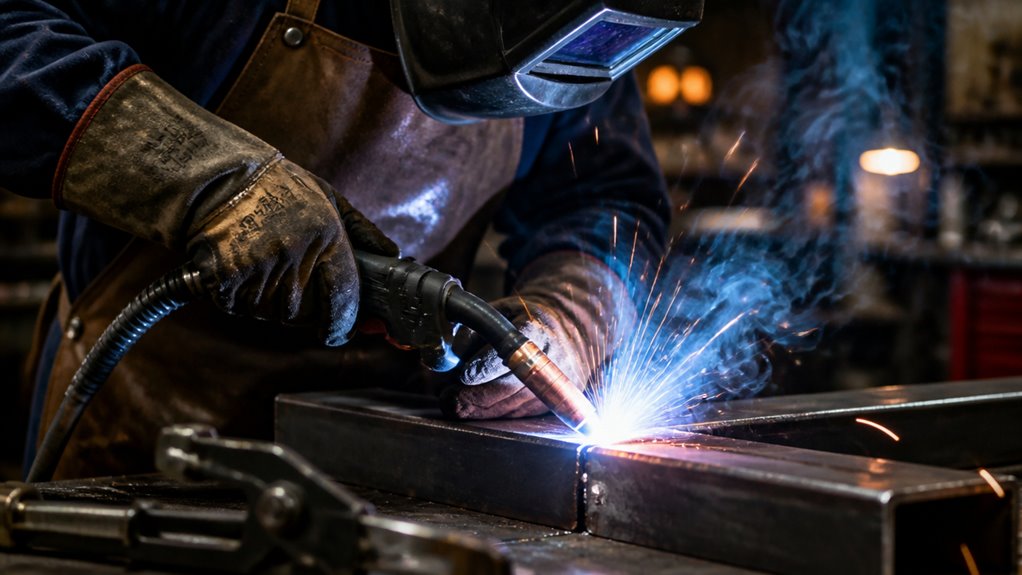
To weld with an arc welder, maintain a steady arc length about equal to your electrode’s diameter by holding it 15 degrees off vertical and controlling travel speed.
Clean the metal surface before welding and secure a proper ground clamp near the work area.
Use an appropriate electrode and power setting matched to your material.
Always wear protective gear and ensure adequate ventilation to avoid fumes.
Mastering these basics sets you up to improve heat control, technique, and troubleshoot weld quality effectively.
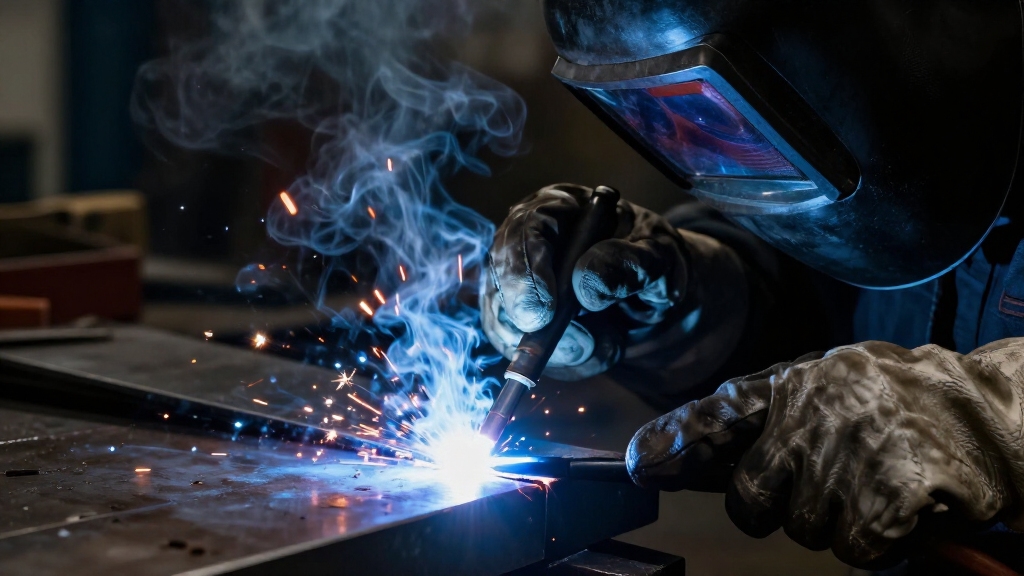
Arc welding joins metals by creating an electric arc between a consumable or non-consumable electrode and the workpiece. This generates intense heat that melts the base metal and filler material.
Arc welding creates intense heat by forming an electric arc between electrode and metal, melting materials for joining.
You initiate the arc by bringing the electrode close to the metal surface. The high temperature, up to 6,500°F, melts the metal, forming a molten pool.
In shielded metal arc welding, the electrode’s flux coating disintegrates, producing shielding gas and slag that protect the weld from contamination.
As you maintain the arc, the molten metal solidifies, forming a strong metallurgical bond. This fusion process requires careful control of arc length and travel speed to ensure consistent heat input and proper fusion without burn-through or porosity.
The welding power supply provides a controlled electrical current to initiate and sustain the arc for stable welding conditions.
When you’re welding, it’s super important to wear a welding helmet with the right shade lens. This helps shield your eyes and face from those intense ultraviolet and infrared rays that can really do some damage.
And don’t forget about your clothing! Flame-resistant gear is a must, along with sturdy leather gloves and steel-toed boots. These will protect your skin from sparks and any molten spatter that might come your way.
Also, make sure you have good fume extraction or ventilation in place. This is key to minimizing your inhalation of hazardous welding fumes while you work. Staying safe is the top priority!
Regularly inspecting your equipment for damaged cables and ensuring proper grounding are crucial steps to prevent electric shock hazards during welding.
Although the intense ultraviolet and infrared radiation generated during welding can cause severe eye damage within seconds, wearing a properly rated welding helmet shields your eyes and face effectively from these hazards.
Select a helmet with an appropriate shade lens, typically between #10 and #13 for arc welding, to block harmful radiation while maintaining visibility.
Make certain the helmet fits securely and comfortably to prevent exposure to sparks and spatter.
Use auto-darkening helmets for convenience, but verify their response time and sensitivity settings.
Always inspect the helmet lens for cracks or damage before use, as compromised lenses reduce protection.
Maintaining a safe viewing distance of at least 200 centimeters combined with proper eye protection further minimizes the risk of radiation exposure during welding.
Because welding generates intense sparks, spatter, and radiant heat, wearing proper protective clothing is critical to prevent burns and injuries.
You should wear flame-resistant clothing made from materials like leather or heavy cotton to shield your skin from molten metal and ultraviolet radiation.
Avoid synthetic fabrics since they can melt and cause severe burns. Use leather gloves that provide dexterity but resist heat and punctures.
Wear steel-toed boots with metatarsal guards to protect your feet from hot debris and heavy objects.
Long sleeves and pants must fully cover your skin, and collars or welding jackets help prevent sparks from reaching your neck.
Make certain all garments fit snugly to avoid catching sparks or snagging on equipment.
Proper protective clothing forms a crucial barrier between you and welding hazards.
It is also important to inspect your gear regularly and replace any damaged or worn items to maintain optimal protection.
When welding generates fumes, effective extraction methods become essential to maintain a safe breathing environment. You need to control these hazardous fumes at the source to prevent inhalation of toxic particles.
Implementing proper fume extraction reduces health risks and keeps your workspace compliant with safety standards.
Consider these key extraction methods:
Local Exhaust Ventilation (LEV) captures fumes directly at the weld area using hoods or arms, minimizing airborne contaminants.
General Ventilation uses fans and airflow systems to dilute and remove fumes from the entire workspace.
Portable Fume Extractors, equipped with adjustable nozzles and filters, provide flexible fume removal for various welding locations.
Always make certain your extraction method matches your welding setup and workspace layout for maximum effectiveness. Regular inspections and maintenance of ventilation equipment ensure continued fume capture effectiveness.
Selecting the right arc welding equipment and electrodes directly impacts the quality and efficiency of your welds.
Choose a power supply that matches your electrode type: AC for general-purpose or DC for more stable arcs and better penetration.
Verify your machine’s amperage range suits the metal thickness you’ll weld.
For electrodes, match their classification to the base metal and welding position.
For example, E6010 is good for deep penetration on dirty steel, while E7018 provides a smooth finish on clean metal.
Make certain the electrode diameter corresponds to the material thickness for proper heat input.
Set your polarity according to electrode manufacturer guidelines.
DC positive typically enhances penetration, while DC negative stabilizes the arc.
Alright, let’s get your welding workspace ready! First things first, clear away any flammable materials. It’s super important to have good ventilation, too, so you can handle those welding fumes safely.
Next up, take a moment to clean those metal surfaces. You want to get rid of any rust, paint, or oil because those can really mess with your arc stability and overall weld quality. Trust me, it makes a difference!
Now, let’s position your workpiece securely. You want it to be stable, right? And don’t forget about the ground clamp—make sure it’s attached properly. That’s how you establish a solid electrical circuit for your welding. You’re all set to get started!
Also, always ensure your workspace has adequate ventilation and use local exhaust systems to protect yourself from toxic fumes.
Properly preparing your welding workspace markedly reduces risks and guarantees efficient operation.
Start by clearing all flammable materials within a 35-foot radius to prevent fire hazards caused by sparks and spatter.
Make certain the area has adequate ventilation to dissipate harmful welding fumes and gases. This will help maintain air quality.
Set up your welding cables and tools so they don’t obstruct your movement or create tripping hazards. This enables smooth workflow and quick responses.
Remove combustibles like paper, wood, and solvents from the vicinity.
Position a fan or exhaust system to circulate fresh air around the workspace.
Organize cables and equipment to keep pathways clear and accessible.
Following these safety measures will protect you and others while facilitating precise, uninterrupted welding operations.
Additionally, ensure the use of proper respiratory protection to reduce inhalation of toxic fumes during welding.
Preparing your welding materials involves thorough cleaning and inspection to guarantee a strong, defect-free bond. Begin by removing rust, grease, paint, and dirt from the metal surfaces using wire brushes or grinders.
Check for cracks or deformations that may weaken the weld. Arrange your workspace to allow easy access and proper grounding. Make sure all flammable materials are cleared to prevent fire hazards.
Maintain adequate ventilation to reduce exposure to fumes. Use this checklist to prepare efficiently:
| Step | Tool/Material | Purpose |
|---|---|---|
| Clean surfaces | Wire brush/Grinder | Remove contaminants |
| Inspect metal | Visual check | Detect cracks/deformations |
| Arrange workspace | Welding table | Ensure accessibility |
| Remove hazards | Fire-resistant cover | Prevent fire risk |
| Ventilate area | Fan/ventilation | Reduce fumes |
Ensure that your welding area has proper fume extraction to draw smoke away from your breathing zone for safer working conditions.
Before you power up your arc welder, make sure your workspace is clear of flammable materials and that you have adequate ventilation to disperse welding fumes.
Position your welder on a stable, non-conductive surface and check that all cables and connections are intact and properly insulated. Attach the ground clamp securely to clean metal near the weld area to guarantee efficient current flow.
Wear appropriate personal protective equipment, including a welding helmet with the correct shade lens, flame-resistant clothing, and gloves.
These steps guarantee a safe, efficient arc welding setup. Always inspect equipment before use to replace any worn or damaged components to ensure safety.
With your workspace secure and equipment ready, you can focus on guiding the electrode to create a stable arc and consistent weld bead.
Hold the electrode at a proper angle, usually 15 degrees off vertical, toward the direction of travel.
Maintain a steady arc length, approximately equal to the electrode diameter, to guarantee stable melting without excessive spatter or sticking.
Move the electrode steadily along the joint, controlling travel speed to keep the molten pool uniform.
Use a slight weaving motion if needed to fill wider joints.
Watch the slag forming over the bead; it should be smooth and easy to chip away after cooling.
Practice consistent electrode manipulation and speed to develop even penetration and bead shape, laying a solid foundation for strong, defect-free welds.
Controlling heat input and maintaining proper technique are essential to prevent common weld defects and ensure weld quality.
Mastering heat control and maintaining arc stability are essential to producing strong, consistent welds. You need to regulate amperage carefully to avoid overheating, which can cause burn-through or weak welds.
Effective heat control and stable arcs are crucial for creating durable, high-quality welds without defects.
Keeping the correct arc length, typically about the diameter of the electrode, ensures stable arc behavior and uniform heat distribution. Additionally, steady electrode travel speed helps maintain a consistent molten pool size and penetration.
Focus on these key points:
Maintain a uniform arc length to prevent erratic arc fluctuations.
Adjust amperage to match metal thickness, balancing heat input.
Use smooth, controlled electrode movement to stabilize the weld pool.
When you encounter issues during arc welding, identifying the root cause quickly can save time and improve weld quality.
If the arc keeps extinguishing, check electrode size, polarity, and proper grounding.
Excessive spatter often means incorrect amperage or too long an arc length.
Porosity in the weld usually results from surface contamination or inadequate shielding from the flux.
Lack of fusion or penetration often indicates insufficient heat or improper electrode angle.
Slag inclusion occurs if you move too fast or don’t clean slag between passes.
To fix these, adjust amperage within recommended ranges, maintain a consistent arc length, clean the workpiece thoroughly, and ensure the electrode matches the base metal.
Methodical troubleshooting guarantees stable arc performance and strong, defect-free welds.
Different electrode coatings influence weld appearance by affecting slag formation, arc stability, and bead shape.
For example, rutile coatings produce smooth, shiny beads with easy slag removal, while cellulose coatings create deeper penetration but a rougher, more spattered surface.
You’ll notice that basic coatings yield stronger welds with a thicker slag layer and duller finish.
Selecting the right coating helps you control bead texture, cleanliness, and overall visual quality of your welds.
Yes, arc welding can be automated, boosting productivity by up to 50% in mass production. You’ll use robotic arms and CNC machines programmed to maintain consistent arc length, travel speed, and electrode angle.
Automation improves weld quality by eliminating human error and increasing repeatability. To implement it, you’ll calibrate parameters precisely for the specific metal and joint design, ensuring stable arcs and peak penetration throughout continuous welding cycles.
You should know arc welding waste impacts the environment through metallic fumes, slag, and flux residues, which may contain heavy metals and toxic compounds.
Improper disposal contaminates soil and water, posing health risks. You must manage waste by following regulations, using proper ventilation to reduce airborne pollutants, and recycling scrap metal.
Always wear protective gear and make sure fumes don’t accumulate to minimize environmental and health hazards during your welding tasks.
Humidity affects arc welding by increasing moisture on the metal surface and electrode. This can cause weld defects like porosity and hydrogen-induced cracking.
You’ll notice unstable arcs and difficulty maintaining consistent penetration in high humidity. To counter this, keep electrodes dry and store them in sealed containers.
Preheat damp metals if necessary. Controlling humidity in your workspace guarantees better arc stability, cleaner welds, and improved overall weld quality.
You need to regularly inspect welding power supplies for damaged cables, loose connections, and worn components.
Clean dust and debris from vents and cooling fans to prevent overheating.
Check the output voltage and current settings for accuracy, calibrating if necessary.
Replace consumables like fuses promptly.
Also, make certain proper grounding and test the polarity switches.
Routine maintenance keeps your equipment reliable, safe, and performing at peak levels.
Just like a skilled blacksmith forging legendary swords, you too can master arc welding with practice and precision.
Always prioritize safety gear and workspace setup before striking your arc.
Choose the right equipment and electrodes, control heat carefully, and refine your technique to create strong, clean welds.
When challenges arise, troubleshoot systematically.
With patience and attention to detail, your welds will stand the test of time, just like the timeless craftsmanship of old.