Phone:
(701)814-6992
Physical address:
6296 Donnelly Plaza
Ratkeville, Bahamas.

Phone:
(701)814-6992
Physical address:
6296 Donnelly Plaza
Ratkeville, Bahamas.

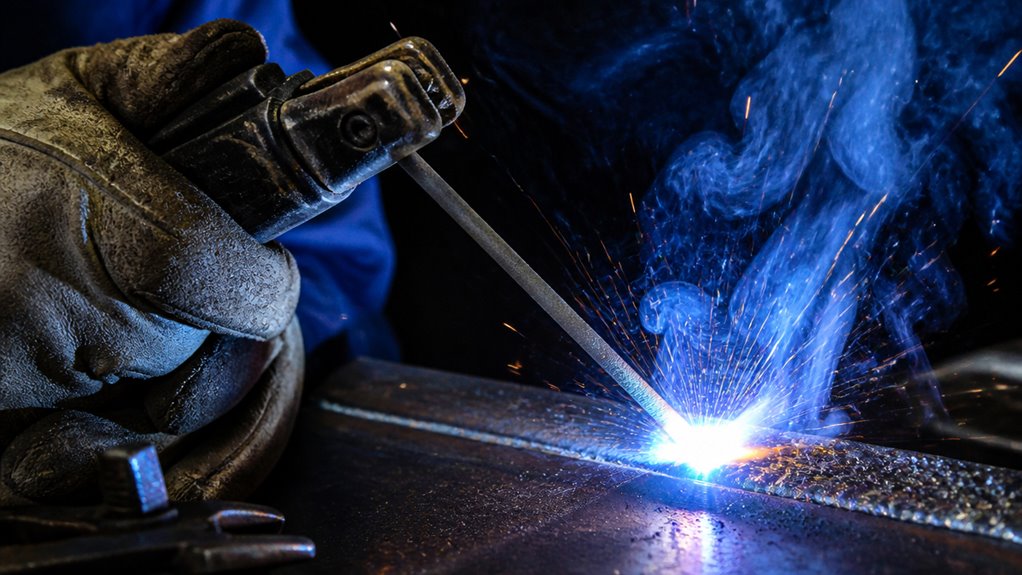
You should match your 6010 welding rod amperage to its diameter and material thickness for best results.
For example, use 40–80 amps with a 3/32-inch rod on thinner metals and 75–125 amps for 1/8-inch rods on moderate thicknesses.
Keep your arc short and stick to DC electrode positive (DCEP) for better penetration and control.
Adjust amperage by position to avoid defects like rod sticking or burn-through.
Explore key settings to master your 6010 welding technique.
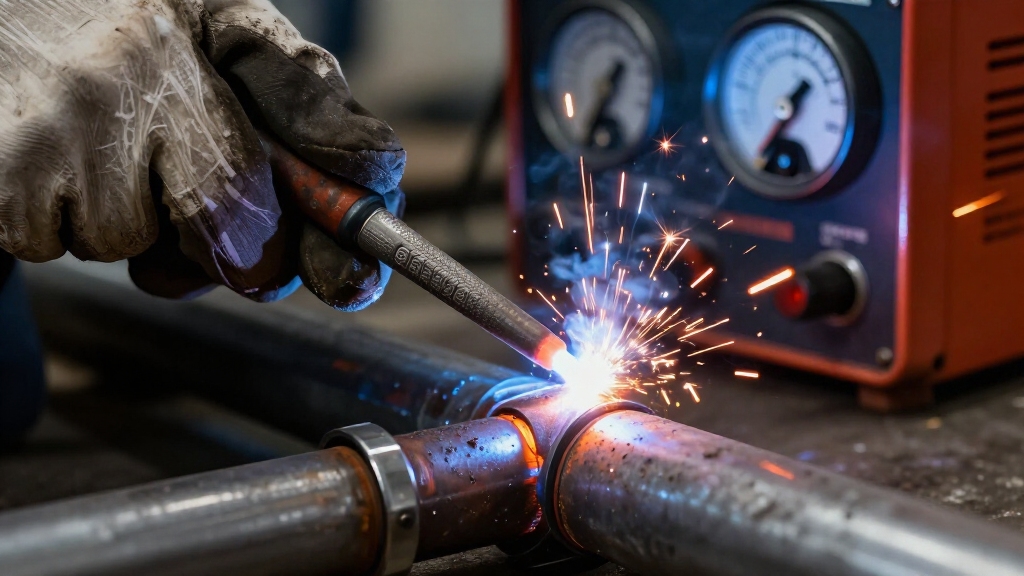
Although welding with 6010 rods requires careful amperage control, understanding the specific ranges for each rod diameter is crucial for achieving ideal penetration and arc stability.
Mastering amperage settings for 6010 rods is key to optimal penetration and a stable welding arc.
You’ll find that 3/32-inch rods operate between 40–80 amps, suitable for thinner materials.
1/8-inch rods typically run 75–125 amps, balancing penetration and bead shape on moderate thicknesses.
Larger 5/32- and 3/16-inch rods demand 110–165 amps and 140–215 amps respectively, providing sufficient heat for heavier plate.
Staying within these ranges guarantees a stable arc and prevents defects such as rod sticking or excessive puddle fluidity.
Polarity and arc length also influence performance, but precise amperage tuning within these parameters directly impacts weld quality, penetration depth, and bead consistency during various welding positions and applications.
Using DC electrode positive (DCEP) polarity is essential to maximize the penetration and travel speed when welding with 6010 rods.
Understanding the general amperage ranges sets a foundation, but selecting the exact amperage for your 6010 rod depends directly on its diameter.
For instance, a 3/32-inch rod requires roughly 40–80 amps, suitable for thin to medium materials.
A 1/8-inch rod operates best between 75–125 amps, balancing penetration and control on thicker workpieces.
Moving up, a 5/32-inch rod demands 110–170 amps to handle heavier plates.
The 3/16-inch size needs 140–215 amps for very thick sections.
You must adjust within these ranges based on material thickness and joint configuration.
Insufficient amperage causes sticking, while excessive amperage leads to rapid rod burn and unstable puddle fluidity.
Precision tuning guarantees peak arc stability and penetration, matching weld quality to rod size without sacrificing control or efficiency.
Additionally, running 6010 rods on both AC and DC power sources provides versatility in equipment choice and welding conditions.
When you set up your welding machine for 6010 rods, choosing direct current electrode positive (DCEP) is essential. This polarity produces the deep, forceful arc penetration this electrode requires.
It guarantees the arc digs effectively into the base metal, which is vital for strong root passes and heavy penetration. Maintain a short arc length to optimize arc stability and minimize spatter.
A longer arc weakens control and reduces penetration quality. Fine-tune your arc control by listening for a crisp, steady sound; this indicates proper settings.
If the rod sticks or the puddle fluidity is off, adjust amperage accordingly. Precise polarity and arc control directly influence bead shape, penetration depth, and overall weld integrity when using 6010 electrodes.
6010 rods are similar to 6011 in that they require an aggressive arc to penetrate through surface contaminants, which makes cellulose flux an important component in their coating.
Because amperage directly affects weld quality and penetration, you need to carefully match your 6010 rod’s amperage to the material thickness and specific application. Selecting the correct amperage guarantees optimal fusion without burn-through or weak joints.
Consider these key factors:
Adjusting amperage within these parameters guarantees precise, consistent welds matched to your work conditions. Remember that amperage controls weld penetration and must be balanced carefully to avoid defects like burn-through or lack of fusion.
Matching amperage to material thickness and application sets the foundation for effective 6010 welding.
Proper amperage matching to material thickness ensures a strong foundation for successful 6010 welding.
Fine-tuning often requires troubleshooting common amperage-related issues.
If your rod sticks frequently, it’s a clear sign your amperage is too low. Raise it incrementally within the recommended range.
Conversely, if the puddle becomes overly fluid or the rod burns excessively fast, your amperage is likely too high. Reduce it to regain control.
Listen for a crisp, steady arc sound, which indicates proper amperage.
Also, watch your bead shape: a narrow, deep penetration bead signals correct settings, while a wide, flat bead often means excessive amperage.
Maintaining precise control of current and travel speed helps prevent defects and cracking due to thermal expansion during welding.
Though the core amperage ranges provide a solid starting point, you’ll need to adjust settings based on welding position to maintain arc control and bead quality.
Vertical and overhead welding typically require lower amperage than flat positions to prevent excessive puddle fluidity and control slag flow. Flat welding allows higher amperage for faster deposition and deeper penetration.
Consider these key adjustments:
Fine-tuning within these guidelines secures consistent bead shape and effective penetration across positions. The stable arc characteristic of 6010 rods also helps maintain control and consistent bead formation in all welding positions.
Ambient temperature affects your 6010 welding amperage settings by influencing arc stability and electrode performance.
In colder conditions, you’ll often need to increase amperage slightly to maintain a stable arc and proper fusion because the base metal and electrode cool faster.
Conversely, in warmer temperatures, reducing amperage helps prevent excessive fluidity and burn-through.
Adjust your settings based on temperature to keep consistent penetration and avoid defects during welding.
You generally can’t use 6010 rods with AC welding machines effectively because 6010 requires a strong, stable arc that’s best achieved on DC electrode positive (DCEP).
AC’s alternating polarity disrupts the digging arc characteristic of 6010, reducing penetration and arc control.
For peak performance, you should run 6010 on DC with electrode positive to maintain a crisp, forceful arc and proper fusion, especially on root passes and thicker materials.
You’ll need a flame-resistant welding helmet with a proper shade to protect your eyes from the intense arc light.
Insulated gloves will guard your hands against sparks and heat.
Combine that with a heavy-duty jacket and leather boots to shield your body.
Don’t forget a respirator to filter out harmful fumes, since 6010 rods burn intensely.
This essential gear guarantees safety while maintaining precision and control during welding.
Electrode storage directly affects your 6010 welding performance by controlling moisture content.
If you don’t store rods in a dry, heated environment, they absorb moisture, causing hydrogen-induced cracking and arc instability.
You should keep 6010 electrodes in a rod oven at 250–300°F to maintain flux integrity.
Proper storage guarantees consistent arc characteristics, deeper penetration, and reduces porosity.
This ultimately improves weld quality and reduces defects during critical root pass welding.
Yes, you’ll generally need to reduce amperage slightly when welding galvanized steel with a 6010 rod.
The zinc coating vaporizes and can cause porosity, so lowering amperage helps control the heat input and minimize burn-through or excessive spatter.
Start near the lower end of the amperage range for your rod size. Maintain a short arc and increase travel speed to prevent zinc buildup in the weld pool for a cleaner, stronger bead.
Mastering the perfect amperage for your 6010 welding rod isn’t just important—it’s critical.
Using the wrong setting can turn your welds from strong to brittle in seconds, wrecking your entire project.
By precisely matching amperage to rod size, material thickness, and welding position, you guarantee flawless penetration and arc stability every time.
Don’t gamble with guesswork; dial in your amperage like a pro or risk welding disaster that’s impossible to fix later.