Phone:
(701)814-6992
Physical address:
6296 Donnelly Plaza
Ratkeville, Bahamas.

Phone:
(701)814-6992
Physical address:
6296 Donnelly Plaza
Ratkeville, Bahamas.

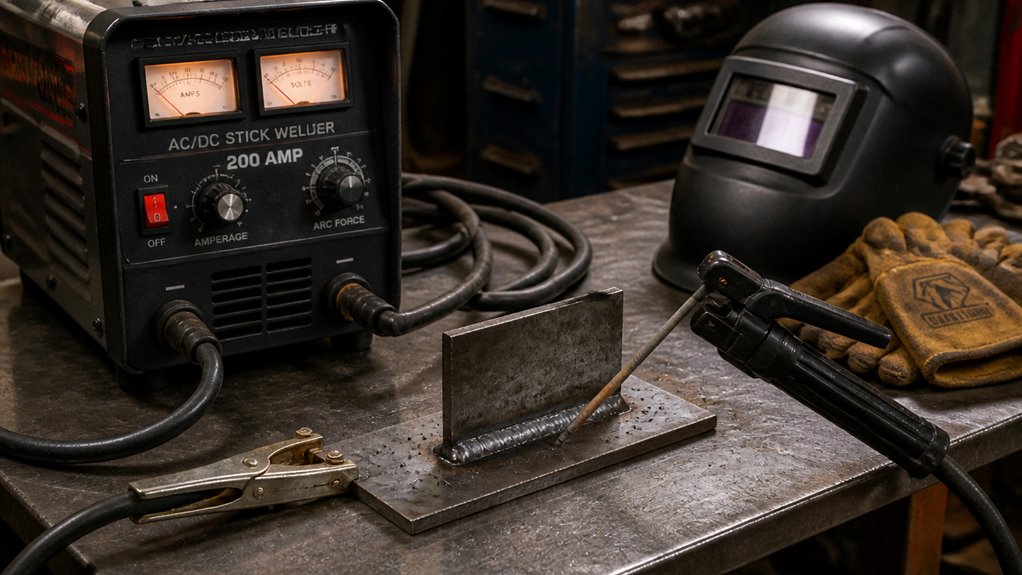
To set up a stick welder, plug it into the correct power supply and connect the electrode holder to the positive terminal for DCEP polarity, with the work clamp on the negative terminal.
Clean the workpiece thoroughly and select an electrode that matches your metal and position.
Adjust amperage based on electrode diameter, then strike the arc at a 15-degree angle, maintaining a short, steady arc length.
Fine-tune settings for a stable weld. Ready to master welding precision?
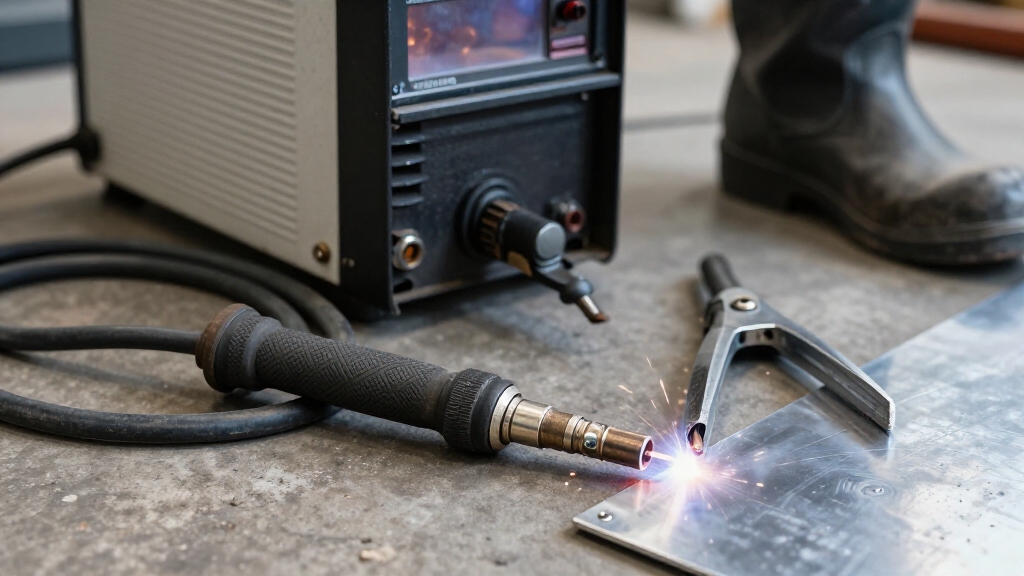
To set up your stick welding power source and leads, start by plugging the welder into the correct input power supply.
Guarantee the machine’s duty cycle and output range match your job requirements.
Next, connect the electrode holder lead to the positive terminal for DCEP when using most common rods.
Attach the work clamp to the negative terminal.
If your electrode or machine requires DCEN or AC, adjust polarity accordingly.
Tighten all DINSE or cable connections securely to maintain consistent current transfer.
Position the work clamp on clean, bare metal as close to the weld area as possible to minimize resistance.
Verify all connections before powering the unit to ensure stable arc performance and prime welding conditions.
This setup guarantees efficient energy flow for quality welds.
Remember that a firm ground clamp connection is necessary to ensure a stable electrical circuit and reliable welding results.
Start by thoroughly cleaning the workpiece to remove mill scale, rust, paint, oil, and moisture from the joint area. Use a wire brush, grinder, or chemical cleaner as appropriate to expose bare metal.
Thoroughly clean the joint area to remove contaminants and expose bare metal before welding.
For thicker material, grind or bevel edges to improve penetration and ensure proper fusion. Verify the fit-up is tight and well-aligned to prevent the arc from bridging large gaps, which can cause inconsistent welds.
Position the workpiece on a dry, stable surface to minimize contamination and maintain a solid ground connection. Before welding the final joint, make a test bead on scrap material with the same settings to confirm cleanliness and fit-up.
Proper preparation at this stage guarantees strong, defect-free welds and reduces the risk of porosity or slag inclusion during welding. Removing rust and scale is critical because rust interferes with welding, causing defects that weaken the joint.
Select your electrode based on the metal type, thickness, and welding position to guarantee peak results.
For deep penetration and root passes, use E6010 or E6011 rods. If you’re working on structural steel, E7018 is your go-to choice, typically running on DCEP for best results.
For lighter gauge metals or general-purpose welding, E6013 works well and can run on AC or DC depending on your machine.
Match electrode diameter to the material thickness: smaller diameters suit thin metals, while larger diameters handle thicker plates.
Always verify the electrode’s recommended polarity and current type before use.
Choosing correctly guarantees proper penetration, bead shape, and weld strength. These are key factors for a durable, high-quality joint.
Proper equipment selection sets the stage for smooth welding and improved weld quality.
Adjust your welder’s amperage and polarity settings to match the electrode type and the metal thickness.
Use the rule of thumb of about 1 amp per 0.001 inch of electrode diameter as a starting point.
For instance, a 3/32-inch rod typically requires 40–85 amps, while a 1/8-inch rod needs 75–130 amps.
Fine-tune amperage in 5–10 amp increments to stabilize the arc and optimize bead shape.
Set polarity according to electrode specifications.
Most low-hydrogen rods like E7018 run on DCEP for deeper penetration, while some rods like E6013 may require AC or DCEN.
Confirm polarity from the electrode packaging or manufacturer data to ensure proper heat distribution and weld quality.
Secure connections and check all settings before welding.
Adjusting settings based on metal thickness and electrode type is crucial for effective welding performance.
With your amperage and polarity set according to the electrode and metal specifications, you’re ready to test your settings by striking an arc.
First, secure the electrode firmly in the holder and guarantee the work clamp makes solid contact on clean, bare metal close to the weld area.
Hold the electrode at a 15-degree angle from vertical, then strike the arc by gently tapping or scratching the rod against the workpiece.
Maintain a consistent arc length, roughly equal to the rod diameter, to prevent instability.
Observe the arc’s behavior and bead appearance; a stable arc produces a smooth, even bead without excessive spatter or sticking.
If necessary, fine-tune amperage in 5–10 amp increments or adjust travel speed and rod angle until the weld bead is consistent and defect-free.
Ensure to maintain a short arc length during welding to stabilize heat input and improve puddle control.
To maintain your stick welder long-term, regularly inspect cables, clamps, and electrode holders for wear or damage, replacing parts as needed.
Keep connections tight to assure consistent current flow.
Clean dust and slag buildup from vents and components to prevent overheating.
Store the welder in a dry, ventilated area to avoid corrosion.
Periodically check and calibrate amperage settings.
Always perform test arcs before work to confirm stable operation and safe function.
Better safe than sorry.
Beyond a welding helmet and gloves, you need flame-resistant clothing like a leather apron or jacket to protect your skin from sparks and heat.
Wear sturdy, closed-toe boots to shield your feet.
Use ear protection to guard against noise and flying debris.
Don’t forget a respirator or guarantee strong ventilation since stick welding produces harmful fumes.
Always inspect your gear for damage before starting.
To troubleshoot porosity, make certain your workpiece is clean, dry, and free of contaminants like rust or oil.
Check for correct amperage and electrode angle to avoid trapping gas.
For cracking, verify proper preheat and interpass temperatures, especially on thicker metals.
Use the right electrode type and size for your material.
Maintain consistent travel speed and avoid excessive heat input.
Adjust settings after test beads to prevent defects effectively.
Think of electrodes as sponges. If they soak up moisture, your weld quality suffers.
To prevent this, store electrodes in a dry, airtight container or a rod oven set between 200°F and 250°F.
Avoid exposing rods to humidity or rain, and reseal packaging promptly after use.
For low-hydrogen rods, bake them according to manufacturer specs before welding to drive out moisture and maintain peak performance.
Environmental conditions directly impact your stick welding performance. Moisture, wind, and temperature fluctuations can cause arc instability, porosity, and poor bead quality.
You’ll want to weld in a dry, sheltered area to avoid moisture-contaminated electrodes and wind-blown slag. Cold temperatures can make metal brittle and reduce penetration.
Extreme heat may affect your equipment’s duty cycle. Always check conditions and adjust amperage or technique accordingly to maintain consistent weld quality.
Setting up a stick welder might seem complicated, but once you follow each step carefully, it becomes straightforward.
Don’t worry if you think adjusting amperage or polarity is tricky.
These settings are essential for a strong, clean weld and can be fine-tuned with simple tests.
By preparing your workpiece properly and choosing the right electrode, you’ll guarantee reliable results every time.
Stick to the process, and your welds will consistently meet professional standards.