Phone:
(701)814-6992
Physical address:
6296 Donnelly Plaza
Ratkeville, Bahamas.

Phone:
(701)814-6992
Physical address:
6296 Donnelly Plaza
Ratkeville, Bahamas.

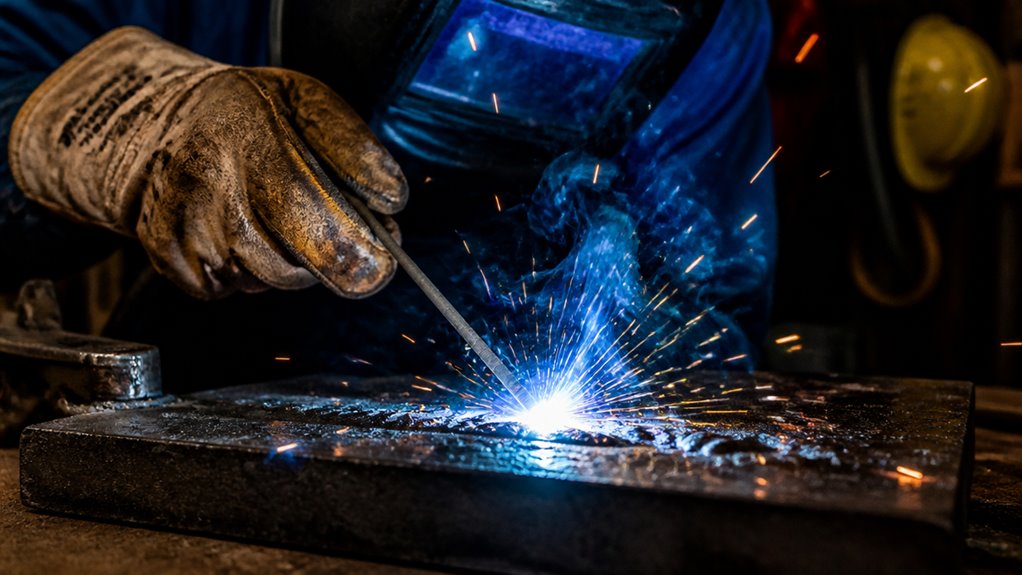
To stick weld, select a welder with amperage suited to your metal’s thickness and electrode.
Clean your metal thoroughly, removing rust and grease for better arc stability.
Strike the arc by tapping or scratching the electrode tip on the metal, keeping a short, consistent arc length.
Hold the electrode at the correct angle for your weld position and maintain steady travel speed to control bead shape.
After welding, clean slag and inspect the bead for quality.
More detailed techniques guarantee stronger, cleaner welds.
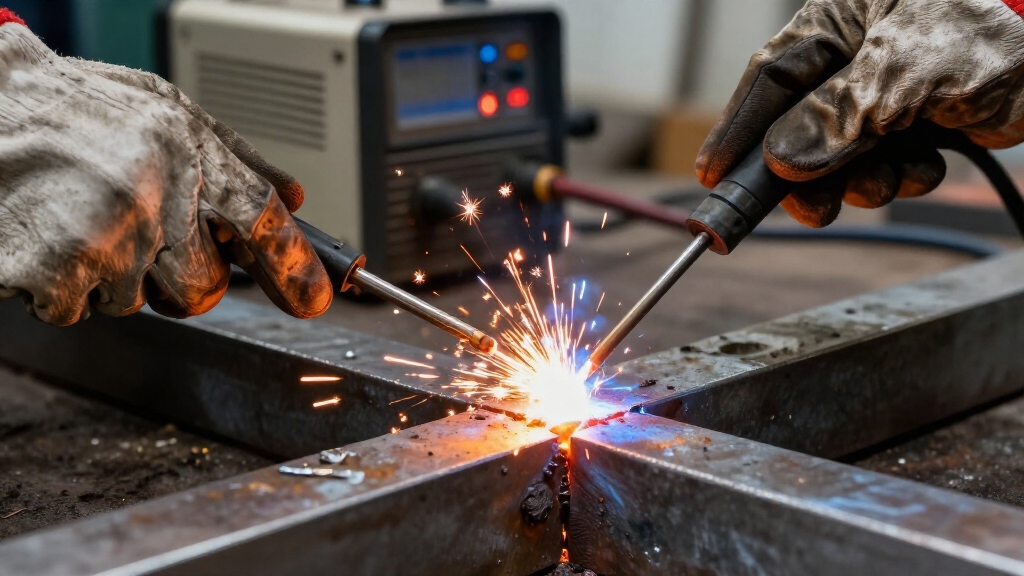
Start by selecting the right stick welder, electrode holder, work clamp, and electrodes for your project.
Choose a welder capable of delivering the amperage range suited to your metal thickness and electrode type.
Secure the work clamp firmly to clean, conductive metal on your workpiece or table to guarantee a stable electrical circuit.
Insert the electrode into the holder, making sure it has a firm grip to prevent slipping during welding.
Set the amperage precisely according to the electrode manufacturer’s recommendations and the metal’s thickness.
Select electrodes based on the base metal type and welding position you’ll use.
Proper equipment setup guarantees arc stability, weld quality, and operator control, forming the foundation for successful stick welding.
Stick welding is especially advantageous for outdoor and windy conditions where shielding gas protection is compromised.
Once your equipment is properly set up with the correct electrode and amperage, turn your attention to preparing the metal surface.
Proper surface prep guarantees a strong weld and reduces defects caused by contaminants. Start by removing rust, paint, oil, or scale that can interfere with arc stability and weld penetration.
Proper surface preparation ensures strong welds and minimizes defects from contaminants that disrupt arc stability and penetration.
Use a wire brush or grinder for thorough cleaning. Make certain the workpiece is secure to maintain control during welding. Follow these steps:
This preparation sets the stage for a quality weld and helps avoid porosity and weak fusion caused by rust contamination.
Although it can be challenging at first, striking and maintaining a stable arc is essential for consistent weld quality.
To start, touch the electrode tip gently to the clean metal surface. Then lift it slightly to establish the arc. Use a quick tap or scratch motion to prevent the electrode from sticking.
Keep the arc length steady, usually about the diameter of the electrode, roughly 1/16 to 3/32 inch. Maintaining this distance controls heat input and reduces spatter.
Watch the arc closely and adjust your electrode position to keep the length consistent as you weld. A stable arc ensures proper melting of both the electrode and the base metal, forming a sound weld pool.
Practice this to develop smooth, controlled welds. Maintaining a short arc length is key to stabilizing heat input and improving puddle control during stick welding.
Mastering the correct electrode angles and welding techniques is essential for achieving strong, consistent stick welds. You’ll need to adjust your approach depending on the welding position and desired bead quality.
Follow these key pointers:
These precise techniques help you control heat input and achieve uniform welds. Additionally, adjusting the dig setting according to welding position and electrode type can significantly improve arc stability and penetration control.
When you control your travel speed carefully, you directly influence the weld bead’s shape, penetration, and overall quality.
Moving too fast causes insufficient heat input, producing a narrow, shallow bead prone to weak fusion and porosity.
Conversely, traveling too slowly leads to excessive heat, generating a wide, convex bead with undercut or burn-through risks.
Maintain a steady, moderate pace that allows the molten pool to solidify uniformly behind the electrode.
Adjust speed based on electrode diameter, material thickness, and welding position.
Monitor the arc length and puddle behavior closely to fine-tune travel speed as you progress.
Consistency in speed guarantees a uniform bead profile with peak penetration, minimizing defects and improving mechanical strength in your stick welds.
Practice controlled travel to master bead shape and weld integrity.
Using the correct flux-coated electrode and current settings helps ensure optimal penetration and weld quality during travel speed adjustments.
After completing your weld pass, allow the bead to cool briefly before beginning cleanup. Proper finishing guarantees weld integrity and prepares the joint for inspection or additional passes.
Allow the weld bead to cool before cleaning to ensure integrity and prepare for inspection or further passes.
Follow these steps to clean up your stick weld methodically:
Consistent cleanup improves weld quality and durability, guaranteeing a professional, structurally sound result. Proper slag removal is essential to prevent defects such as slag inclusions and to ensure optimal fusion between weld passes.
You need essential safety gear for stick welding: a welding helmet with a proper shade to protect your eyes from intense UV and infrared rays.
Flame-resistant gloves shield your hands from heat and sparks, and a long-sleeve flame-resistant jacket or sleeves protects your skin.
Wear safety boots and ensure good ventilation or a respirator to avoid inhaling harmful fumes.
Always use ear protection if noise levels are high.
Wind can both help and hinder your outdoor stick welding. It disperses shielding gases, increasing contamination risk, yet a calm day guarantees better arc stability.
Rain and moisture introduce electrical hazards and cause weld defects, so avoid welding when wet.
Cold temperatures slow slag solidification and can induce cracking, while heat accelerates cooling and may warp metal.
Always monitor weather closely and adjust your technique or reschedule to maintain weld integrity and safety.
Common welding defects include porosity, undercut, slag inclusion, and cracks.
You can fix porosity by ensuring clean metal and proper shielding.
Undercut requires adjusting travel speed and electrode angle to avoid excessive groove formation.
Remove slag inclusions by thoroughly cleaning between passes.
Prevent cracks by controlling heat input and preheating thicker metals.
Consistent technique and proper electrode selection also reduce defects, improving overall weld quality and strength.
You might think welding electrodes last for a fixed time, but their lifespan actually depends on usage factors like amperage, electrode type, and welding duration.
Typically, an electrode lasts only for a single weld pass before it’s consumed by the arc. Higher amperage speeds up consumption, while proper technique can extend effective use.
Always monitor electrode condition closely to guarantee consistent arc stability and weld quality throughout your work.
You can automate stick welding, but it’s less common due to its manual nature and electrode consumption.
Automation involves mechanized electrode holders and controlled arcs, useful in repetitive or hazardous tasks.
However, manual stick welding offers greater flexibility for complex joints and outdoor conditions.
If you automate, you must precisely control travel speed, arc length, and electrode angle to maintain weld quality.
This mimics skilled manual techniques for consistent results.
By carefully selecting your equipment and preparing your metal, you set the stage for a smooth welding dance.
Striking and maintaining a steady arc becomes second nature, while precise electrode angles and controlled travel speed guide your weld bead like a skilled artist’s brushstroke.
Finally, finishing touches and cleanup reveal the true strength beneath the surface.
With these methodical steps, you’ll transform raw materials into reliable, lasting bonds.
Welding success is within your grasp.