Phone:
(701)814-6992
Physical address:
6296 Donnelly Plaza
Ratkeville, Bahamas.

Phone:
(701)814-6992
Physical address:
6296 Donnelly Plaza
Ratkeville, Bahamas.

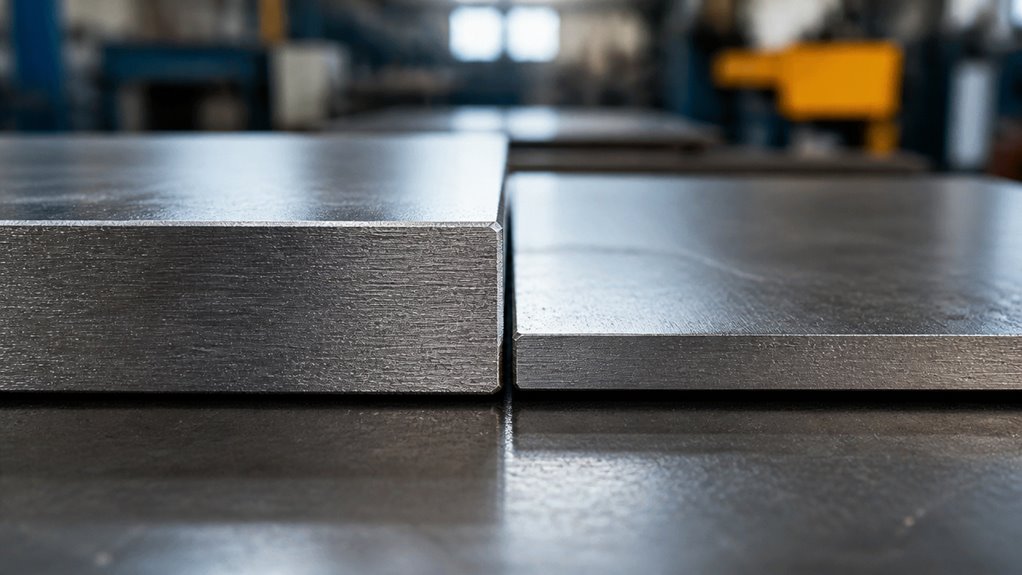
Measure both plates at several clean points with a calibrated gauge. Then compare the largest credible readings and confirm the mismatch against your drawing and WPS.
Choose a groove suited to the thicker plate, access, and approved procedure. If the mismatch exceeds permitted limits, taper the thicker plate to the specified profile. Keep the root-side step within code limits.
Clean both edges, then set preheat and interpass temperatures per the WPS. The following guidance covers each preparation step and its checks.
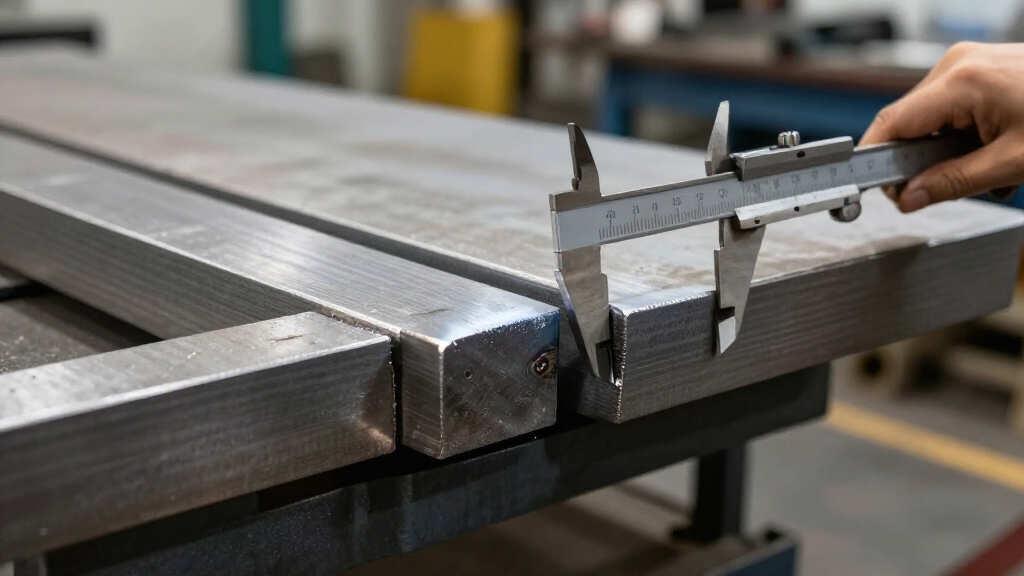
Before choosing a joint design, measure the thickness of both plates and calculate the difference. Accurate measurements determine the required changeover, bevel geometry, and welding controls.
Use a calibrated gauge or micrometer on clean, representative areas. Record each plate’s actual thickness and material identification.
Don’t rely solely on nominal dimensions; mill tolerances, coatings, scale, or localized wear can distort readings.
Check several points near the intended joint, avoiding burrs and damaged edges. Then compare the largest credible values.
Identify which plate is thicker and express the mismatch in millimeters.
Confirm the result against the applicable drawing, welding procedure, and governing code limits before fit-up.
If measurements vary unexpectedly, stop and verify the instrument and surfaces.
Accurate records help you prevent excessive root steps, stress concentrations, and unsafe welding conditions.
A Welding Procedure Specification defines approved welding variables, helping ensure consistent, code-compliant results.
Choose the joint preparation based on the thicker plate’s thickness and the access needed for sound root penetration. For plates around 6 mm and thicker, assess whether a bevel is needed to provide adequate access and fusion.
> Choose the joint preparation based on the thicker plate’s thickness and the access needed for sound root penetration. For plates around 6 mm and thicker, assess whether a bevel is needed.
Select a single-V or double-V groove according to plate thickness, welding access, and the approved procedure. For sections over about 25 mm, consider a J-groove to improve root access. Very thick plates may warrant a U-groove when both edges can be machined.
Match the groove design to the thinner plate’s joint requirements. Verify dimensions against the applicable code and welding procedure specification. Prepare edges by machining, milling, grinding, or thermal cutting as appropriate.
After thermal cutting, remove slag and heat-affected surface layers. Before welding, confirm edges are dry and free of contaminants. Follow specified preheat and interpass controls. For thick plates, multi-pass welding helps achieve full penetration while controlling heat input and distortion.
Once you’ve selected the groove, taper the thicker plate when the thickness mismatch exceeds the applicable code or WPS limit.
Measure both plates accurately, then calculate the thickness difference before marking the taper.
Follow the governing code and approved WPS for the required taper length and profile; some guidance specifies a length of at least three times the thickness difference.
Keep the root-side step within the permitted limit, often no more than one-quarter of the thinner plate’s thickness or 1/8 inch, whichever is smaller.
Use machining, milling, or controlled thermal cutting as appropriate for the material and thickness.
If the thickness jump is large, use a qualified multi-pass buildup where permitted.
Verify the finished taper’s dimensions and alignment before fit-up.
Don’t exceed specified limits or alter the joint without approval.
The approved Welding Procedure Specification also helps ensure the transition meets the project’s quality and code requirements.
After verifying the taper and alignment, clean both plate edges until they’re bright, dry, and free of slag, rust, scale, paint, oil, grease, and moisture.
Remove heat-cut oxide, nitride, and slag with a grinder or suitable machining method; don’t leave a discolored layer in the groove or along the fusion faces.
Check the root face, bevel, and adjacent surfaces, since contamination there can cause porosity or incomplete fusion.
Remove primer unless the welding procedure specifically permits welding over it.
Use clean tools and suitable solvents, and let surfaces dry completely before striking an arc.
Wear eye, face, hand, and respiratory protection when grinding or handling cleaning chemicals.
Keep cleaned edges protected from dirt and moisture, and repeat cleaning between passes if contamination appears.
Clean, contaminant-free surfaces help reduce weld defects and support a stronger joint.
Before welding, set preheat and interpass limits from the approved procedure and the materials’ requirements. For matching steel grades, use the thicker plate to determine minimum preheat. If materials differ, follow the requirement that calls for the higher preheat.
Don’t assume thickness alone sets every value; verify the WPS and applicable code.
| Check | Your action |
|---|---|
| Plate thickness | Measure both plates |
| Preheat minimum | Use the governing requirement |
| Temperature | Verify with a calibrated instrument |
| Interpass limit | Stay within the WPS range |
| Heat input | Base the limit on the thinner plate |
Control heat input to protect the thinner plate from burn-through or excessive distortion while achieving sound fusion. Maintain specified preheat between passes and monitor both sides of the joint where practical. Heat input can affect grain size and impact toughness in the heat-affected zone.
If readings fall outside limits, stop and correct them before welding. Record temperatures and settings as required.
Maintain the root gap to the approved welding procedure’s specified dimension, measuring it at several points along the joint before tacking.
Align the root faces and design the joint around the thinner plate. Taper the thicker plate as required so the change doesn’t distort the opening.
Use properly spaced, secure tacks and recheck the gap after tacking and during welding.
Don’t force the plates together or rely on filler metal to bridge an excessive gap.
You’ll usually find the flat position (1G) easiest for a different-thickness butt joint because gravity helps you control the weld pool and maintain consistent fusion.
Align the joint, prepare the thicker plate with a suitable taper or bevel, and follow your qualified welding procedure for fit-up, preheat, and heat input.
Secure the plates against movement, clean the edges, and use appropriate PPE.
Don’t weld overhead or in an awkward position unless qualified.
Lo, tack welds lock plates in position by temporarily joining them at spaced points before full welding.
You’ll reduce movement by aligning the joint, clamping both plates, then placing short, balanced tacks at the ends and intervals along the seam.
For unequal thicknesses, support the thinner plate and verify fit-up after each tack.
Use the approved procedure, clean surfaces, and inspect tacks for cracks.
Remove defective tacks before welding.
Use a backing bar when you need support beneath an open root to control penetration, prevent burn-through, or help achieve a sound root pass, especially with a gap or limited access.
Select compatible backing material and fit it tightly. Account for the thickness change so the bar doesn’t create a notch or trap defects.
Remove it if the approved welding procedure requires removal. Follow the qualified procedure and applicable code for fit-up and inspection.
You can uncover hidden weld flaws with nondestructive testing before they become costly surprises.
Start with visual inspection to check profile, cracks, undercut, and surface mismatch.
Use dye penetrant or magnetic-particle testing for surface-breaking defects; choose magnetic testing only for ferromagnetic materials.
Radiographic or ultrasonic testing can reveal internal flaws, with method selection based on thickness, joint geometry, access, and code requirements.
Follow your approved inspection plan, qualified procedures, and acceptance criteria.
Before welding two different-thickness plates head to head, measure both and choose a suitable joint prep. Taper the thicker plate to create a smooth changeover.
Clean the edges, then set preheat and heat input for the thicker plate without overheating the thinner one.
By coincidence, the same careful checks that improve fit-up also help prevent defects.
Verify your procedure and follow site safety requirements. Don’t weld until the joint, equipment, and protective gear are ready.