Phone:
(701)814-6992
Physical address:
6296 Donnelly Plaza
Ratkeville, Bahamas.
Phone:
(701)814-6992
Physical address:
6296 Donnelly Plaza
Ratkeville, Bahamas.
You can start craft welding with practical projects like coffee tables, garden planters, or welding carts that build your skills in cutting, fitting, and tacking.
Focus on mild steel for ease and strength, ensuring clean joints and controlled heat to avoid distortion.
Use tack welds to maintain alignment and finish seams smoothly before applying protective coatings.
By mastering these techniques and selecting the right materials, you’ll set a strong foundation for more advanced, creative metalwork projects.
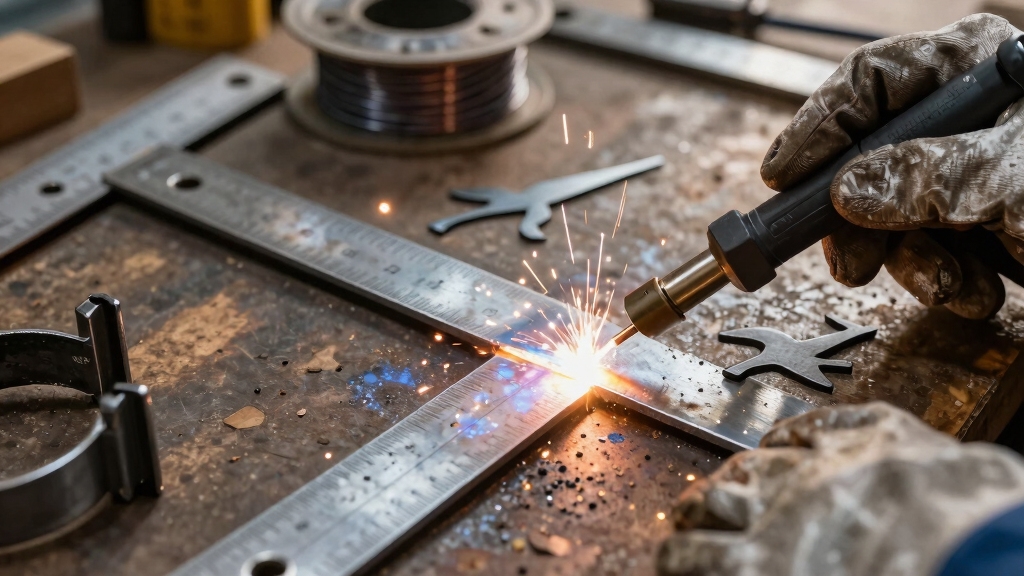
Starting with simple welding projects helps you build essential skills like cutting, tack welding, and assembly accuracy.
You can begin with coffee tables or metal benches, which focus on straight cuts and squaring frame components.
These projects require precision in measuring and aligning parts before welding, ensuring structural integrity.
Side tables and stool frames improve your ability to maintain level surfaces and consistent welds, reinforcing your control over the process.
For compact tasks, bookends utilize scrap metal, teaching you efficient material use and short welds.
Each project introduces practical challenges like maintaining right angles and clean joints, which are critical for professional results.
Always ensure to work in a well-ventilated workspace to keep fumes away and maintain safety while welding.
Although mastering welding techniques takes time, focusing on basic methods and tack welding will accelerate your skill development.
Start by ensuring clean, properly fitted joints; contamination compromises weld quality. Use short, controlled welds to tack pieces together, securing alignment without warping.
Maintain a consistent arc length and travel speed to produce uniform welds. Practice welding beads on scrap metal to build muscle memory and control.
Tack welds act as temporary anchors; avoid over-welding, which can distort your project. When tacking, check fit-up frequently, adjusting clamps or positioning before final welding.
Remember to wear proper protective gear and maintain steady hand positioning. By mastering these fundamentals, you’ll improve accuracy and build confidence for more complex craft welding projects.
For beginners, MIG welding is recommended due to its simplicity and ease of control, making it ideal for practicing these basic techniques.
When you’re picking materials for your welding projects, it’s a good idea to start with some common metals like mild steel, stainless steel, and aluminum. Each of these has its own unique welding techniques, so it’s worth getting familiar with them.
Think about what you need for your project. Are you looking for strength, or perhaps corrosion resistance? Maybe ease of cutting is a priority for you. Whatever the case, matching the material to your project’s purpose is key.
Getting the right material right off the bat can really pay off. It helps you achieve cleaner welds and ensures your finished piece is durable. So, take a moment to consider your options before diving in!
For example, understanding the carbon content in steels is crucial because higher carbon levels can affect weldability and increase the risk of cracking.
Selecting the right metal is essential for successful welding crafts, as each material has unique properties that affect weldability, strength, and finish.
Mild steel is the most common choice due to its excellent weldability, affordability, and structural strength.
Stainless steel offers corrosion resistance and a clean finish, making it ideal for decorative or outdoor projects, but requires higher heat control.
Aluminum is lightweight and corrosion-resistant but demands specialized techniques because of its high thermal conductivity and oxide layer.
Cast iron is generally avoided for welding crafts due to brittleness and difficulty achieving strong joints.
Copper and brass are less common but can be welded with proper equipment for artistic or specialty applications.
Understanding these metals helps you select the best base material to match your craft’s functional and aesthetic requirements.
Proper preheating to 400–600°F is critical when welding hardened steels to reduce thermal stresses and prevent cracking.
Choosing the right materials for your welding crafts greatly influences the strength, durability, and appearance of the finished project. To assure success, consider these key selection tips:
Additionally, using the correct filler metals that balance chemical and mechanical properties is crucial when joining dissimilar metals to prevent cracking and corrosion.
Following these guidelines will optimize your craft’s performance and longevity.
Consistently applying proper finishing techniques guarantees your welding projects not only look professional but also maintain structural integrity.
Begin by cleaning welds thoroughly. Remove slag, spatter, and oxidation using a wire brush or grinder.
Smooth your welds with a flap disc or sanding wheel to eliminate rough edges and assure even surfaces.
Check for cracks or undercuts and repair as needed to prevent structural failure.
Next, apply a protective coating such as primer and paint or powder coating to shield metal from corrosion.
For indoor projects, consider clear coats to preserve the metal’s natural finish.
Finally, inspect all joints to confirm tight, uniform welds and proper alignment.
These finishing steps enhance durability, improve aesthetics, and assure your work meets professional standards.
Additionally, maintaining consistent heat input control during welding helps prevent defects and ensures long-term weld quality.
Build functional and stylish furniture pieces by mastering basic welding techniques that combine cutting, squaring, and assembly. Start with projects that sharpen your precision and frame-building skills while creating practical home items. Focus on using square tubing and plate steel to assure structural integrity and clean joints.
Consider these four practical furniture welding ideas:
Each project enhances your ability to produce durable, functional furniture suited for everyday home use. Always ensure you control heat input during welding to prevent weak joints and ensure strong fusion.
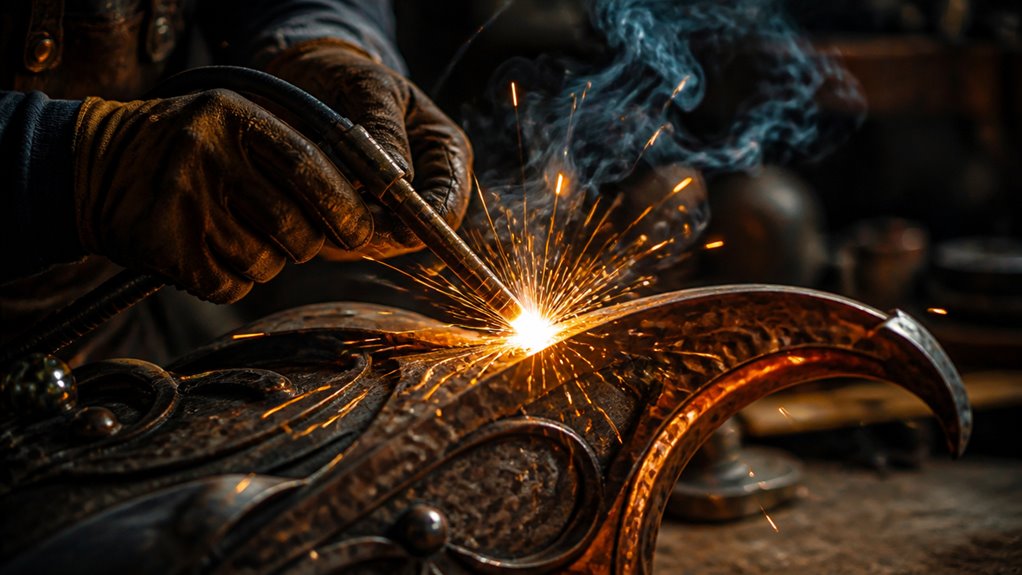
When working with metal welding to create wall art and décor, you focus on precision cutting, clean joints, and thoughtful assembly to achieve both aesthetic appeal and structural integrity.
Start by selecting appropriate materials: sheet metal, rods, or scrap pieces based on your design complexity. Use accurate measuring and marking tools to ensure components fit perfectly before welding.
Begin with carefully chosen materials and precise measurements to ensure perfect fitting components before welding.
Employ tack welds initially to maintain alignment, then complete full welds for strength. Grinding and smoothing weld seams enhance the finished look without compromising durability.
Incorporate creative shapes or personalized elements through cutting or bending techniques. Finally, apply suitable surface treatments like powder coating or clear sealants to protect your work and highlight detail.
Ensuring a well-ventilated workspace is essential to minimize exposure to hazardous fumes during welding.
This methodical approach results in unique, durable metal wall art that complements interior spaces effectively.
You can kick things off by making fire pits and garden planters. Using weather-resistant steel is a smart choice here because it offers durability and makes maintenance a breeze.
Plus, who doesn’t love a cozy fire pit on a chilly evening?
Next up, how about tackling some hose holders and yard tool racks? These are perfect for organizing your outdoor space and keeping everything neat and tidy.
While you’re at it, you’ll get to practice your frame welding and assembly skills.
These projects aren’t just functional; they also combine practical design with simple construction techniques.
It’s a great way to sharpen your skills while creating something useful for your garden!
For added durability and structural integrity, incorporating triangular gussets into your welded frames is highly recommended.
Outdoor welding projects like fire pits and garden planters offer practical opportunities to hone your cutting and welding skills while creating durable, weather-resistant structures.
When building these, focus on proper material selection such as mild steel or Corten for corrosion resistance. Here are key steps to guide you:
Hose holders and racks simplify garden maintenance by keeping hoses and tools organized and accessible.
When you weld a hose holder, focus on sturdy frame construction using square tubing or flat bar for durability and weather resistance.
Design the holder with curved arms or circular loops to cradle hoses without kinking.
For tool racks, incorporate hooks or brackets spaced evenly to support rakes, shovels, and other garden implements securely.
Use weld joints that guarantee rigidity under load, such as fillet welds at all contact points.
Prioritize corrosion-resistant materials or apply protective coatings to extend outdoor longevity.
These projects sharpen your skills in cutting, fitting, and welding consistent joints while producing practical storage solutions that streamline your garden workspace.
When organizing a welding workshop, building custom tools and storage solutions tailored to your workflow can markedly enhance efficiency and safety.
You can fabricate sturdy welding carts integrating mobility and shelving to keep equipment mobile and accessible. Tool racks allow you to organize hand tools, cables, and accessories systematically, reducing clutter.
Clamp holders and magnetic storage fixtures provide quick access to frequently used items, optimizing workflow. For gas-cylinder storage, build secure frames that firmly restrain bottles, ensuring safety and compliance.
Each of these projects sharpens your skills in cutting, welding, and assembly while addressing practical workshop needs.
Tackle basic automotive welding projects to build practical skills that apply to vehicle maintenance and customization.
Start by fabricating repair brackets, which are small but essential for reinforcing damaged mounts or panels.
Work on exhaust hangers and mounting tabs to practice precise welds on thin materials subject to heat and vibration.
Restoring car parts through welding helps you understand fitment and alignment, vital for safe vehicle operation.
Construct custom mounts from steel plate or tubing to create accessory supports or storage brackets tailored to your vehicle.
Focus on clean, consistent tack welds and secure full-penetration beads to guarantee durability.
These projects sharpen your ability to measure, cut, clamp, and weld accurately, preparing you for more complex automotive repairs or modifications with confidence and technical proficiency.
Repurposing scrap metal for welding crafts lets you transform leftover materials into functional or artistic projects while minimizing waste.
To do this safely and creatively, you need a systematic approach. First, thoroughly clean and inspect scrap pieces to remove rust, oil, and contaminants.
Second, sort metals by type and thickness to guarantee compatibility during welding. Third, use proper protective gear, such as welding gloves, helmet, and respirators, to guard against sparks and fumes.
Fourth, plan your design carefully, considering structural integrity and weld placement to avoid weak joints.
For advanced welding projects, you need more than just the basics.
You should wear a powered air-purifying respirator (PAPR) to protect against fumes and particulates.
Flame-resistant clothing and leather gloves prevent burns from sparks and spatter.
Invest in impact-resistant safety glasses under your helmet for extra eye protection.
Hearing protection is essential when working with loud grinders or cutting tools.
Don’t forget insulated boots to shield your feet from hot metal and electrical hazards.
To troubleshoot common welding machine malfunctions, first check all connections for tightness and corrosion.
Inspect cables and ground clamps for damage or wear. Verify power supply voltage matches machine specs.
Test the wire feed mechanism for jams or misalignment. Clean the contact tip and nozzle regularly.
If the machine overheats, allow it to cool and check ventilation. Consult the manual for error codes and reset procedures before seeking professional repair.
When you weld in extreme weather, think of it like a sailor bracing for a storm. Prepare thoroughly. Shield your weld with windbreaks to prevent contamination. Keep materials dry to avoid porosity.
In cold, preheat metals to reduce cracking. In heat, stay hydrated and adjust your technique to prevent warping. Use appropriate protective gear and maintain consistent amperage.
Monitor your machine closely to guarantee stable arc performance despite harsh conditions.
To set up a home welding studio on a budget, start by selecting a well-ventilated, dry space with ample lighting.
Invest in a reliable, entry-level welding machine and essential protective gear like gloves, helmet, and apron.
Use scrap metal for practice and build simple storage solutions to organize tools.
Make certain proper grounding and fire safety measures are in place.
Prioritize compact, multi-use equipment to maximize functionality without overspending.
Think of welding waste as sparks flying. If not controlled, they can ignite problems. You should separate metal scraps, used grinding disks, and slag for proper recycling.
Avoid tossing hazardous materials like paint, solvents, or contaminated rags in regular trash. Store waste securely to prevent environmental contamination.
Follow local regulations to dispose of toxic fumes and waste gases safely. Always wear protective gear to minimize exposure during cleanup and disposal.
You’ve mastered basic techniques and tackled beginner projects, yet the real skill shows when you transform scrap metal into sleek furniture or functional outdoor pieces.
While welding demands precision and safety, it also invites creative freedom, melding rigid metal with your unique vision.
By choosing the right materials and finishing methods, you turn raw steel into practical art.
Welding isn’t just a craft; it’s the perfect balance of technical discipline and inventive expression.