Phone:
(701)814-6992
Physical address:
6296 Donnelly Plaza
Ratkeville, Bahamas.
Phone:
(701)814-6992
Physical address:
6296 Donnelly Plaza
Ratkeville, Bahamas.
Yes, you can weld cast aluminum alloy, but it demands careful handling due to porosity, oxide layers, and thermal stresses.
Proper surface cleaning, precise fit-up, and thorough preheating between 212°F and 572°F reduce cracking and guarantee fusion.
Using TIG with AC current or a spool gun for MIG optimizes heat control and penetration.
Selecting matching filler material like 4043 or nickel alloys maintains mechanical integrity.
Controlled cooling and finishing preserve joint quality. Understanding these factors helps you achieve reliable cast alloy welds.
Although welding cast aluminum alloy is feasible, it presents unique challenges due to the material’s composition and structure.
Welding cast aluminum alloy is possible but demands careful attention to its unique material properties.
You must navigate its inherent porosity, high thermal conductivity, and susceptibility to cracking.
The alloy’s coarse grain structure and oxide layer impede weld penetration and fusion, demanding precise control of heat input.
You’ll also face difficulties managing thermal expansion and contraction, which increase residual stress and distortion risks.
Additionally, the presence of alloying elements like copper or silicon influences weldability and necessitates tailored parameters.
Without addressing these factors, you risk weld defects such as porosity, hot cracking, and incomplete fusion.
Understanding these complexities is essential before initiating welding, as they directly dictate your choice of techniques, filler materials, and process settings to achieve sound, reliable repairs.
For optimal results, using an AC/DC TIG welder with adjustable AC balance is highly recommended to break the oxide layer and ensure proper weld penetration.
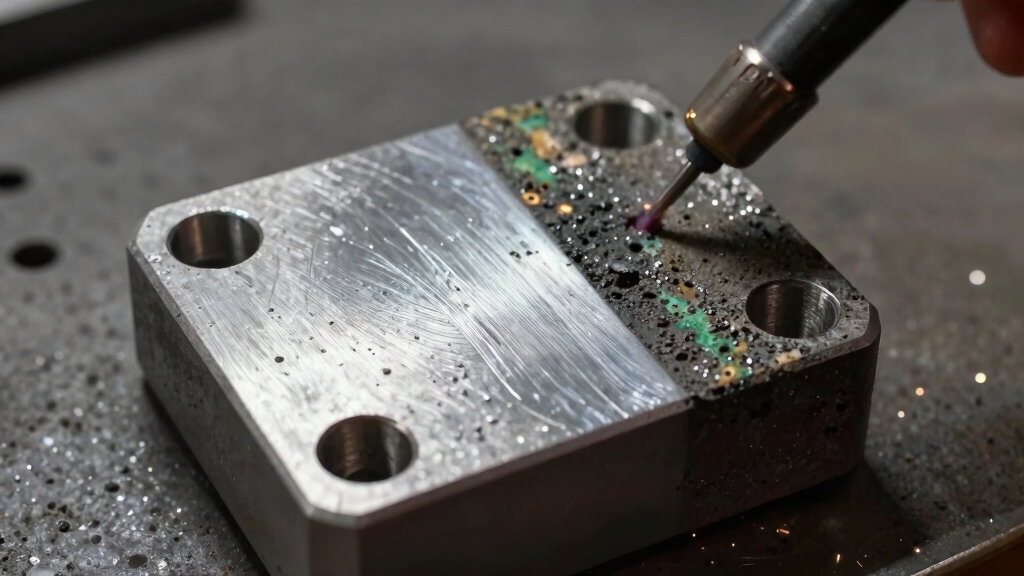
Welding cast aluminum demands meticulous preparation to overcome its inherent challenges like porosity and oxide layers.
First, remove all defects and oxide films by thoroughly brushing or using a solvent to secure a clean surface.
Next, create a groove or bevel about 1/8 inch deep on each side of the repair area. For thicker sections, cut a deep V-groove to facilitate heat penetration.
Align the pieces precisely, like fitting a puzzle, to guarantee a tight joint and prevent gaps.
Clean the weld area again to eliminate contaminants that can cause porosity or weak welds.
Proper preparation secures uniform fusion, minimizes cracking risks, and establishes a solid foundation for effective welding of cast aluminum alloys.
It is essential to clean aluminum immediately before welding and weld promptly to prevent rapid re-oxidation and contamination.
When you preheat cast aluminum before welding, you markedly reduce thermal stresses that cause cracking and distortion.
Preheating to 212–572°F (100–300°C) raises the base metal’s temperature, minimizing temperature gradients between the weld zone and surrounding material.
This controlled heat input lowers the risk of thermal shock and helps prevent hot cracking, especially in alloys with copper or those in T6/T7 temper conditions.
You’ll find that annealing these castings before welding further enhances ductility and reduces residual stress.
For extensive repairs or 200 series alloys, preheating is essential to guarantee sound fusion and reduce porosity.
By stabilizing the metal’s microstructure and slowing cooling rates, preheating promotes better weld bead integrity and mechanical properties.
Ultimately, this process improves the overall quality and longevity of your cast aluminum welds.
Additionally, applying slow, insulated cooling after welding helps prevent thermal shock and cracking by managing residual stresses.
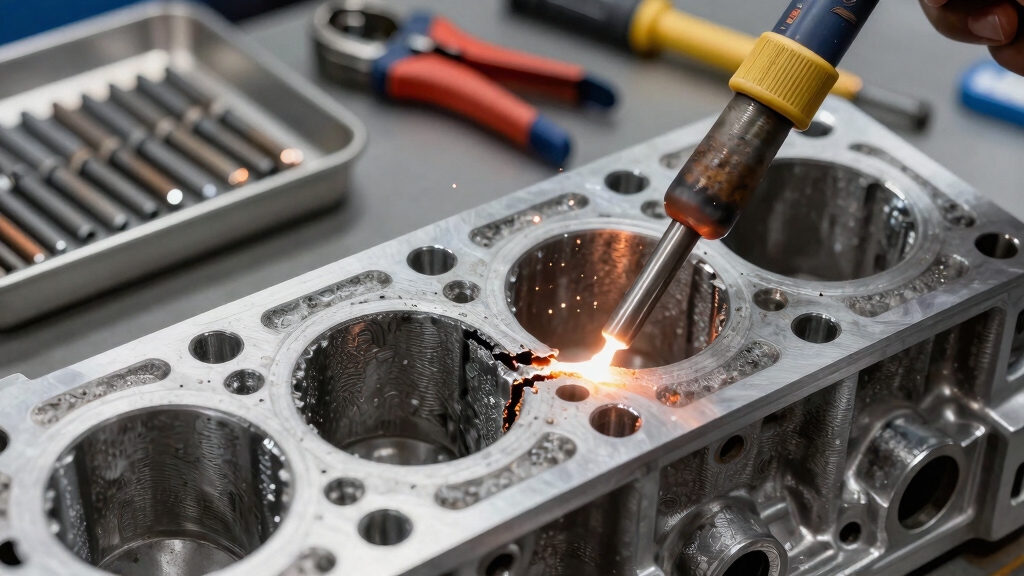
To achieve ideal results on cast aluminum, you need to select welding processes that balance heat input control with penetration precision.
TIG welding (GTAW) is the most common choice, offering excellent control using AC current and 100% argon shielding.
MIG welding (GMAW) speeds up the process but requires a spool gun for wire feeding and careful control to avoid defects.
For highly crack-sensitive castings, laser beam and electron beam welding provide superior heat-affected zone control, though they demand specialized equipment.
Laser welding, especially with pulsed laser modes, can minimize thermal distortion and improve weld quality in delicate cast alloy parts.
| Welding Process | Key Advantage |
|---|---|
| TIG (GTAW) | Precise heat control |
| MIG (GMAW) | Faster deposition rates |
| Laser/Electron Beam | Minimal heat distortion |
Choosing the best process depends on alloy composition, casting thickness, and repair complexity.
Selecting the appropriate filler material directly influences the strength and integrity of your weld on cast aluminum. You need to match the weld rod chemistry closely to the base casting to maintain mechanical properties and avoid cracking.
The 4043 filler is the primary choice due to its high silica content, which enhances fluidity and reduces porosity in the weld pool. Alternatively, 5356 filler can be used but is secondary because of its higher strength and lower ductility, which may not suit all alloys.
Avoid general-purpose rods, as they often degrade weld quality. For precision work, cutting filler rods in half lets you control deposition more effectively. This ensures minimal thermal distortion and consistent fusion with the cast base metal.
When MIG welding cast aluminum, using a spool gun with pure argon shielding gas can significantly improve wire feeding and weld quality.
If you want to achieve strong cast aluminum repairs, it all begins with some careful surface preparation. You really need to remove any oxides and create the right bevels to ensure good weld penetration. Trust me, this step is crucial!
Next up, preheating your workpiece is key. Aim for a temperature range between 212 and 572°F. This helps minimize cracking, especially if you’re working with alloys that contain copper or are in tempered conditions. It may seem like an extra step, but it makes a big difference!
Finally, don’t overlook the importance of selecting the right filler materials. Choosing ones that match the casting chemistry is essential for maintaining mechanical integrity and ensuring your welds are durable. So, keep these tips in mind, and you’ll be on your way to making solid repairs!
Additionally, employing nickel alloy fillers can significantly reduce cracking risks by accommodating differences in thermal expansion during welding.
Start by thoroughly removing all defects and oxide layers from the weld area using a wire brush or appropriate solvent. This step guarantees a clean surface free from contaminants that could compromise weld integrity.
Next, create a groove or bevel on each side of the repair area, roughly 1/8 inch deep, to facilitate proper weld penetration and fusion. For thicker castings, cut a deep V-groove to promote heat distribution through the material’s cross-section.
After machining, clean the weld area meticulously to eliminate residual particles and oils. Finally, align the pieces precisely like a puzzle, ensuring tight fit-up to minimize gaps and distortion during welding.
Proper surface preparation lays the foundation for strong, defect-free cast aluminum repairs. Managing heat input carefully during welding is crucial to prevent cracking and ensure a durable bond.
Although preheating might seem straightforward, maintaining ideal temperatures between 212°F and 572°F (100°C to 300°C) critically enhances weld quality and reduces cracking risks in cast aluminum.
You should adjust preheat within this range based on alloy composition. Higher temperatures near 572°F suit alloys with elevated copper content.
For T6 or T7 tempered castings, annealing before welding is essential to minimize thermal stress and prevent cracks.
Preheat the casting evenly to guarantee consistent thermal expansion and reduce residual stress concentrations.
Use controlled heating methods for uniformity and monitor temperature closely to avoid overheating, which can alter microstructure adversely.
Proper preheating improves fusion, reduces porosity, and extends weld bead integrity. This enables you to achieve strong, durable repairs on cast aluminum components.
Additionally, implementing controlled cooling post-weld helps prevent thermal shock and cracking by allowing uniform contraction of the material.
Selecting the right filler material directly impacts the strength and integrity of your cast aluminum welds. You should match the weld rod chemistry closely to the base casting or use an approved substitute to maintain mechanical properties.
For most cast aluminum repairs, 4043 filler rod is the primary choice due to its high silica content. This enhances fluidity and reduces cracking risk. Alternatively, 5356 filler can be used but is secondary. Avoid general-purpose rods, as they compromise weld quality.
For precision work, cutting filler rods in half helps control deposition. By choosing the correct filler alloy, you guarantee compatibility with the casting’s thermal expansion and mechanical characteristics. This results in a durable, crack-resistant weld that preserves the component’s performance.
Proper surface cleaning and removal of oxidation are essential to achieve a strong weld and prevent porosity and cracking.
After you finish welding, take some time to dress the weld contours carefully. You want to make sure they match the original part shape and blend in smoothly with the surface finish. It’s all about that seamless look!
As you’re working, keep an eye out for any visible color mismatches or irregularities. These could signal defects, and we definitely want to avoid that.
Once you’re satisfied with the appearance, it’s time for a thorough inspection. Check for proper fit, structural integrity, and surface quality before you wrap up the repair. It’s the final touch that ensures everything is just right!
Additionally, applying stress-relief annealing at 150–200°C can help ease residual stresses and prevent cracking in the welded joint.
When you complete the welding process, dressing the weld contours guarantees the repair integrates seamlessly with the original casting surface. You’ll need to carefully grind or file the weld bead to restore the original geometry without overcutting, which can weaken the repair.
Maintaining consistent contour ensures stress distribution remains uniform, preventing future cracking. Use proper tools and inspect frequently to avoid removing excess material.
| Task | Key Consideration |
|---|---|
| Grinding weld bead | Match original contour precisely |
| Filing edges | Remove sharp changeovers |
| Inspection | Check for uniform surface profile |
Blending the surface finish guarantees your weld repair shifts smoothly into the original casting without visible seams or texture differences.
After dressing the weld contour, use progressively finer abrasives to feather the weld bead edges into the base metal.
Employ a combination of grinding and sanding tools, assuring you maintain the part’s original geometry.
Use consistent pressure and motion to avoid introducing new distortions or heat-affected zones.
Check for color uniformity and surface texture alignment as you proceed.
Proper blending not only enhances aesthetics but also prevents stress risers that could compromise structural integrity.
Avoid aggressive material removal that might expose subsurface flaws.
This meticulous approach assures your repair is both visually seamless and mechanically sound, preparing the casting for subsequent final inspection and service.
Consistently conducting a thorough final inspection guarantees your weld repair meets both structural and aesthetic standards.
Begin by visually examining the weld for uniformity, absence of cracks, porosity, or inclusions. Use magnification if necessary to detect fine surface imperfections.
Verify that the weld contour blends seamlessly with the base metal, assuring no excessive reinforcement or undercutting. Conduct dimensional checks to confirm proper alignment and fit, referencing original specifications.
Employ non-destructive testing methods like dye penetrant or ultrasonic inspection to identify subsurface defects. Confirm hardness and mechanical properties meet required standards, especially for critical load-bearing components.
Document all findings meticulously. This systematic inspection assures your cast alloy weld is reliable, durable, and visually consistent, preventing premature failure and guaranteeing performance in service.
Yes, welding cast aluminum can affect its corrosion resistance.
When you weld, you alter the microstructure and heat treat condition, potentially reducing corrosion resistance.
This is especially true if the filler metal chemistry doesn’t match the base alloy.
You’ll need to clean thoroughly, control heat input, and use appropriate filler materials like 4043 or 5356 to maintain corrosion protection.
Post-weld treatments, such as dressing and inspection, also help guarantee durability against corrosion.
Imagine you’re welding cast aluminum on an aircraft component. Your safety gear is vital.
You need a high-quality welding helmet with an auto-darkening filter to protect your eyes from intense UV and IR radiation.
Wear flame-resistant gloves and a long-sleeve jacket to shield your skin from sparks and molten metal.
Respiratory protection is essential since aluminum fumes can be harmful.
Don’t forget hearing protection in noisy environments. Proper gear guarantees safe, effective welding.
You should let cast aluminum cool slowly for at least one to two hours after welding to minimize thermal stresses and reduce cracking risk.
Avoid rapid cooling, which can cause warping or structural weakness. If possible, use an insulated blanket or controlled furnace cooling to maintain a gradual temperature drop.
Proper cooling guarantees the weld and surrounding material stabilize, preserving mechanical properties and enhancing overall durability of the repair.
No, post-weld heat treatment isn’t necessary for all cast aluminum alloys.
You’ll find it essential mainly for heat-treatable alloys like T6 or T7 temper, which need annealing to relieve stresses and prevent cracking.
For non-heat-treatable alloys or minor repairs, it’s often unnecessary.
Always evaluate the alloy type and repair extent before deciding. Proper preheating and welding technique often reduce the need for post-weld treatment in many cases.
You can’t expect welding repair to fully restore the original tensile strength of cast aluminum. It’s like trying to patch a cracked egg without some weakness.
Welding introduces heat-affected zones and potential microstructural changes that reduce strength. However, with proper preheating, filler selection, and technique, you can regain a significant portion of strength—often up to 80-90%.
Post-weld treatments and careful inspection help optimize performance but won’t perfectly match the original cast alloy’s tensile properties.
You can weld cast aluminum alloy, but it demands careful preparation and technique. Did you know improper welding causes up to 60% of cast aluminum repairs to fail prematurely?
Preheating and choosing the right filler material greatly improve weld integrity. By mastering these steps and selecting suitable processes like TIG or MIG, you’ll achieve strong, durable repairs.
Precision and attention to detail aren’t just recommended; they’re essential for success in welding cast aluminum.