Phone:
(701)814-6992
Physical address:
6296 Donnelly Plaza
Ratkeville, Bahamas.

Phone:
(701)814-6992
Physical address:
6296 Donnelly Plaza
Ratkeville, Bahamas.

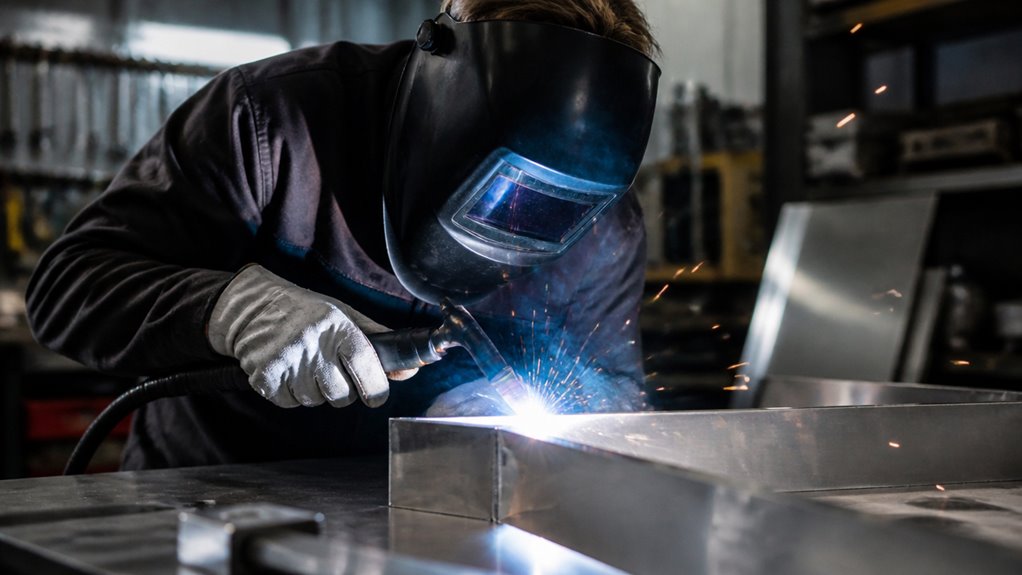
Yes, you can weld aluminium with a MIG welder if it supports aluminium wire and you use compatible feeding components and 100% argon shielding gas.
Fit a PTFE liner, U-groove drive rolls, and a spool gun or push-pull system to reduce feeding problems.
MIG generally suits aluminium around 14 gauge and thicker; thin sheet can burn through or distort.
Clean the metal, check your machine’s capacity, and test settings on matching scrap. The setup and technique details matter.
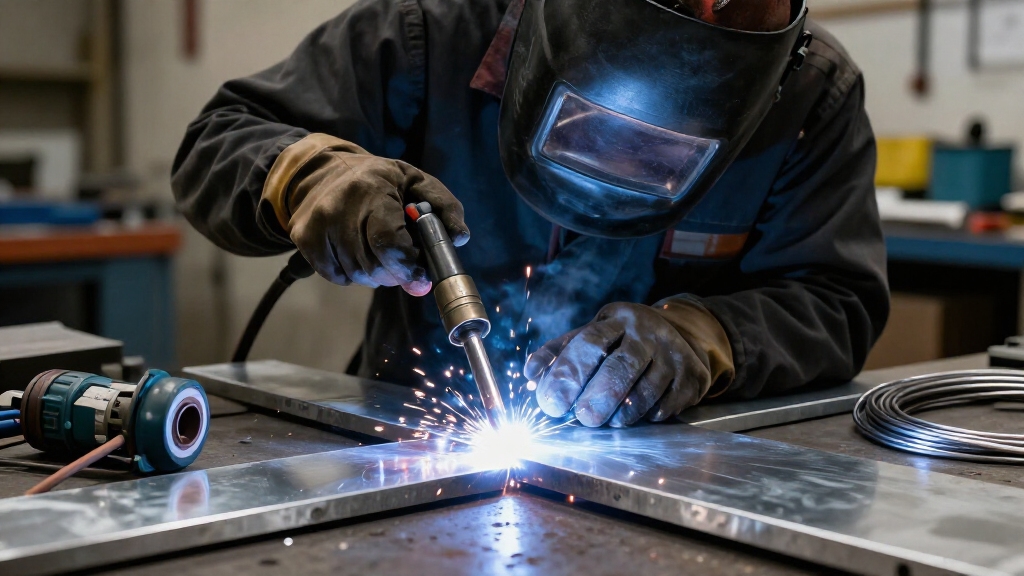
Yes, you can MIG weld aluminium, and it’s a common, productive method for joining many aluminium alloys. You’ll need a machine configured for aluminium, not simply your standard steel setup.
MIG welding is a productive way to join many aluminium alloys, but it requires equipment configured for aluminium.
Use aluminium filler wire matched to the base alloy; ER4043 and ER5356 are common choices. Pure argon provides the usual shielding, while argon-helium blends suit some applications. Avoid gases containing carbon dioxide or significant oxygen, which can contaminate the weld.
Because soft wire can buckle in a long feed path, use a spool gun, push-pull system, or another short-path feeder. Fit compatible liners, U-groove drive rolls, and appropriately sized contact tips, then keep feed tension light.
Clean the joint, remove oxide with a dedicated stainless-steel brush, and maintain steady gas coverage. Follow equipment guidance and wear suitable eye, skin, and respiratory protection. A 10–15° push angle helps maintain shielding and produce a smoother bead.
When it comes to MIG welding aluminum, you’ll want to stick to thicknesses around 14 gauge and thicker. This range allows you to maintain a stable arc and really control the heat input.
Now, if you’re working with thinner sheets, things can get a bit tricky. They heat up quickly and can easily burn through. In those cases, you’ll need to be precise with your settings. You might even want to consider using pulsed MIG or AC TIG for better control.
Oh, and don’t forget about your equipment! Make sure you’ve got a suitable aluminum wire-feed setup and check your machine’s capacity before diving into the welding process. That way, you can avoid any surprises down the line! A spool gun can help feed soft aluminum wire smoothly.
For most setups, MIG welding works best on aluminium about 14 gauge and thicker, where the wire and heat are easier to control.
You can use MIG on heavier plate, too, provided your machine supplies enough output and you select suitable wire, joint preparation, and parameters.
Match filler alloy to the base metal and use 100% argon shielding gas with an aluminium-ready feed system.
For thicker sections, prepare the joint to support sound fusion; a bevel or multiple passes may be needed, depending on the joint and material.
Confirm the machine’s duty cycle and rated capacity before welding, and follow its settings guidance.
Clean the aluminium and remove oxide with a dedicated stainless steel brush.
Wear appropriate eye, hand, and body protection. Provide effective ventilation while welding.
Use a push angle of 10–15 degrees to help maintain shielding gas coverage.
Because aluminium conducts heat quickly and melts at a relatively low temperature, thin sheet can burn through before you establish a stable weld.
You’ll generally get more predictable results on 14-gauge material and thicker. Below that, use pulsed MIG or consider AC TIG, especially for delicate sheet.
| Thickness | MIG suitability | Main concern |
|---|---|---|
| 14 gauge and thicker | Generally suitable | Control heat input |
| Thinner than 14 gauge | Challenging | Burn-through |
| Very thin sheet | Specialized process preferred | Distortion |
For thinner stock, use a spool gun or push-pull feeder, aluminium-compatible liner, U-groove rolls, and light feed tension.
Set up with pure argon and suitable aluminium filler wire; don’t use flux-core wire. Clean oil and oxide, secure the work, and practise on scrap of matching thickness. A push angle of 10–15° helps maintain shielding gas coverage.
Follow your machine’s settings and wear appropriate eye, hand, and respiratory protection. If the arc won’t remain stable, stop and adjust rather than forcing the weld.
Before welding aluminium, configure your machine to feed its soft wire smoothly and maintain stable shielding. Fit a PTFE liner, U-groove drive rolls, and an aluminium-compatible contact tip with a slightly larger bore than a steel tip.
> Set up your MIG welder for smooth aluminium wire feeding with a PTFE liner, U-groove rolls, and a suitably sized contact tip.
Set drive-roll pressure just high enough to feed wire; excess tension can crush it and cause bird-nesting. Choose aluminium filler wire, such as ER4043 or ER5356, matched to your base alloy.
Connect a cylinder of 100% argon, check for leaks, and set flow near 12–20 L/min, adjusting for your setup and conditions. Select spray transfer where material thickness and machine capacity allow.
Then tune voltage and wire-feed speed to the wire size and manufacturer’s chart. Pulsed MIG can help reduce spatter and heat buildup when welding aluminium. Wear appropriate eye, hand, and respiratory protection, and confirm ventilation before striking an arc.
When you’re deciding between a spool gun and a push-pull system, think about your specific needs. A spool gun is perfect if you’re working with soft aluminum wire. It keeps the wire path short, which helps it feed reliably and minimizes those pesky bird-nests.
On the other hand, if you need a bit more reach and flexibility, a push-pull system is the way to go. It can handle feeding wire over longer distances, which can be super helpful in various situations.
Just remember to match whichever setup you choose to your wire size. And don’t forget to check the manufacturer’s feed and safety instructions before you dive into welding! For MIG welding, use 100% argon to shield the weld and help produce clean results.
A spool gun shortens the wire-feed path by placing the aluminium wire spool at the torch. This helps prevent the soft wire from buckling or bird-nesting.
You’ll benefit most when you weld short runs, make repairs, or move between work areas. The gun feeds wire directly from its compact spool.
Its dedicated aluminium-compatible liner, contact tip, and drive rolls help maintain smooth feeding. Use light feed tension to avoid crushing the wire.
Check that your welder supports the gun and that its controls match your wire diameter and alloy.
Keep the torch cable as straight as practical and inspect the feed path before welding.
Wear appropriate eye, hand, and body protection. Confirm argon shielding gas flows consistently to protect the weld pool from contamination. Clean, dry surfaces also help reduce hydrogen porosity in aluminium welds.
When you need to feed aluminium wire through a longer torch cable, a push-pull system uses motorized drive rolls at both the feeder and gun to keep the soft wire moving steadily.
You can reach larger workpieces without carrying a spool gun. The synchronized rolls reduce buckling and bird-nesting.
Check compatibility among the feeder, gun, liner, drive rolls, and wire before welding. Use aluminium-rated components, U-groove rolls, a suitable liner, and light feed tension.
Use 100% argon shielding gas for clean, stable aluminium welds.
Inspect equipment and wear appropriate protective gear.
Because filler alloy affects weld strength, cracking resistance, and wire feeding, match the aluminium MIG wire as closely as practical to the base alloy and application.
Check the alloy designation and service requirements before you choose a spool. Consult the material specification or a qualified welding engineer when compatibility is uncertain.
ER4043 suits many common aluminium alloys and often offers good crack resistance and fluidity.
ER5356 provides higher tensile strength in suitable applications, and its stiffer wire can feed more reliably through some setups.
Don’t substitute one for the other without confirming that the base alloy, joint design, and service conditions allow it.
Select the correct wire diameter for your feeder, drive rolls, liner, and contact tip.
Use aluminium-compatible consumables and light feed tension to limit wire deformation and bird-nesting.
Clean off the oxide layer before welding, since aluminium oxide melts at a much higher temperature than the base metal.
Follow the filler manufacturer’s recommendations.
For aluminium MIG welding, use 100% argon to shield the weld pool from air and reduce oxidation. Argon’s inert properties help protect the hot metal from atmospheric contamination.
Set the flow to suit your torch, transfer mode, and workspace; a typical starting range is 12–20 L/min. Too little flow can leave the pool exposed, while excessive flow may create turbulence and draw air into the shielding zone.
Start at 12–20 L/min, adjusting for your torch and workspace; too little or too much flow can compromise shielding.
Check your machine and torch guidance, and maintain steady coverage. Argon also provides arc stability for consistent metal transfer.
Avoid CO₂ or oxygen-bearing mixes; they can oxidize the weld pool.
Before striking an arc, remove oil and other contaminants from the aluminium with acetone. Then, use a stainless steel brush reserved for aluminium to remove the oxide layer.
Work in a ventilated area and keep acetone away from sparks. Let the surface dry completely. Don’t use a brush that’s touched steel; embedded particles can contaminate the joint. Prepare only the area you’ll weld and avoid touching it afterward.
| Step | Action | Check |
|---|---|---|
| Degrease | Wipe with acetone | Surface is dry |
| Remove oxide | Brush with dedicated stainless steel | No visible film |
| Fit joint | Align and secure parts | Edges meet cleanly |
Clean the filler wire and remove burrs or sharp edges. If preparation is delayed, protect the cleaned aluminium from dust and moisture. Inspect it again before welding. Proper preparation supports sound fusion and reduces contamination.
Once the aluminium is clean and fitted, use spray transfer and a steady travel speed to maintain a stable arc and achieve sound fusion. Set your machine for aluminium wire and pure argon, then confirm the arc transfers fine droplets continuously.
Wear a welding helmet, gloves, and protective clothing; spray transfer produces intense heat and bright light.
If the wire starts bird-nesting or the weld shows poor fusion, stop and correct the cause rather than continuing. Switch off the power before inspecting the feed path.
Check that the aluminium wire runs through a short, clean PTFE liner and U-groove rolls. Set roll pressure just high enough to feed without crushing the wire. Use aluminium-compatible contact tips with the correct bore and check for wear or blockage.
Keep the spool aligned and the torch cable as straight as practical. For weak fusion, verify your joint fit-up, wire-feed speed, voltage, and travel speed against the machine’s aluminium settings.
Clean oil with acetone, then remove oxide using a dedicated stainless steel brush. Confirm steady pure-argon coverage and sound work connections.
Test on scrap of the same alloy and thickness before restarting the joint.
When it comes to welding very thin aluminum, MIG mightn’t be your best friend. The heat input from MIG can easily lead to burn-through or distortion.
Sure, pulsed MIG could help a bit, but you’ll need to have precise control over the settings.
If you’re working with thin sections or aiming for precision, consider switching to AC TIG. It offers finer heat control, which is often better suited for delicate joints.
Just remember to stick to the process and equipment limits—this is key to protecting both the quality of your weld and your safety.
Although MIG can join aluminium effectively, very thin sheet, especially material lighter than about 14 gauge, can burn through or warp. Aluminium conducts heat rapidly and melts at a relatively low temperature.
If you’re working with thinner stock, assess the risk before striking an arc. A brief, concentrated heat input can open a hole before you can control the puddle.
For very thin aluminium, MIG may not provide enough control. Choose a suitable process and protect yourself with proper eye, hand, and respiratory protection.
For thin, intricate, or heat-sensitive aluminium parts, TIG often gives you more precise control than MIG. You regulate heat with the pedal or torch control, direct the arc exactly where you need it, and add filler separately.
That control helps you manage small joints, tight corners, and cosmetic seams.
Material that could burn through under MIG’s higher deposition rate is also easier to handle. Choose AC TIG for aluminium; alternating current helps break up the oxide layer while welding.
Clean the joint first, removing oil and oxide with suitable, dedicated tools.
Match filler alloy to the base metal, and use appropriate shielding gas and settings. TIG is slower and demands more coordination, so MIG may remain better for thicker production work.
Wear eye, hand, and body protection, and provide effective ventilation.
Check equipment and gas connections before striking an arc.
Yes, you can MIG weld aluminium outdoors, but wind can disperse argon shielding gas and contaminate the weld.
Shield the work area from drafts without creating an unsafe enclosure, and verify consistent gas coverage before welding.
Use pure argon, aluminium-compatible wire-feeding equipment, and clean, oxide-free metal.
Wear appropriate eye, skin, and respiratory protection, and keep flammable materials clear.
If you can’t control wind, move indoors or use a suitable windscreen.
Yes, aluminium MIG welding can be safe for beginners when you train, prepare, and protect yourself. Safety is your first weld.
Wear a welding helmet, flame-resistant clothing, leather gloves, and safety boots.
Maintain strong ventilation and keep flammable materials away.
Use 100% argon, aluminium-compatible feeding equipment, and correct settings.
Clean the metal carefully, secure the workpiece, and follow your machine’s instructions.
Practise on scrap and seek supervision if you’re inexperienced.
For aluminium MIG welding, you’ll need a correctly shaded welding helmet, safety glasses with side shields, flame-resistant clothing, leather welding gloves, and closed-toe leather boots.
Cover exposed skin to protect against UV radiation, sparks, and hot metal. Avoid synthetic fabrics, which can melt.
Use hearing protection when noise levels require it. Provide adequate ventilation or local exhaust to control welding fumes.
Wear a suitable respirator if exposure assessments indicate one’s necessary. Follow your workplace’s PPE requirements.
Yes, you can grind or polish aluminium MIG welds afterward. Let the workpiece cool, then use a clean abrasive or dedicated aluminum-rated grinding disc.
Steel-contaminated tools can embed particles and promote corrosion. Remove only the material you need, since excessive grinding can thin the joint or hide defects.
Wear eye, face, hearing, and respiratory protection. Secure the work and avoid overheating aluminum, which can soften or distort it. Use suitable dust extraction.
A sound-looking aluminium MIG weld can still hide a failure, so inspect it before you trust it.
Let it cool, then clean it and examine the full length under bright light.
Look for cracks, porosity, undercut, overlap, incomplete fusion, burn-through, and uneven bead shape.
Check both sides when accessible and compare dimensions with the job’s requirements.
Don’t grind away suspected defects; mark them, assess the cause, and repair using an approved procedure.
Use suitable eye protection.
Yes, you can MIG weld aluminium, provided your welder, wire-feed setup, filler alloy, and technique suit the job.
Clean the metal, confirm your settings, and practice on scrap of similar thickness before welding your part.
If you’ve just found the right spool gun for your machine, that’s no coincidence. Reliable wire feeding is often the turning point.
Wear suitable eye, skin, and respiratory protection, and work with effective ventilation.
For thin, critical, or awkward joints, consider TIG or professional help.