Phone:
(701)814-6992
Physical address:
6296 Donnelly Plaza
Ratkeville, Bahamas.

Phone:
(701)814-6992
Physical address:
6296 Donnelly Plaza
Ratkeville, Bahamas.

When welding plastics, match your rod material exactly to the base plastic type for strong, compatible joints.
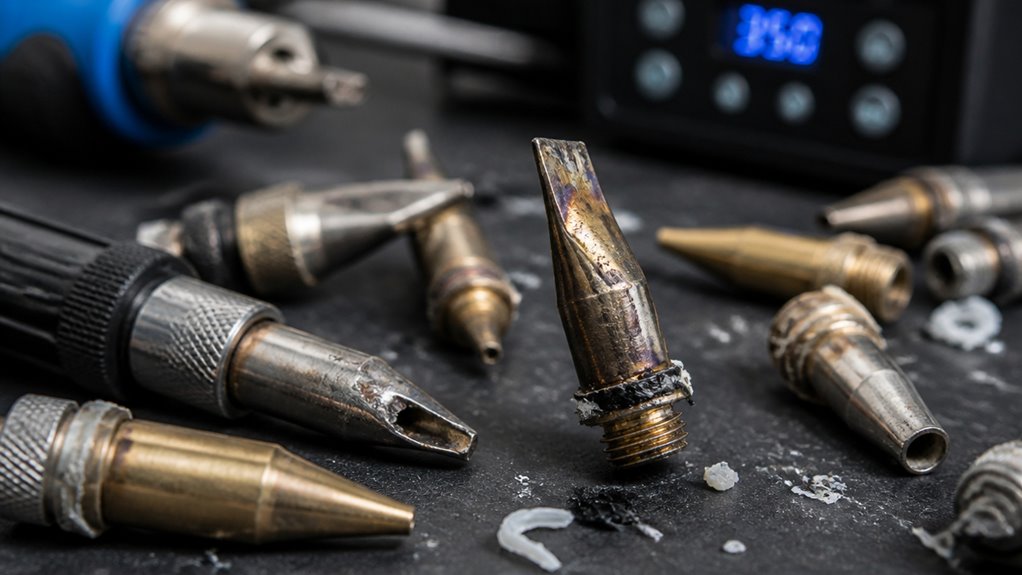
Use a welding tip sized to the rod diameter. Smaller tips work for thin materials and larger tips for thick to guarantee effective heat flow and avoid burn-through.
Maintain a consistent gun angle and steady rod feed at recommended temperatures for your plastic type.
Proper surface cleaning and preparation prevent weak welds.
Keep these essentials in mind, and you’ll be ready to master advanced techniques and troubleshooting for flawless results.
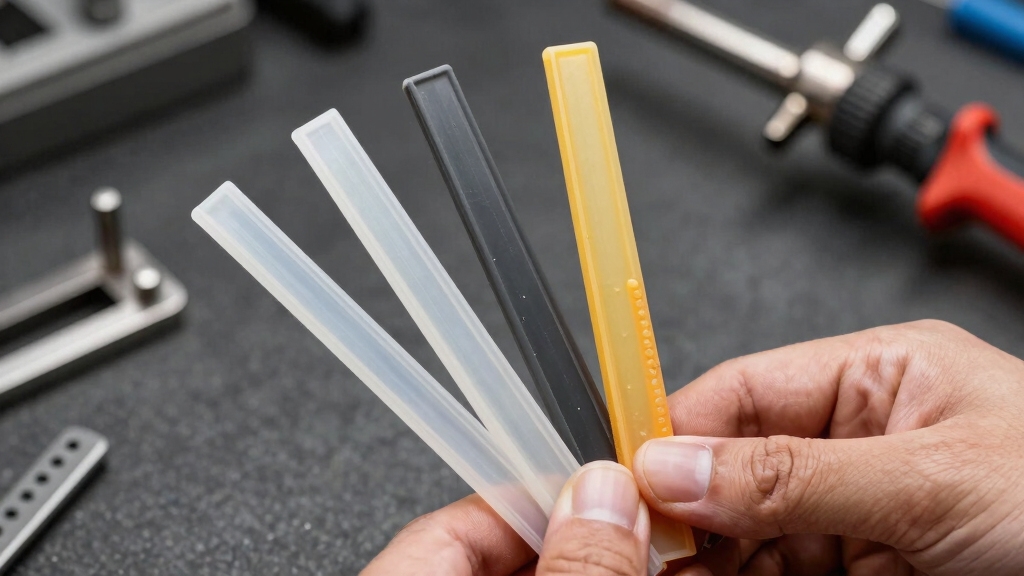
How do you guarantee a strong, lasting plastic weld? You start by matching the plastic type to the correct welding rod. Only plastics of the same polymer family will fuse effectively.
To ensure a durable plastic weld, always match the plastic type precisely to the correct welding rod.
For example, polypropylene requires a polypropylene rod, while polyethylene demands a polyethylene rod. Using a mismatched rod compromises weld strength and durability.
Make certain your welding rod matches the exact material of the base plastic to maintain chemical compatibility. Different plastics have specific temperature requirements, but you’ll set those later.
This precise material matching eliminates weak joints and potential failures. Before welding, verify the base plastic’s type, then select the corresponding rod to secure ideal fusion and mechanical integrity in your repair.
This step forms the foundation for a reliable, high-quality plastic weld. Additionally, precise thermal control during welding is essential to prevent warping, distortion, and weak joints.
Setting the correct temperature is essential to achieving a strong, durable plastic weld. Too high, and you risk burning the plastic; too low, and the weld won’t fuse properly. To set the right temperature, consider the plastic type and its specific requirements.
Keep these key points in mind:
Polypropylene and polyurethane need about 300 °C (572 °F) for peak welding. PVC requires around 275 °C (527 °F) to avoid surface damage.
Polyethylene welds best near 265 °C (509 °F) but can vary between 220 °C and 280 °C. ABS demands a higher range between 270 °C and 310 °C.
Use a hot air fan welder for precise temperature control and consistent heat application. Adjust your equipment accordingly to prevent cold welds or material degradation.
Proper surface preparation, including cleaning and degreasing, is also critical to ensure weld quality and prevent contamination.
Selecting the right plastic welding tip markedly influences the quality and durability of your welds. Choose a tip that matches your project’s plastic type and thickness to guarantee proper heat distribution.
Round tips are ideal for permanent welds, providing consistent fusion without overheating. For thin materials, use smaller diameter tips to avoid burning; thicker plastics benefit from larger tips that deliver sufficient heat.
Match the tip size to the welding rod diameter for efficient material flow. Also, consider the tip’s compatibility with your welding gun model for peak airflow. Using the correct tip avoids cold welds and reduces rework.
Ultimately, precise tip selection optimizes heat control, weld strength, and appearance, aligning with the specific demands of polyethylene, PVC, or ABS materials. For professional results, understanding the importance of precise amperage control can enhance welding quality and durability.
After choosing the appropriate welding tip, focus on preparing the plastic surfaces to guarantee a strong, reliable bond. Proper surface preparation removes contaminants that could weaken the weld or cause defects.
Selecting the right welding tip and prepping surfaces is key to a strong, defect-free plastic weld.
Start by thoroughly cleaning the area to secure peak adhesion and fusion. Scrub the plastic with a sponge soaked in warm water to remove loose debris. Use mild dish soap or detergent if dirt persists after initial washing.
Rinse thoroughly with warm water to eliminate soap residue. Dry the surface completely with a clean, lint-free cloth to avoid moisture interference. Wipe the joint area with isopropyl alcohol (IPA) to remove grease and confirm a contaminant-free surface.
This meticulous cleaning process guarantees you achieve a consistent, durable weld every time. For optimal bond strength, consider mechanical abrasion to increase surface roughness before welding.
When you start welding, hold the welding gun downward at a 45-degree angle as you feed the rod into the speed nozzle with your free hand.
Maintain a steady motion, moving the tip slowly along the joint to guarantee even heat distribution.
For polyethylene and PVC, position the rod at a 90-degree angle directly above the weld seam to promote peak fusion.
Apply heat simultaneously to the rod end and base seam until both become tacky, then press down gently to bond.
Keep a consistent welding speed, ideally between 4 to 6 inches per minute, to avoid overheating or cold welds.
These precise angles and feeding techniques guarantee strong, uniform welds, preventing common issues like warping or weak joints.
It is also important to maintain a neutral flame during welding to ensure optimal heat control and weld quality.
To ensure you get those strong joints, it’s really important to cut the welding rod at the right angles. Usually, you’ll want to start with a 60° angle and finish with a 30° angle. It might seem a bit technical, but it makes a big difference in the weld quality!
Also, make sure to match the rod diameter closely with the thickness of the base material. This helps achieve the best fusion and saves you some material, too.
And don’t forget about rod feeding techniques! Keeping a 45° angle while you work and maintaining a steady speed can really help you produce consistent welds. Trust me, these little details can take your welding to the next level!
Selecting the correct tip size is equally important to maintain stable wire feed and ensure consistent welding performance.
Although cutting the welding rod may seem straightforward, using the correct angles is essential for guaranteeing strong, clean joints. Properly angled cuts help you control the rod’s melting behavior and fusion with the base material, preventing weak spots or excess buildup.
When preparing your rod, keep these key points in mind: Cut the rod end at a 60° angle before starting the weld to promote smooth rod feeding and better heat transfer.
Use a 30° angle when terminating the weld to achieve a clean, neat finish. For base materials thicker than 3/16”, consider multiple rod diameters to fill the joint effectively.
Loop the polyethylene rod’s upper part away from the weld direction at a 45° feeding angle. Always use sharp cutting tools to guarantee precise, consistent angles and avoid rod deformation.
Ensure surfaces are properly cleaned and prepared to maximize bond strength and prevent weak joints.
Choose a welding rod diameter that closely matches the thickness of your base material to guarantee a strong, economical joint.
Using a rod too large wastes material and risks overheating. A rod too small may fail to fill the joint adequately, weakening the weld.
For base materials thicker than 3/16”, consider layering multiple rods of appropriate diameters to ensure complete fusion and structural integrity.
Always select a rod made from the exact plastic type to maintain compatibility and peak bonding. Proper diameter matching also improves heat distribution, preventing burn-through or cold welds.
Additionally, ensuring the surface is properly prepared by cleaning and roughening enhances the adhesion and durability of the weld.
Master cutting your welding rods at the proper angles to enhance joint strength and guarantee consistent fusion. Proper rod feeding is vital for effective plastic welding.
Cut the rod end at a 60° angle before starting to confirm smooth material flow. When finishing the weld, cut at a 30° angle to create a clean, strong termination.
Match the rod diameter to the base material thickness for peak economy and strength. For thicker plastics over 3/16”, use multiple rods to fill the joint fully.
Cut rod start ends at 60° for better fusion. Finish welds with a 30° cut for clean termination. Match rod diameter to base thickness.
Use multiple rods for joints thicker than 3/16”. Feed rods at a 45° angle away from weld direction for polyethylene.
These techniques confirm strong, consistent joints every time. Always maintain a steady travel speed to produce a uniform weld bead and avoid weak spots.
Adjusting the welding rod size to match the thickness of the base material guarantees a strong, efficient weld without wasting filler material.
You should select a rod diameter close to the base material’s thickness to optimize fusion and filler use.
For materials thicker than 3/16”, employ multiple rod diameters to adequately fill the joint, ensuring structural integrity.
Before welding, cut the rod end at a 60° angle to facilitate smooth feeding and proper heat transfer.
During the weld, feed the rod steadily while maintaining appropriate angles and speed.
Using a properly sized rod reduces overheating risks, prevents weak welds, and minimizes excess buildup.
This technique increases weld quality and economic efficiency, essential for durable plastic repairs.
Ensure proper welding technique by maintaining a consistent gun angle to achieve optimal heat distribution and bead formation.
When you’re welding plastics, it’s super important to work in a well-ventilated area. This helps keep those fumes in check. Trust me, your lungs will thank you!
And don’t forget about your welding gun. Always handle it with care and make sure to put it in a heat-resistant holster until it’s completely cool. You really don’t want to accidentally burn yourself.
Ensuring proper ventilation when welding plastics is critical to your safety and the quality of the work.
Plastic welding releases fumes that can be hazardous if inhaled over time. You must control airflow to minimize exposure and maintain a clean workspace.
Consider these ventilation practices:
Work in a well-ventilated area or outdoors when possible.
Use local exhaust ventilation (LEV) systems positioned near the weld zone.
Employ fans or air movers to direct fumes away from your breathing zone.
Avoid enclosed spaces without adequate fresh air circulation.
Monitor air quality and use respirators if ventilation is insufficient.
How can you protect yourself effectively when welding plastics? First, always work in a well-ventilated area and use a fan to disperse hazardous fumes generated during heating.
Wear heat-resistant gloves to prevent burns from the welding gun and molten plastic. Position the welding gun in a heat-resistant holster when not in use to avoid accidental contact.
Use safety glasses to shield your eyes from hot debris and intense heat. Avoid breathing fumes directly by using a respirator if ventilation is insufficient.
Keep your workspace clear of flammable materials. After welding, allow the gun to cool completely before handling or storing.
Following these safety protocols minimizes risks and guarantees a secure environment while achieving high-quality plastic welds.
Wrap up the welding process by carefully sanding the repair area with 120 grit sandpaper to create a smooth, even surface.
This step removes excess weld material and prepares the joint for final finishing.
After sanding, apply a brief burst of heat at the rod and base intersection to fuse any remaining rough edges and guarantee a uniform bond.
Keep these points in mind:
Following this method enhances strength and appearance, resulting in a professional-quality plastic weld.
If you’re dealing with weak welds or incomplete fusion, the first thing to do is check those temperature settings. You see, if it’s too low, the plastic just won’t bond the way it should. On the flip side, if it’s too high, you run the risk of burning the material.
So, take a moment to adjust the welder to fit the ideal heat range for the specific type of plastic you’re working with. This little tweak can make a world of difference when it comes to melting and fusing the plastic properly.
Addressing these temperature issues is super important if you want to achieve strong and consistent welds. Trust me, getting this right will save you a lot of headaches down the line!
When you encounter issues with your plastic welds, incorrect temperature settings often cause the most common problems. Precise temperature control is vital since overheating burns the plastic, while underheating leads to weak, cold welds. You need to adjust your welder according to the plastic type and thickness.
Keep these troubleshooting tips in mind:
Check that your welder’s temperature matches the plastic’s requirements (e.g., 265 °C for polyethylene, 275 °C for PVC). Use a reliable thermometer or gauge to verify actual heat at the tip. Avoid rapid temperature fluctuations by allowing your welder to stabilize before starting.
Lower the heat if you see smoke or discoloration; increase it if the rod won’t melt properly. Remember that thicker materials often require slightly higher temperatures for adequate fusion.
Although correct temperature settings are essential, poor weld fusion can still occur due to several other factors that you need to identify and address. Improper surface preparation, incompatible materials, incorrect rod angles, and inconsistent welding speed commonly cause fusion issues. You must ensure the base plastic and welding rod match exactly, clean the surfaces thoroughly, and maintain proper welding technique.
| Cause | Troubleshooting Tip |
|---|---|
| Surface contamination | Clean with warm water, soap, then IPA |
| Material mismatch | Confirm rod matches base plastic type |
| Incorrect rod angle | Cut rod ends at recommended angles |
| Welding speed variance | Maintain 4-6 inches per minute |
You can weld plastic outdoors in cold weather, but you’ll need to take precautions.
Cold temperatures can cause rapid cooling, leading to weak welds or cracks.
You should preheat the work area if possible and maintain consistent heat settings on your welding gun.
Also, work quickly to avoid moisture condensation on surfaces.
Make certain proper surface preparation and cleaning to achieve a strong, reliable weld despite the cold environment.
A typical plastic weld takes about 24 hours to fully cure and reach maximum strength. You’ll want to maintain ideal temperature and avoid stressing the joint during this period.
While initial fusion happens quickly, within seconds to minutes, the molecular bonding continues as it cools and solidifies. Remember, curing time can vary depending on plastic type, ambient conditions, and joint thickness.
Always plan for adequate post-weld rest to guarantee durability.
Yes, you can find eco-friendly alternatives to traditional plastic welding rods made from biodegradable or recycled materials.
These rods reduce environmental impact by limiting the use of virgin plastics and minimizing waste.
When selecting them, make certain they match your base plastic type exactly to maintain weld integrity.
Using these sustainable options helps you adhere to greener practices without compromising on weld quality or durability.
Paint promptly? Patience proves pivotal.
You shouldn’t paint welded plastic joints immediately after cooling because residual moisture or uneven cooling can cause poor paint adhesion or bubbling.
Instead, wait until the joint has fully cured and cooled to room temperature.
Thoroughly clean and prep the surface to assure peak paint penetration.
This precise process prevents peeling, preserves the paint’s permanence, and protects the plastic’s performance over time.
You need to clean your welding gun and tips regularly to prevent residue buildup, which can affect heat transfer and weld quality.
Inspect electrical cords and connections for damage to avoid hazards.
Replace worn or damaged tips promptly to maintain consistent temperature and airflow.
Store equipment in a dry, cool place, and always allow tools to cool completely before cleaning or storing.
Routine maintenance guarantees efficient performance and prolongs equipment life.
Mastering plastic welding is like tuning a fine instrument. Each detail matters.
By matching the right rod, setting precise temperatures, and preparing surfaces thoroughly, you’ll create strong, clean welds every time.
Pay attention to angles, rod size, and safety to avoid common pitfalls.
Finish with sanding and heat to perfect your work.
With these tips, you’re equipped to handle plastic welding challenges confidently and efficiently, ensuring professional results on every project.