Phone:
(701)814-6992
Physical address:
6296 Donnelly Plaza
Ratkeville, Bahamas.

Phone:
(701)814-6992
Physical address:
6296 Donnelly Plaza
Ratkeville, Bahamas.

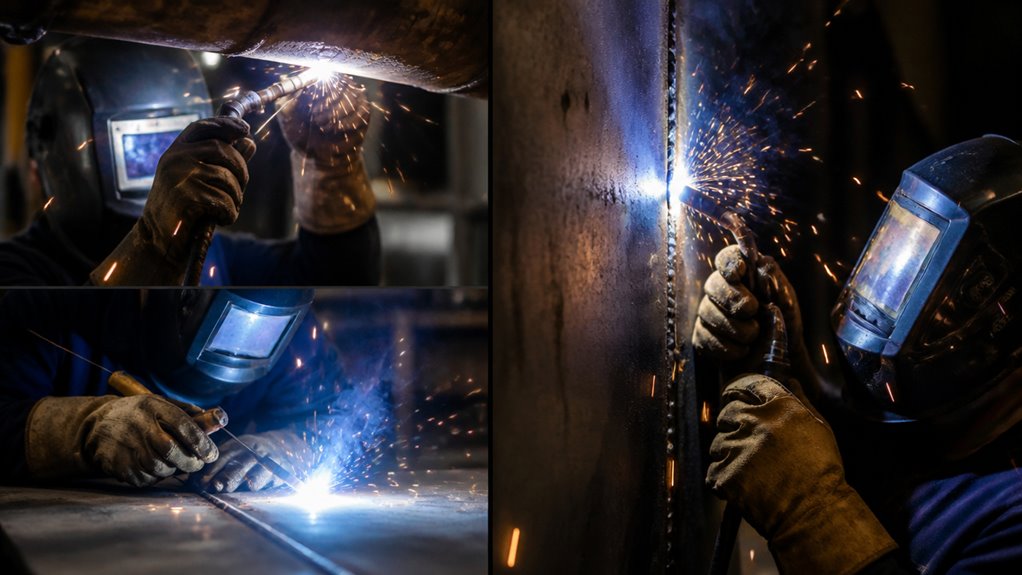
You’ll work with four basic welding positions: flat (1G/1F), horizontal (2G/2F), vertical (3G/3F), and overhead (4G/4F). Each demands distinct control over the weld pool and bead consistency.
Gravity impacts molten metal differently across these positions, requiring adjustments in torch angle, travel speed, and heat input.
Starting with flat welding builds essential skills before tackling the more challenging vertical and overhead positions.
Understanding these fundamentals prepares you to handle complex pipe welding situations and advanced certifications.
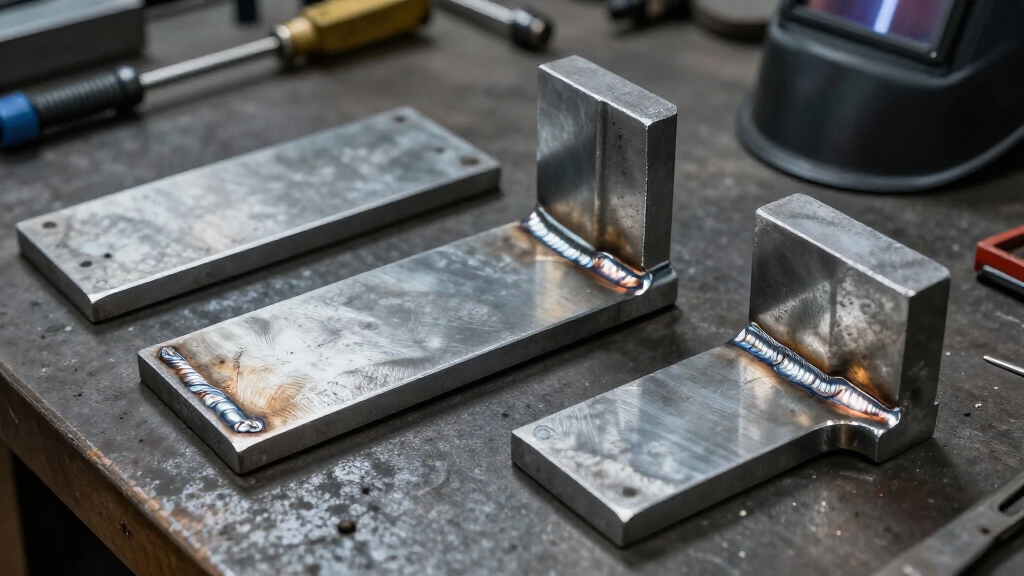
Although welding can be performed in various orientations, you’ll find that the four basic positions—flat, horizontal, vertical, and overhead—form the foundation for most welding work.
Each position uses standardized codes: 1G/1F for flat, 2G/2F for horizontal, 3G/3F for vertical, and 4G/4F for overhead welds, distinguishing groove and fillet types.
Flat position offers ideal puddle control and productivity. Horizontal demands steady torch angles due to sagging metal.
Vertical welding requires mastery over molten pool movement, with upward and downward techniques suited for material thickness and strength.
Overhead is the most challenging, demanding precise control to prevent molten metal from dripping. Recognizing these positions and codes guarantees you apply proper technique and maintain weld quality across applications.
Mastering the 3G welding position is often a key step before advancing to more complex welding challenges.
Understanding the basic welding positions and their codes sets the stage for mastering the impact of gravity on weld quality.
Grasping welding positions and their codes is essential for controlling gravity’s effect on weld quality.
Gravity directly influences molten metal behavior in each position, demanding specific control techniques.
In the flat position, gravity aids your puddle control, allowing faster travel speeds and superior bead consistency.
When welding horizontally, you must counteract gravity’s pull causing sagging by maintaining strict torch angles and slower travel.
Vertical welding requires precise manipulation: in vertical-up, you fight gravity to build fusion and penetration, while vertical-down demands speed to prevent excessive weld pool runoff.
Overhead welding challenges you most, as gravity pulls molten metal away, increasing the risk of defects like undercut and slag inclusion.
Mastery means adapting your technique to gravity’s force to ensure weld integrity across all positions.
Reducing power settings by about 10–15% compared to flat welding is essential for controlling heat input and maintaining a stable vertical weld puddle.
You’ll almost always begin your welding training in the flat position because it offers the most manageable conditions for developing fundamental skills.
Gravity assists in maintaining puddle control, allowing you to focus on mastering travel speed, bead consistency, and electrode angle.
This position, commonly coded 1G or 1F, provides ideal visibility and ease. It serves as the foundation before progressing to more demanding orientations.
| Skill Focus | Flat Position Advantage |
|---|---|
| Puddle Control | Gravity aids stability |
| Travel Speed Control | High productivity |
| Visibility | Excellent for beginners |
Mastering flat welding builds confidence and precision. These skills are essential before moving on to horizontal, vertical, or overhead positions where gravity complicates weld pool management. Starting practice with consistent bead control in a controlled workspace is key to building strong foundational skills.
When working with pipe welding, you encounter unique challenges that demand advanced skills beyond those used in flat or plate welding positions. The 5G and 6G pipe welding positions test your versatility and control in complex orientations.
Mastering weld pool control is essential for success in challenging welding positions like horizontal, vertical, and overhead.
You need to maintain a consistent travel speed to prevent molten metal sagging or dripping.
Keep a short arc length to guarantee the puddle stays stable and avoids contamination.
Adjust your electrode or torch angle precisely, typically between 10° and 15° off vertical, to counteract gravity’s pull on the weld pool.
In vertical welding, use the vertical-up technique for better penetration and control, while vertical-down suits thinner materials.
For overhead welding, position your body to support steady hand movement and avoid excessive puddle volume.
Constantly monitor heat input, as overheating increases fluidity, making puddle control more difficult.
Reducing amperage and voltage from flat welding settings is crucial to limit puddle fluidity and avoid sagging in these positions, especially overhead, by maintaining proper heat management.
For overhead welding, you must wear a flame-resistant welding helmet with a proper shade lens to protect your eyes from intense arc rays and sparks.
Use flame-resistant clothing covering your arms and torso to guard against hot spatter.
Heavy-duty gloves protect your hands, while a respirator shields you from harmful fumes.
Don’t forget safety boots with steel toes and ear protection to prevent injuries from falling debris and loud noise during welding operations.
Think of material thickness as the backbone guiding your welding position choice.
Thicker materials demand vertical-up welding for stronger fusion, letting you build layers steadily against gravity.
Thinner metals benefit from vertical-down or flat positions, speeding travel and reducing heat distortion.
Choosing the right position guarantees peak penetration and weld integrity, so you’re not just joining metal; you’re mastering the craft with precision tailored to thickness.
You’ll find Shielded Metal Arc Welding (SMAW), Gas Metal Arc Welding (GMAW), and Flux-Cored Arc Welding (FCAW) best suited for vertical welding.
These processes offer precise control over the weld pool, critical for counteracting gravity’s pull on molten metal.
Vertical-up SMAW and FCAW allow deeper penetration in thicker materials, while GMAW provides smoother bead profiles.
Mastering electrode or torch angles is essential to maintain weld quality in this demanding position.
Yes, robotic welding can handle all welding positions effectively, but success depends on proper programming, tooling, and fixture design.
Robots excel in flat and horizontal positions due to easier access and stable weld pools.
Vertical and overhead positions require advanced control systems and precise torch manipulation to counteract gravity’s effects.
With sophisticated sensors and adaptive controls, you can achieve consistent, high-quality welds across all positions.
However, setup complexity and costs increase for challenging orientations.
You’ll find temperature influences weld pool fluidity. Wind disrupts shielding gas, and humidity causes porosity.
You’ll need to adjust heat input in colder environments and stabilize gas flow in windy conditions. Control moisture to avoid defects.
You’ll manage gravity’s role differently across positions, but environmental factors always demand vigilance.
Mastering multiple welding positions means meeting material challenges with methodical might.
You’ll find flat starts foster fundamental finesse, while pipe positions like 5G and 6G demand disciplined dexterity.
Remember, gravity governs weld quality, so grasping its grip guides your technique toward targeted triumph.
By controlling the weld pool carefully and consistently, you’ll conquer complex conditions confidently. Stay sharp, stay steady, and steadily sharpen your skills to secure strong, seamless seams every time.