Phone:
(701)814-6992
Physical address:
6296 Donnelly Plaza
Ratkeville, Bahamas.
Phone:
(701)814-6992
Physical address:
6296 Donnelly Plaza
Ratkeville, Bahamas.
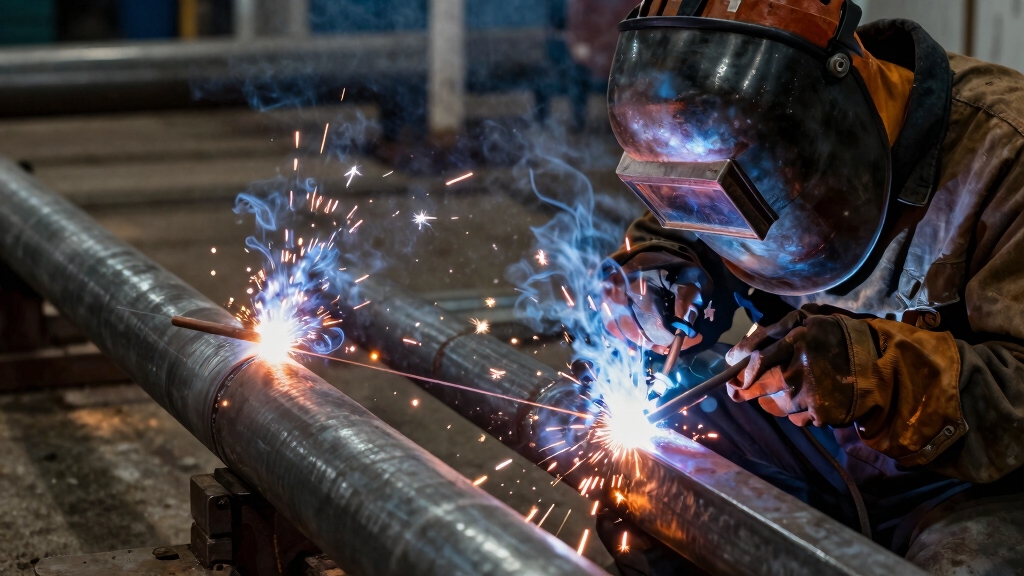
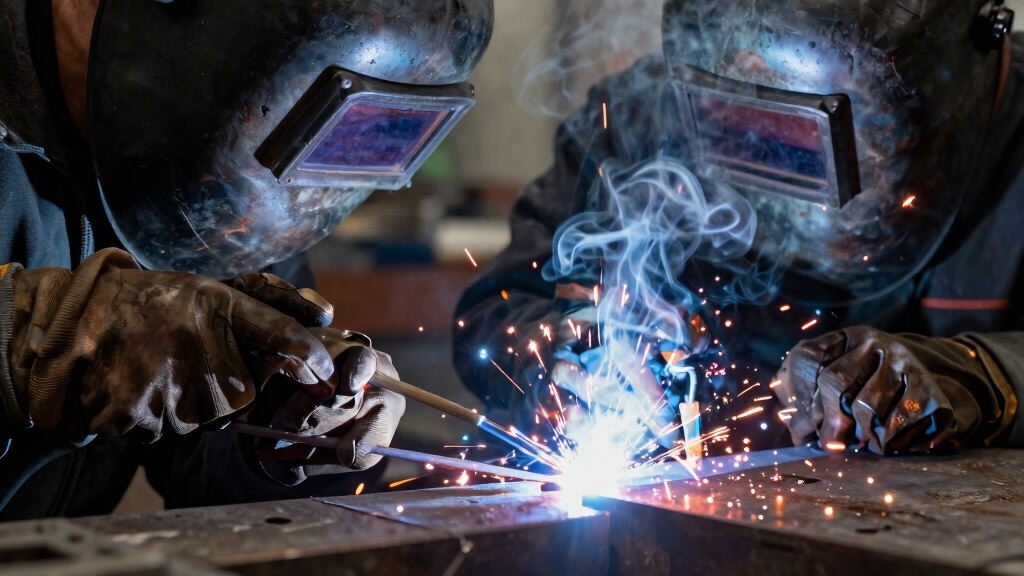
When choosing between uphill and downhill welding, consider your material thickness and weld goals.
Uphill welding moves the electrode against gravity, giving you deeper penetration and stronger fusion. It is ideal for thick metals and structural work.
Downhill welding flows with gravity, allowing you to weld faster on thin materials but with less penetration and strength.
You’ll need tight heat control and technique tailored to each method. Keep exploring to understand how speed, heat, and applications influence your best welding approach.
| Feature | Uphill Welding | Downhill Welding |
|---|---|---|
| Welding Direction | Bottom to top | Top to bottom |
| Gravity Effect | Works against gravity | Works with gravity |
| Penetration Depth | Deep penetration | Shallow penetration |
| Weld Strength | Stronger welds | Weaker welds |
| Best For | Thick metals | Thin metals |
| Travel Speed | Slower | Faster |
| Heat Input | Higher heat input | Lower heat input |
| Weld Pool Control | Requires tight control | Easier flow with gravity |
| Risk of Burn-Through | Lower on thick metals | Higher on thin metals if overheated |
| Fusion Quality | Excellent fusion | Moderate fusion |
| Weld Appearance | Slightly convex bead | Flatter bead |
| Skill Requirement | More difficult | Easier for beginners |
| Electrode Movement | Upward weaving motion | Straight downward motion |
| Common Applications | Structural steel, pipelines, heavy fabrication | Thin sheet metal, light fabrication |
| Productivity | Lower due to slower speed | Higher due to faster welding |
| Distortion Risk | Higher because of more heat | Lower due to reduced heat |
| Pipe Welding Use | Thick-wall pipe welding | Thin-wall pipe welding |
| Arc Control | More demanding | Simpler to maintain |
| Preferred Position | Vertical-up position | Vertical-down position |
| Main Advantage | Maximum strength and penetration | Faster welding with less heat buildup |
| Main Drawback | Slower and more skill-intensive | Reduced penetration and strength |
| Ideal Use Case | Heavy-duty structural work | Quick welding on thin materials |
Understanding vertical welding techniques starts with distinguishing uphill from downhill welding mechanics.
Grasping vertical welding begins by differentiating the mechanics of uphill versus downhill methods.
When you weld uphill, you move the electrode from the bottom to the top, working against gravity. This requires steady control of heat and upward electrode motion to maintain a stable weld pool and avoid sagging.
Conversely, downhill welding proceeds from top to bottom, allowing gravity to assist the weld pool’s flow. You push the electrode downward, enabling faster progression but less penetration.
Both methods involve vertical welding positions; however, uphill demands more precise heat application to counteract gravity, while downhill leverages gravitational pull to facilitate weld pool movement.
Mastering these mechanics is essential for selecting the correct technique based on your project’s requirements, ensuring weld integrity and peak performance.
For uphill welding, maintaining a short arc length and holding the electrode at a 10–15° travel angle uphill helps direct heat effectively into the joint.
Mastering uphill and downhill welding mechanics sets the stage for selecting the right approach based on material thickness.
When you assess the metal gauge, you’ll choose uphill welding for thicker materials (greater than 1/8″) to guarantee deep penetration and ideal fusion.
Conversely, downhill welding suits thinner metals, minimizing burn-through and distortion risks. Your selection impacts heat control, weld integrity, and productivity.
Consider these factors when deciding:
Uphill welding provides controlled heat and better fusion in thick sections.
Downhill welding enables faster travel speeds on thin metals.
Thin materials require downhill to avoid warping or burn-through.
Thick metals need uphill for strength and penetration.
Using pulse MIG transfer mode during downhill welding can help control heat input and reduce the risk of burn-through on thin metals.
Weld strength hinges on penetration depth and fusion quality, where uphill welding consistently outperforms downhill methods.
When you weld uphill, you achieve deeper penetration due to controlled heat application against gravity. This allows better fusion between the base and filler metals.
This method produces stronger joints, especially critical for thick materials requiring structural integrity.
Conversely, downhill welding yields flatter weld beads but sacrifices penetration depth, resulting in weaker welds.
While downhill’s gravitational assistance speeds the process, it compromises fusion quality and overall strength.
If you prioritize weld durability and joint strength, uphill welding offers superior weld quality by delivering precise, targeted heat and deeper metal fusion.
Consequently, choosing uphill welding enhances your joint’s mechanical properties, ensuring robustness in demanding applications.
Proper arc length control during uphill welding further stabilizes the electric arc, improving penetration consistency and overall weld integrity.
While uphill welding delivers superior weld strength through deeper penetration, it demands slower travel speeds because you’re working against gravity. Careful control of heat input is essential; too much heat can warp the metal.
Uphill welding ensures stronger welds with deep penetration but requires slower speeds and precise heat control.
In contrast, downhill welding allows for faster work as gravity helps the weld pool flow, but it sacrifices penetration depth. Speed and heat balance differ substantially between these methods:
Uphill welding requires a slower travel speed to maintain a stable molten pool and ensure fusion.
You must manage higher heat input carefully to prevent burn-through while achieving depth.
Downhill welding enables faster travel, reducing heat input and minimizing distortion in thinner metals.
Heat control is critical downhill to avoid weak welds despite quicker progression.
Mastering these factors is key to optimizing weld quality and efficiency. Preparation, positioning, and handling often consume minutes to hours before arc time due to the need for careful fit-up and workflow optimization.
Choosing the appropriate welding technique depends heavily on the specific industry requirements and material characteristics you’re working with.
When dealing with thick materials, especially over 1/8″, uphill welding offers superior penetration and fusion. This makes it ideal for pipe welding and structural applications demanding strength.
Conversely, downhill welding suits thinner metals, providing faster weld speeds and minimizing burn-through risk. This benefits large-scale projects where efficiency outweighs maximum weld strength.
In pipeline work, choose downhill for thin walls to expedite progress. However, switch to uphill for thicker sections to guarantee weld integrity.
Your choice must align with project specifications, balancing heat input, weld quality, and speed. Understanding these factors lets you optimize weld performance while maintaining metal integrity and structural requirements across diverse industrial contexts.
Moreover, mastering welding positions like 5G welding enhances capability to handle complex, multi-positional welds required in demanding industrial settings.
When welding uphill, you’ll need extra eye protection since sparks and molten metal can fall toward you, increasing burn risk.
You must wear flame-resistant gloves and clothing to shield from heat and spatter.
For downhill welding, control ventilation more carefully because fumes can accumulate below the weld area.
You’ll also want to stabilize your posture to avoid slipping.
Both require proper respiratory gear, but uphill demands more vigilance against falling debris.
Electrode type critically influences your welding outcome. For uphill welding, you’ll want electrodes that provide deep penetration and stable arc control, like E6010 or E7018. This is because you’re working against gravity and need consistent fusion.
Downhill welding favors electrodes with faster deposition rates and smoother beads, such as E6011. Gravity aids the weld pool flow, making these electrodes more effective.
Choosing the right electrode optimizes heat input, bead shape, and penetration tailored to your welding direction.
You can use uphill welding on most metal types, especially thicker steels, because it guarantees deep penetration and strong fusion.
However, it’s less suitable for thin or heat-sensitive metals, as the slower, controlled heat can cause warping or burn-through.
Always consider the metal’s thickness, thermal conductivity, and alloy composition before choosing uphill welding to avoid compromising structural integrity or creating defects during the process.
You’ll commonly encounter defects like lack of fusion, porosity, and undercut when downhill welding.
Because the weld pool flows downward quickly, it can cause insufficient penetration and incomplete fusion with the base metal.
Porosity arises from trapped gases due to rapid solidification.
Undercut occurs as the faster travel speed can erode the base metal edges.
To avoid these, you must carefully control heat input and travel speed during welding.
Position profoundly pressures your physical persistence.
Welding uphill demands deliberate, determined upward motion, which can quickly cause arm and shoulder strain. This intensifies fatigue due to fighting gravity.
Conversely, downhill welding allows gravity’s guidance, reducing muscular exertion and lessening overall weariness.
However, faster speeds might increase mental fatigue from maintaining control.
Balancing these factors, you’ll find uphill welding physically taxing, while downhill welding trades off physical ease for heightened concentration demands.
When deciding between uphill and downhill welding, consider your material thickness and desired penetration.
Uphill welding, like a knight’s steady lance, offers deeper penetration and strength for thicker metals.
Downhill suits thinner materials with faster speed and less heat input.
You’ll optimize weld quality by matching technique to application.
Remember, mastering these methods lets you wield precision and efficiency, ensuring your welds stand the test of time and stress.