Phone:
(701)814-6992
Physical address:
6296 Donnelly Plaza
Ratkeville, Bahamas.
Phone:
(701)814-6992
Physical address:
6296 Donnelly Plaza
Ratkeville, Bahamas.
To weld an exhaust, choose filler rods matching your base metal. Use ER70S-6 for mild steel and TIG-compatible rods for thin stainless tubing.
Use MIG for mild steel and TIG for stainless. Adjust amperage and wire feed for thin material to avoid burn-through.
Clean and prepare joints thoroughly. Secure with corrosion-resistant clamps and tack welds.
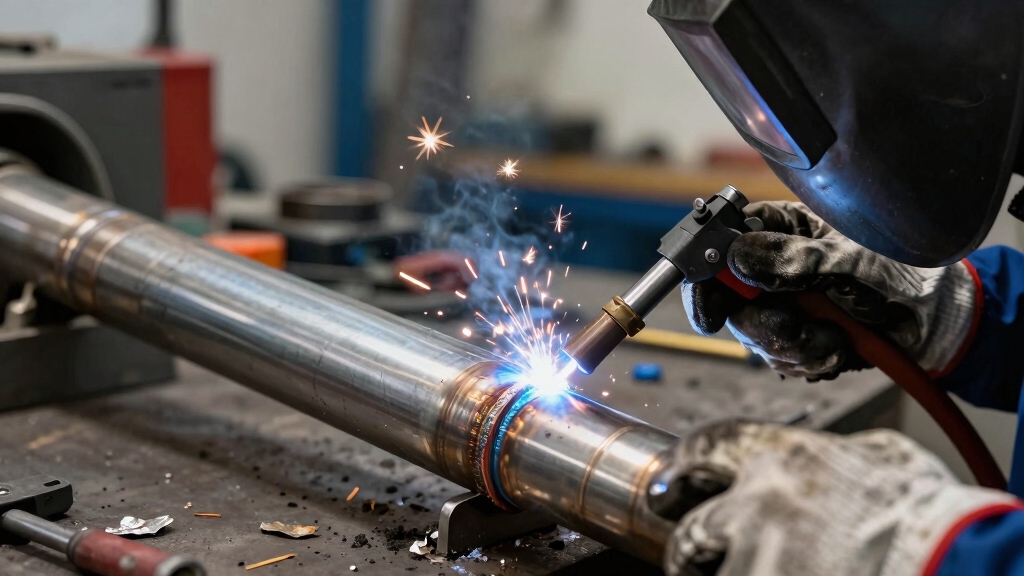
Control heat via short stitch techniques. Inspect welds for leaks and defects.
Proper technique guarantees durable, corrosion-resistant joints and smooth welds. Understanding these steps sets you up for detailed guidance.
Selecting the right materials and filler rods is essential for a durable exhaust weld. You’ll typically encounter mild steel or 304 stainless steel pipes.
Mild steel suits standard exhausts, while stainless steel fits high-performance applications. For thin materials like 18-gauge stainless tubing, choose filler rods compatible with the base metal to guarantee strong, corrosion-resistant joints.
Mild steel is ideal for standard exhausts, while stainless steel excels in high-performance, thin tubing applications.
If you’re welding stainless steel, use TIG-compatible filler rods to maintain weld integrity. For mild steel, gasless wire can work well on thicker pipes without shielding gas.
Always match your filler materials precisely to the base metals to prevent weak welds or cracking. Proper selection minimizes post-weld issues and guarantees longevity in harsh exhaust environments.
Stay focused on compatibility and material grade for the best results. Using ER70S-6 filler wire with the proper shielding gas mix can enhance arc stability and reduce spatter in mild steel exhaust welding.
Matching your welding method to the exhaust material and thickness guarantees strong, clean joints.
For mild steel exhausts, MIG welding is your best bet. It offers speed, ease of control, and uses a wire feed with shielding gas. This reduces burn-through risks on thin pipes.
When working with stainless steel, especially thin sections or high-performance systems, TIG welding excels.
TIG provides superior precision and a clean weld bead, essential for corrosion resistance and strength. It uses a tungsten electrode and a hand-fed filler rod, giving you fine heat control.
Avoid gasless wire for stainless, as shielding gas is vital.
MIG welding’s continuous wire feed ensures consistent welds, making it especially efficient for automotive exhaust repairs.
When you’re working with thin pipes, it’s super important to adjust your welder with precise amperage control. This helps prevent burn-through, which can be a real hassle. You’ll want to manage the heat carefully—using short stitch welds and maintaining a steady pace can make a big difference in keeping the metal intact.
Oh, and don’t forget about your TIG torch! Using a gas lens can really help focus the shielding gas, ensuring you get a clean, stable weld pool. It’s those little details that can elevate your welding game! For aluminum or stainless steel, maintaining proper shielding gas flow is crucial to prevent oxidation and porosity during welding.
When working with thin exhaust pipes or stainless steel, controlling the amperage precisely is critical to avoid burn-through and distortion. Set your welder to the lowest amperage that maintains a stable arc while producing sufficient penetration.
For TIG welding 18-gauge stainless steel, this typically ranges between 20 to 40 amps. Use the foot pedal for real-time amperage modulation to adapt heat input as you weld.
With MIG welding, dial down the voltage and wire feed speed to match the thin material thickness. Avoid excessive current spikes by maintaining a steady hand and consistent travel speed.
Precise amperage control guarantees clean, strong welds without warping or metal burn-through, preserving pipe integrity and preventing costly rework. Always test settings on scrap metal before welding the actual exhaust. Maintaining the correct stickout length helps ensure arc stability and consistent heat input when welding thin materials.
Precise amperage control sets the foundation for effective heat management during welding, especially on thin pipes and stainless steel.
To prevent burn-through, dial your welder to the lowest amperage that maintains a stable arc. Use short stitch welds or quick tacks spaced evenly to minimize heat buildup and distortion.
When TIG welding, leverage the foot pedal for real-time amperage adjustments, allowing you to back off heat between welds.
For MIG, fine-tune wire feed speed and voltage to match thin wall thickness without warping the pipe. Always monitor weld puddle size closely and maintain a steady travel speed.
Managing heat this way preserves material integrity, prevents warping, and guarantees clean, strong joints on delicate exhaust components.
Employing pulse MIG transfer mode can further control heat input by delivering intermittent bursts that allow cooling intervals, reducing the risk of burn-through and distortion.
Utilizing a gas lens in TIG welding enhances gas coverage by delivering a focused, laminar flow of inert shielding gas directly to the weld area. This improves protection against oxidation, especially critical when welding thin stainless steel pipes used in exhaust systems.
When working with 18-gauge tubing, adjust your welder’s amperage to a lower setting to prevent burn-through. The gas lens also stabilizes the tungsten arc, allowing you better control for precise, clean welds.
Make sure to use a compatible collet body and diffuser to maximize gas flow efficiency. With the gas lens in place, you’ll reduce turbulence and contamination, producing stronger, more consistent welds.
Always verify shielding gas flow rate matches the lens’s optimal specification, typically between 15-20 CFH, to maintain effective coverage.
Additionally, ensure the tungsten electrode is properly centered in the gas lens cup to prevent dipping and maintain arc stability.
To get those metal surfaces ready for welding, start by giving them a good clean. Grab some Scotch-Brite pads and acetone to scrub away any rust, coatings, or contaminants. Trust me, this step is crucial!
Once you’ve cleaned everything up, take a moment to inspect the joint. Use a flashlight to check it out from all angles. Look for any gaps or misalignments—these can really weaken your weld.
Be sure to remove the aluminum oxide mechanically after degreasing to ensure proper weld penetration and avoid defects.
Before welding an exhaust, thoroughly cleaning the metal surfaces is essential to guarantee a strong, defect-free bond.
Start by removing coatings, rust, and contaminants with Scotch-Brite pads. Follow this by wiping the area with acetone. This guarantees no oils or residues interfere with weld penetration.
Next, use a high-power drill fitted with a steel bristle wheel to scar the exhaust pipe, promoting better adhesion. Focus on cleaning at least one inch around the joint area.
Avoid contaminating cleaned surfaces afterwards; wear gloves to prevent oils from your hands transferring. Proper surface prep reduces porosity and cracking risks, guaranteeing weld integrity.
Keep the area dry and free of dust before proceeding. This efficient cleaning routine sets the foundation for a durable, long-lasting exhaust weld.
It is also important to remove any zinc coating from the weld zone to prevent weld defects and hazardous fumes during welding.
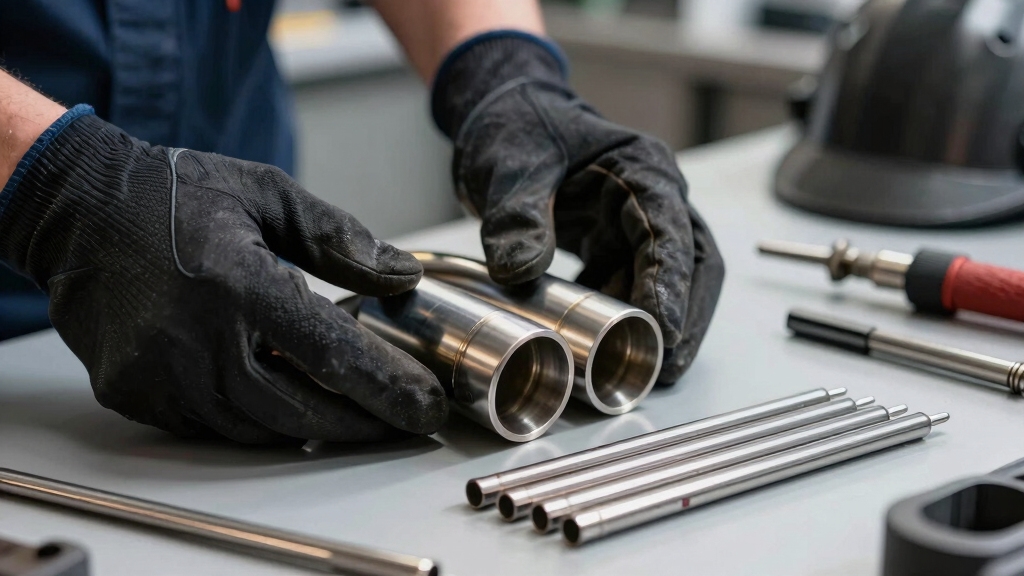
Although thorough cleaning prepares the metal surfaces, inspecting the joint from all angles with a bright flashlight is vital to identify gaps or misalignments before welding.
Position the joint under strong light and rotate it, checking for uneven edges, cracks, or debris that could weaken the weld.
Use a feeler gauge to measure any gaps; ideally, keep these minimal to guarantee strong fusion.
Confirm clamps hold parts firmly but don’t distort alignment.
Pay attention to surface irregularities like rust or pitting missed during cleaning.
Proper inspection prevents weld defects such as porosity or incomplete penetration.
Taking these steps secures a tight, well-aligned joint, setting a solid foundation for flawless, durable welds on your exhaust system.
Additionally, maintaining a clean welding area is essential to prevent contaminants from compromising weld strength or causing defects.
Clamp the exhaust joints securely while ensuring precise alignment to promote a strong weld bond. Use appropriate clamps positioned close enough to prevent movement but away from the weld area to avoid heat soak.
Before clamping, verify joint fit-up by inspecting all angles with a flashlight, checking for gaps or misalignments. Clean mating surfaces thoroughly with Scotch-Brite pads and acetone to remove rust, coatings, and contaminants that could weaken the weld.
Employ a high-power drill with a steel bristle wheel to roughen the pipe ends, improving mechanical grip. Maintain consistent joint positioning throughout the welding process by securing clamps firmly on stable surfaces.
Proper joint positioning and secure clamping reduce distortion risk and promote uniform weld penetration, essential for long-lasting exhaust integrity. For enhanced durability, consider using corrosion-resistant clamps to ensure secure, long-lasting repair.
Consistently applying tack welds every few inches around the joint helps you maintain precise alignment and minimize warping during welding.
Place 1/4-inch tack welds spaced evenly on opposite sides of the joint to balance heat distribution and reduce distortion.
Use short stitch welds to avoid excessive heat buildup, which can cause metal to shift or buckle.
Make sure your clamps hold parts firmly but avoid heat soak by positioning them away from weld zones.
Tack welds act as anchors, preventing movement as you complete the full weld pass.
Before proceeding, inspect each tack weld for integrity and alignment, correcting any gaps or misfits.
This step is essential for maintaining the exhaust’s structural integrity and fitment, especially on thin gauge pipes prone to warping under heat.
When you’re working with thin exhaust metal, managing heat is crucial. You definitely want to avoid burn-through and distortion, right? So, keep an eye on your temperature as you weld.
As you add filler metal, do it steadily and be mindful of your welding speed. This combination will help you achieve those smooth, strong beads you’re aiming for.
Control welding heat carefully to prevent burn-through and distortion on thin exhaust pipes. Use short stitch welds with controlled amperage and maintain a steady pace to avoid overheating.
Frequent pauses let the metal cool, reducing warping. Adjust settings based on pipe thickness and material type for optimal results.
| Pipe Thickness | Amperage Range | Welding Technique |
|---|---|---|
| 0.045 in | 30-45 A | Short stitch, low heat |
| 0.065 in | 45-60 A | Steady bead, moderate heat |
| 0.090 in | 60-80 A | Continuous weld, higher heat |
Keep clamps clear of heat zones to avoid heat soak. Monitor the weld puddle closely and back off heat immediately if the metal glows excessively.
Managing heat precisely guarantees strong, distortion-free welds.
Add filler metal carefully while maintaining precise heat control to guarantee smooth, strong welds on your exhaust pipes. Use a steady hand to feed the filler rod at the leading edge of the weld puddle, ensuring it melts consistently without overheating the base metal.
Adjust your amperage and torch angle to keep the puddle fluid but controlled. Avoid adding too much filler at once, which can cause spatter and uneven beads. For TIG welding, coordinate foot pedal modulation with filler addition to prevent burn-through on thin stainless steel tubing.
Maintain a tight arc length and proper shielding gas flow to protect the weld pool from contamination. Consistently inspect the bead profile, aiming for uniform width and penetration to maximize joint strength and exhaust integrity.
After completing the weld and allowing it to cool, you should thoroughly inspect the exhaust joint for leaks and structural integrity.
Begin by visually examining the weld bead for consistent penetration, uniform width, and absence of cracks or porosity. Use a flashlight to check all angles, assuring the weld fully seals the joint without gaps or undercuts.
Next, perform a leak test by applying soapy water to the weld area and observing for bubbles during pressurized exhaust flow or a smoke test to detect gas escape.
Verify tack welds remain intact and confirm no distortion compromised pipe alignment. If any defects or leaks appear, grind and re-weld as necessary.
This inspection guarantees a durable, leak-free exhaust system that withstands thermal cycling and vibration.
While welding exhaust systems, you must prioritize safety to protect yourself from burns, harmful fumes, and electrical hazards.
Always wear proper personal protective equipment, including welding gloves, a helmet with the correct shade lens, and a respirator designed for welding fumes.
Wear welding gloves, a proper helmet lens, and a respirator to protect against burns and harmful fumes.
Make certain your workspace is well-ventilated to prevent inhaling toxic gases emitted from heated metals and coatings.
Follow these essential safety tips:
Adhering to these precautions minimizes hazards and promotes a safe, controlled welding environment.
When welding exhaust systems, you’ll often encounter common issues like burn-through, poor penetration, or warping that can compromise the integrity of your repair.
To troubleshoot effectively, identify the root cause by inspecting weld beads, heat settings, and joint fit-up. Adjust amperage and use shorter stitch welds to prevent burn-through.
Make certain clamps hold joints firmly but don’t cause distortion. Keep metal clean to avoid contamination that weakens welds.
| Issue | Cause | Fix |
|---|---|---|
| Burn-through | Excess heat, thin metal | Lower amperage, short stitch welds |
| Poor penetration | Low heat, dirty surfaces | Increase heat, clean joint |
| Warping | Excessive heat, uneven clamps | Use tack welds, stagger weld spots |
| Cracks | Rapid cooling, stress | Preheat metal, control cooling |
| Porosity | Contaminants, poor shielding gas | Clean metal, check gas flow |
You choose the right welding helmet by prioritizing adjustable auto-darkening filters to protect your eyes from intense arcs. This also helps maintain visibility during setup.
Look for a helmet with a fast switching speed (1/25,000 sec or better) and variable shade settings (9-13) to match different welding methods and materials.
Make certain it fits comfortably, offers full-face coverage, and includes a reliable, replaceable battery or solar power for uninterrupted use.
You should use a combination of local exhaust ventilation (LEV) and general room ventilation when welding indoors.
Studies show that LEV can capture up to 90% of harmful fumes at the source, drastically reducing exposure.
Position an adjustable fume extractor hood close to the weld area, paired with high airflow fans to guarantee fresh air circulation.
Always make certain your workspace has cross-ventilation and never weld in confined, stagnant air spaces.
You shouldn’t weld exhaust pipes without disconnecting the vehicle battery.
Welding generates electrical currents and heat that can damage the vehicle’s sensitive electronic components or cause shorts.
Disconnecting the battery eliminates this risk and prevents accidental triggering of airbags or other systems.
Always make certain the battery is disconnected and keep the workspace well-ventilated to protect both your equipment and personal safety during welding.
Environmental conditions impact weld quality markedly.
You’ll want to weld in a well-ventilated, dry area to avoid moisture contamination.
This can cause porosity and weak welds.
Wind can blow shielding gas away during MIG or TIG welding, leading to oxidation and poor bead appearance.
Temperature extremes affect metal expansion and cooling rates, risking warping or cracking.
Control airflow, humidity, and ambient temperature to guarantee consistent, strong welds on your exhaust.
You need to clean your welding torch and nozzle immediately after use to prevent spatter buildup.
Inspect and replace worn contact tips and liners for consistent wire feed.
Check gas hoses for leaks or cracks and make certain regulator gauges function properly.
Wipe down cables and connections, and store your equipment in a dry, dust-free area.
Regularly check and refill shielding gas to maintain peak flow for future welds.
Welding an exhaust might seem intimidating, but with the right materials, settings, and preparation, you’ll achieve strong, leak-free joints.
Don’t worry if you’re new to welding; start with mild steel and practice controlling your heat for thin pipes.
Proper positioning and filler metal application guarantee durability. Always inspect welds thoroughly and follow safety protocols.
With patience and attention to detail, you’ll repair or customize exhausts confidently and professionally.