Phone:
(701)814-6992
Physical address:
6296 Donnelly Plaza
Ratkeville, Bahamas.
Phone:
(701)814-6992
Physical address:
6296 Donnelly Plaza
Ratkeville, Bahamas.
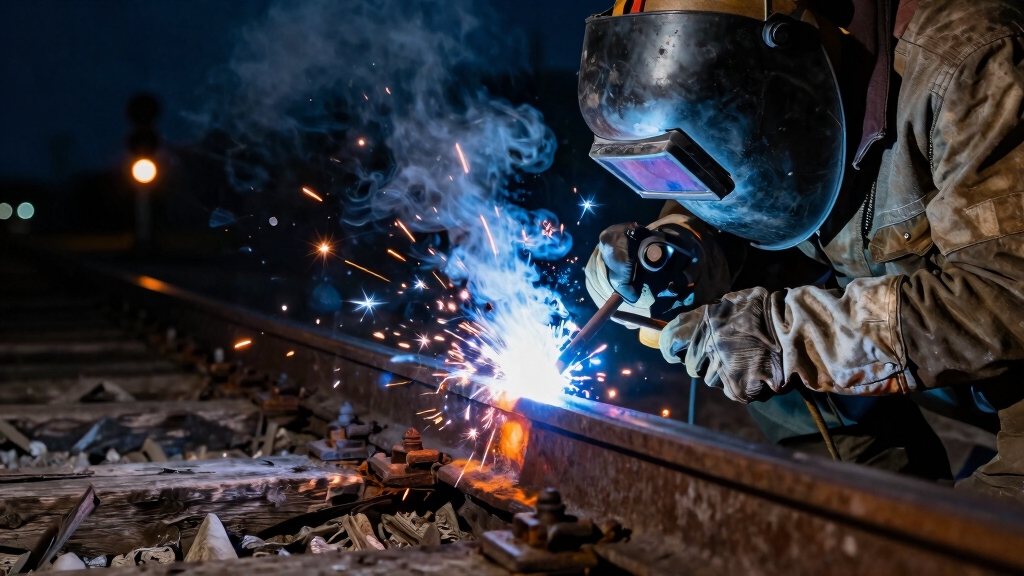
To weld in Dead Rails, first unstore the item with F and hold it firmly using the left mouse button. Position it touching a flat, solid metal surface on the stationary train hull, cab, or wagons.
Wait for the Weld button to appear, then press Z immediately to start welding. Avoid moving the train or welding items to each other, as this breaks attachment.
Proper placement guarantees secure defense and storage. Master these fundamentals, and you’ll optimize your train’s fortification and efficiency.
Start by unstoring the item you want to weld using the F key. Then hold it firmly with the left mouse button.
Unstore your item with F, then hold it securely using the left mouse button.
Position the item so it directly touches your train’s hull, cab, or any wagon while the train remains stationary.
Watch for the Weld button to appear in the bottom right corner of your screen; press the Z key immediately.
The welding process will complete within seconds, securing the item as part of the train’s structure. This makes it immovable during motion.
Remember, you can only weld items directly to the train, not to other items. This guarantees fuel, valuables, or consumables stay put, preventing loss during travel.
Master this process to maximize your train’s efficiency and defense in Dead Rails, understanding that welding is a critical step within fabrication that provides permanent metal bonds and structural integrity to assembled components through fusion welding methods.
When selecting surfaces to weld on your train, focus on the body, cab, and wagons under the train folder. These areas reliably accept welds and guarantee maximum stability.
Prioritize flat, solid metal panels on the train hull for a secure bond. Avoid curved or moving parts that may cause weld failure.
The cab’s exterior and wagon sides offer ample space for attaching defensive materials like sheet metal or barbed wire.
Position items where they won’t obstruct essential functions or visibility, such as cab windows or weapon mounts.
Avoid welding on external structures prone to damage or detachment during motion.
Ensure thorough surface preparation before welding to prevent defects and ensure the strength and durability of the weld.
You can really boost your train’s defense by welding sheet metal and barbed wire at key spots. This helps block attacks and keeps enemies at bay. Plus, it’s a great way to add an extra layer of security.
When it comes to storage, think about welding your valuables and extra loot right onto the train hull. This way, you won’t have to worry about losing anything while you’re on the move. Just make sure you’re placing everything carefully so you can keep both protection and easy access in mind. You don’t want to obstruct movement or visibility, after all! Be sure to use proper ventilation and respiratory protection when welding galvanized or coated metals to stay safe from harmful fumes.
Although welding items directly to your train requires the vehicle to be stationary, mastering this technique markedly enhances both defense and storage capacity.
To bolster defense, weld sheet metal panels over vulnerable wooden surfaces; this creates a bullet-resistant barrier that significantly reduces damage from attacks.
Position barbed wire along edges and entry points to slow and injure approaching enemies, providing vital reaction time.
You can also weld maxim guns or cannons strategically on wagons or the cab, but avoid obstructing essential controls or visibility.
For quick cover, weld newspapers to obscure rear visibility, deterring enemy snipers.
Before welding, ensure thorough edge preparation to remove oxidation and contaminants from plasma-cut metal surfaces, which improves weld strength and durability.
A variety of welded items can drastically increase your train’s storage capacity while enhancing defense. Weld valuables, weapons, and ammo directly to the train hull to secure excess loot without risking loss during motion.
Use sheet metal and barbed wire welded strategically to reinforce storage areas, protecting contents from enemy attacks. Remember, welding only attaches items to the train structure, so arrange items touching the hull before pressing Z to weld.
Avoid welding items to each other, as that’s unsupported. When welding consumables or fuel, position them on accessible sections for quick retrieval or emergency use.
Make certain the train is stationary to prevent sliding during welding. By integrating storage and defense through precise welding, you optimize space without compromising train integrity or mobility.
Ensure you perform welding in a well-ventilated area and use appropriate safety gear to minimize exposure to hazardous welding fumes.
Maximizing storage through welding sets the foundation for strategic item placement, enhancing both defense and accessibility. You want to weld items directly onto the train hull or wagons, ensuring they stay put during motion while providing tactical advantages.
Prioritize welding sheet metal and barbed wire on vulnerable edges to reinforce defense. Position valuables and ammo externally but out of direct line of sight to minimize theft risks. Use welded newspapers to obscure rear visibility, giving you a defensive edge.
Remember, welding only works when the train is stationary, so plan placement accordingly.
Ensure proper surface preparation by removing coatings near welds to improve weld quality and durability.
To unweld items, the first thing you need to do is ensure that the train is completely stationary. It’s really important to check that before you start.
Once you’ve confirmed that, just look directly at the welded object. When the Unweld button pops up, go ahead and press the Z key to release it instantly.
And hey, don’t forget about safety! Always follow the necessary precautions. This will help prevent any items from falling or causing hazards while the train is in motion. Better safe than sorry, right?
Additionally, understanding the magnet test can help confirm the metal type before unwelding to avoid damaging galvanized steel parts.
When your train is stationary, you can quickly and safely unweld items by simply looking at the welded object without picking it up and pressing the Z key as the Unweld button appears in the bottom right corner. This process instantly detaches the item, restoring its normal physics behavior.
Remember, unwelding while the train moves risks items falling off.
To meet unwelding requirements:
Make sure the train is fully stopped before starting.
Avoid picking up the welded item before unwelding.
Confirm the Unweld button appears in the interface.
Recognize that unwelding is faster than welding.
Be aware that welded items become movable immediately after.
Following these steps guarantees safe, efficient unwelding, maintaining your train’s integrity and cargo control. Always wear protective gloves to ensure hand safety during any welding or unwelding activity.
Having made certain your train is fully stopped and the Unweld button is visible, you can proceed to unweld items with minimal delay.
First, look directly at the welded item without picking it up. When the Unweld button appears in the bottom right corner, press the Z key to initiate the process.
The item will instantly detach from the train’s structure and regain its normal physics, meaning it may fall or move if the train starts moving again.
This process is faster than welding and requires no additional tools. Always confirm the item is unwelded by checking that the Unweld button disappears and the item can be freely moved or picked up.
Following these steps guarantees efficient and reliable unwelding every time.
Although unwelding is quicker than welding, you must guarantee the train is completely stationary before proceeding to avoid unintended item displacement or damage. Always verify the train’s full stop status before starting.
Here are essential safety precautions to follow when unwelding items:
Confirm the train isn’t moving to prevent items from falling off.
Look directly at the welded item without holding it to activate the Unweld option.
Use the Z key promptly when the Unweld button appears to minimize exposure time.
Prepare for potential item drops immediately after unwelding, securing loose items if necessary.
Avoid unwelding live entities or during active combat to prevent hazards.
Following these protocols ensures safe, efficient unwelding without compromising train integrity or your inventory. Always use proper eye protection such as helmets meeting ANSI standards to prevent injuries from arc light exposure.
Since welding items to the train is crucial for securing loot and defenses, you must avoid common mistakes that compromise your efforts.
First, never attempt welding while the train is moving. This causes items to slide or fail to attach. Always make certain the item physically touches the train hull; welding items to each other won’t work.
Never weld while the train moves; ensure items directly contact the train hull for secure attachment.
Avoid welding live entities or items not fully unstored, as this breaks the weld process. Don’t overlook positioning: weld on compatible surfaces like sheet metal or train wagons to guarantee stability.
Also, don’t rush; hold the item steady until the Weld button appears and complete the process cleanly. Following these rules guarantees your welded items remain immovable, maximizing your train’s defensive capabilities and storage efficiency.
Additionally, controlling heat input during the weld helps prevent weak joints and ensures strong fusion.
When you master the basic welding mechanics, leveraging advanced tactics can markedly enhance your train’s security and efficiency. You’ll optimize space, reinforce defenses, and streamline resource management by applying these bonus tips.
Weld sheet metal over wooden surfaces to create bulletproof armor.
Position barbed wire strategically on edges to deter enemy approach.
Use welded newspapers to block rear visibility and confuse pursuers.
Secure fuel cans directly to the hull for immediate access and stability.
After welding, double-check item alignment to avoid obstructing essential controls.
Implement these targeted strategies to maximize your train’s resilience and operational efficiency.
Welding isn’t just about attachment; it’s about tactical integration that fortifies your train for the harshest Dead Rails challenges.
You can’t weld live zombies to the train for defense. The welding mechanic only works on inanimate objects like fuel, valuables, or corpses.
Live entities are excluded because welding requires the item to be stationary and part of the train’s structure. However, you can weld corpses of zombies to create barriers or reinforce defenses.
Live zombies remain untethered and can’t be secured via welding during train motion.
Yes, you can weld items in mid-air by exploiting a known glitch. Normally, welding requires the item to touch the train hull while stationary.
However, this glitch allows you to bypass that restriction, letting you weld items without direct contact with the train surface. Use it carefully, as it might cause unexpected behavior.
Mastering this can help with strategic placements and defensive setups beyond standard welding limits.
Welding items to your train doesn’t directly affect its speed or handling. The train’s physics remain governed by its base parameters, regardless of welded cargo.
However, welding heavy or bulky items can increase overall mass, which might subtly influence acceleration or momentum. Still, these effects are minimal and generally unnoticeable during gameplay.
Focus on welding for stability and defense rather than performance changes, as the train’s core dynamics stay consistent.
You might think welded items are invincible, but they can definitely take damage during attacks. When enemies strike, your welded fuel, valuables, or defenses like sheet metal degrade or break if the assault is strong enough.
You need to monitor their condition closely and repair or replace them to maintain your train’s integrity. Welding secures items physically, but it doesn’t grant them supernatural protection against enemy fire or collisions.
You aren’t limited by a fixed number of items you can weld simultaneously.
Instead, the practical limit depends on available train surface area and item size.
You can weld as many items as fit securely on the train’s body without overlapping or interfering.
Keep in mind, the train must be stationary during welding.
Strategically distributing welded items maximizes storage and defense without causing clutter or performance issues.
Welding in dead rails is your secret weapon. Think of it as crafting armor and vaults that breathe life into silence.
By mastering preparation, choosing prime spots, and avoiding common pitfalls, you turn cold metal into steadfast allies.
Remember, unwelding is your safety net, keeping your strategy flexible. Sharpen your skills like a blacksmith forging a masterpiece. Watch your train transform into an unbreakable fortress on the rails.