Phone:
(701)814-6992
Physical address:
6296 Donnelly Plaza
Ratkeville, Bahamas.
Phone:
(701)814-6992
Physical address:
6296 Donnelly Plaza
Ratkeville, Bahamas.
To break a weld effectively, match your tool to the weld size and material.
Use a spot-weld cutter or drill carefully to avoid damaging panels.
Alternatively, opt for a small solid carbide ball burr with a die grinder for precision in tight spots.
For larger welds, angle grinders with thin cut-off discs work well.
Plasma cutters can gouge out most weld metal efficiently.
Finish by cleaning slag with an air chipping hammer and grinding edges smoothly.
Apply these steps carefully to guarantee clean separation and minimal distortion.
You’ll find deeper strategies improve results substantially.
When deciding how to break a weld, you need to zero in on the tool that matches the weld’s size, location, and material. For small or thin welds, consider a tapered chisel or spot weld drill; these provide controlled separation without damaging adjacent panels.
Larger, alloy or hardened welds often require a thin cut-off disc on an angle grinder to slice through effectively. If the weld is in a tight or hard-to-reach spot, a die grinder with a solid carbide burr offers precise access where drills can’t align properly.
Always assess whether you need depth control to avoid penetrating the base material. Prioritize tools that allow you to maintain clean edges and minimize metal distortion, ensuring the integrity of surrounding areas for future repairs or replacements.
Proper tool choice also helps reduce arc instability, which can cause uneven cutting and damage during weld removal.
Master the angle grinder by selecting a thin cut-off disc, preferably 0.040 inches thick, to slice through welds cleanly regardless of their alloy or hardness.
Use a 4.5-inch grinder for improved control, especially near connectors or tight spots. Position the disc to grind just above the weld without burning through the underlying panel.
Maintain a steady hand and apply consistent pressure to avoid gouging adjacent metal. Slightly radius the disc’s corners to prevent catching or scratching beneath panels.
Once you’ve cut through the weld, use a tapered chisel to knock off the separated pieces gently. Clear debris frequently with a vacuum or wire brush to maintain visibility and prevent tool binding.
This method guarantees precise weld removal while preserving the integrity of surrounding materials, which is important to maintain proper heat input and avoid damage.
When you’re choosing spot weld cutter bits, go for ones with self-centering tips. This helps prevent the bit from wandering, which means you’ll get a much more precise alignment.
Now, when it comes to the bit diameter, aim for one that’s 1/8 to 1/4 inch larger than the weld itself. This way, you’ll remove the entire weld nugget along with any spillover around it.
And remember, it’s super important to control your drilling depth. Make sure to stop just short of penetrating the second panel. This will help protect the underlying metal from any damage.
Additionally, maintaining clean surfaces and using the correct electrode alignment can improve the accuracy of weld removal by minimizing distortion and damage to surrounding areas, as proper electrode positioning ensures consistent heat distribution.
Identify the right spot weld cutter bit to efficiently drill through welds without damaging the underlying panels. Choose a bit with a self-centering tip to prevent wandering, ensuring precise alignment on the weld. Select a cutter 1/8 to 1/4 inch larger than the weld diameter to fully remove the weld including any spillover. Avoid drilling completely through both layers to maintain panel integrity.
When selecting your cutter, consider these points:
Proper bit selection sets the foundation for clean weld removal and panel preservation. Using the correct cutter size also helps maintain appropriate weld diameters and prevents unnecessary damage to the metal sheets.
Begin controlled drilling by selecting a spot weld cutter bit with a self-centering tip to guarantee precise alignment and prevent wandering during operation.
Choose a bit sized 1/8- to 1/4-inch larger than the weld diameter to ensure complete removal, including any spillover.
If your bit lacks a self-centering tip, create a small divot on the weld surface with a metal punch to guide the drill.
Maintain consistent bit rotation while withdrawing to eject debris and avoid jamming.
Drill carefully until you reach just before penetrating the second metal layer to preserve panel integrity.
After drilling, clear debris with a vacuum or wire brush.
This methodical approach allows you to break welds cleanly without damaging adjacent panels or underlying material.
Proper alignment and pressure control during drilling help prevent damage, similar to maintaining precise sheet alignment in spot welding.
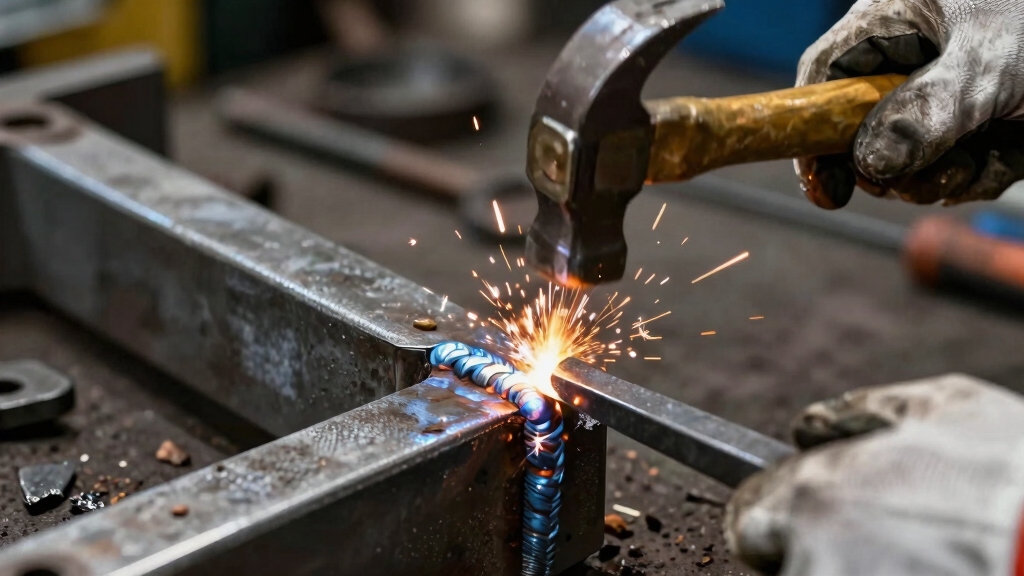
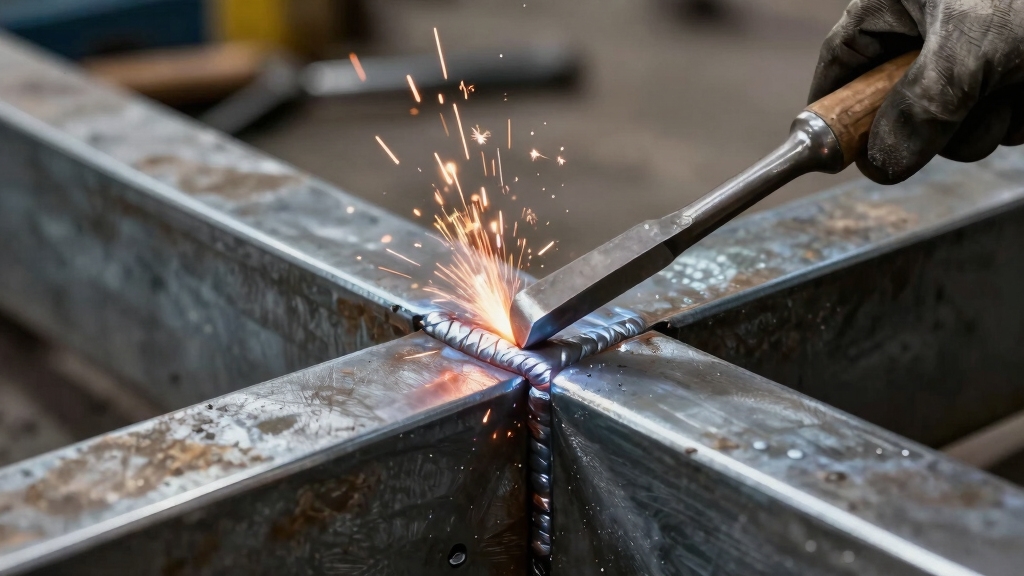
Insert a tapered-tip chisel carefully between the welds to initiate separation without damaging the underlying metal. Tap the chisel repeatedly at an angle to weaken the bond progressively.
Carefully insert a tapered-tip chisel between welds and tap at an angle to gradually weaken the bond.
Avoid hammering directly on the weld to prevent tearing the base metal. Once the weld shows signs of loosening, use a pry bar to lift and bend panels apart cleanly. After separation, grind off any sharp edges left behind for safety and fit.
Remember to:
This technique suits you when precision and panel integrity are priorities. Additionally, understanding the heat input control involved in welding can help anticipate the strength and characteristics of the weld being broken.
When you’re tackling precise weld removal, it’s a good idea to grab a small solid carbide ball burr. This little tool gives you great control. And hey, don’t forget to wear gloves! Safety first, right?
One of the best things about a die grinder is its compact size. It can easily reach those tight weld spots that drills just can’t get to, especially when you’re trying to work perpendicularly. Just remember to pay close attention to your cutting depth. You want to remove the weld material without damaging the base metal underneath. With a bit of care, you’ll get the job done perfectly! Die grinders operate at very high speeds, typically up to 28,000 RPM, allowing for precise and detailed material removal.
Selecting the right burr is essential when using a die grinder for precise weld removal, as it directly affects control and safety. Choose small solid carbide ball burrs for accurate depth control and access to tight welds.
Make certain the burr matches the weld size to prevent excessive material removal or damage to the base metal. Always wear gloves and eye protection to guard against sharp metal shards and burr fragments.
Consider these critical factors when selecting and using burrs:
Additionally, ensure that your personal protective equipment (PPE) is properly inspected and in good condition before beginning any grinding work to maximize safety.
Following these ensures efficient, safe weld removal every time.
When working in confined or awkward spaces, burr and die grinders offer unmatched precision for removing weld material without damaging surrounding metal.
You’ll rely on a small solid carbide ball burr attached to the die grinder, which lets you control depth carefully and reach areas where drills can’t align perpendicularly.
Before starting, wear gloves to protect your hands from sharp metal and tool vibrations.
Position the burr to gradually remove weld buildup, avoiding aggressive cuts that risk base metal damage.
Unlike spot weld drills, burrs don’t require pilot holes, making them ideal in cramped zones.
Maintain steady pressure and slow, deliberate movements to prevent gouging.
After removal, clean debris with a vacuum or wire brush to inspect your work and prepare for subsequent steps.
For enhanced weld removal efficiency and to prevent damage, consider using an air chipping hammer for controlled slag fracture and surface cleaning before grinding.
Mastering controlled depth removal with burr and die grinders lets you precisely eliminate weld material without compromising the underlying metal.
Using a small solid carbide ball burr, you gain fine control over cut depth, especially in tight or awkward spots where drills can’t align perpendicularly.
This method avoids the need for pilot holes or bulky tools, reducing risk to adjacent surfaces.
Always wear gloves to handle the grinder safely.
Focus on these key steps:
This approach assures efficient weld removal with minimal impact on base materials.
When working with different metals, consider the material suitability to choose the appropriate grinding technique and avoid damaging sensitive alloys.
For breaking tough welds, plasma gouging offers a targeted approach that removes weld metal efficiently without damaging the base material. You’ll use a plasma cutter with at least a 1/8-inch diameter electrode to gouge out 90% of the weld metal, focusing on discontinuities like porosity and cold laps. This precision prevents base metal damage. After gouging, you can follow with grinding for cleanup.
| Benefit | Action Required | Emotion |
|---|---|---|
| Precise removal | Control gouging depth | Confidence |
| Minimizes damage | Avoid full penetration | Assurance |
| Efficient cleanup | Use hard rock grinder | Satisfaction |
| Versatile tool | Adjust electrode size | Empowerment |
Plasma gouging demands steady hands and careful control for optimal outcomes.
Cleaning and finishing weld breaks starts with thoroughly removing debris using a vacuum or wire brush to guarantee a clear workspace. This ensures you can accurately assess the condition of the metal and prevents contamination during subsequent steps.
Begin weld break repair by thoroughly removing debris for clear inspection and contamination-free work.
Next, grind off any remaining weld material carefully using a hard rock grinding disc or a thin cut-off disc to avoid damaging the base metal. Finally, smooth sharp edges by lightly filing or using a die grinder to reduce injury risk and prepare the surface for reassembly or coating.
Focus on these critical details: remove all slag and dust for precise inspection. Use appropriate grinding tools to avoid panel distortion. Finish edges methodically to guarantee safety and structural integrity.
These steps maintain quality and prolong the life of your repair.
You need safety goggles or a full face shield to protect your eyes from sparks and metal shards.
Wear heavy-duty gloves to guard your hands against cuts and burns.
Use ear protection like earmuffs or plugs since grinders and drills generate loud noise.
Long sleeves and flame-resistant clothing prevent burns from hot metal.
Finally, guarantee proper ventilation or a respirator to avoid inhaling metal dust and fumes during cutting or grinding.
When removing a weld near a car door panel, you prevent heat damage by grinding metal above the weld without burning through the underlying panel.
Using a thin 0.040-inch cut-off disc with a 4.5-inch angle grinder gives you precise control and keeps heat localized.
You’ll want to radius corners slightly to avoid catching and work in short intervals to let the metal cool, minimizing heat transfer and warping risks.
Broken welds usually can’t be reused as-is because their structural integrity is compromised. You’ll need to cleanly remove all damaged weld material using grinders or drills before repairing.
After preparation, you can re-weld the joint, guaranteeing proper penetration and fusion. Always inspect for cracks or weaknesses before reusing.
Proper surface prep and welding techniques guarantee a strong, reliable repair that restores original strength.
Avoid drilling fully through both panels, as this damages the base metal.
Don’t use excessive force when chiseling; tap gradually to prevent tearing underlying sheets.
Steer clear of burning through metal with grinders by controlling speed and pressure.
Never neglect to clear debris frequently; it’ll jam tools and reduce accuracy.
Also, avoid skipping test cuts on scrap material. Each weld type requires tailored techniques for clean separation without panel distortion or damage.
You’ll find that moisture and temperature directly affect weld breaking methods.
Wet or humid conditions can cause tools like grinders or plasma cutters to slip or short-circuit, lowering effectiveness.
Cold temperatures make metals more brittle, increasing the risk of cracking during prying or chiseling.
Dust and debris in the environment can clog drill bits or burrs, so you must keep tools clean and maintain steady airflow.
Always adjust your approach based on these factors for precise, safe weld removal.
Breaking a weld is like carefully unraveling a tightly knit fabric. You need the right tools and steady hands.
Whether you choose an angle grinder’s sharp bite, the precise drill’s touch, or the controlled gouge of plasma, each method must be executed with precision to avoid damage.
Finish by cleaning and smoothing the surface, ensuring your work is as flawless as a freshly forged seam, ready for its next chapter.