Phone:
(701)814-6992
Physical address:
6296 Donnelly Plaza
Ratkeville, Bahamas.
Phone:
(701)814-6992
Physical address:
6296 Donnelly Plaza
Ratkeville, Bahamas.
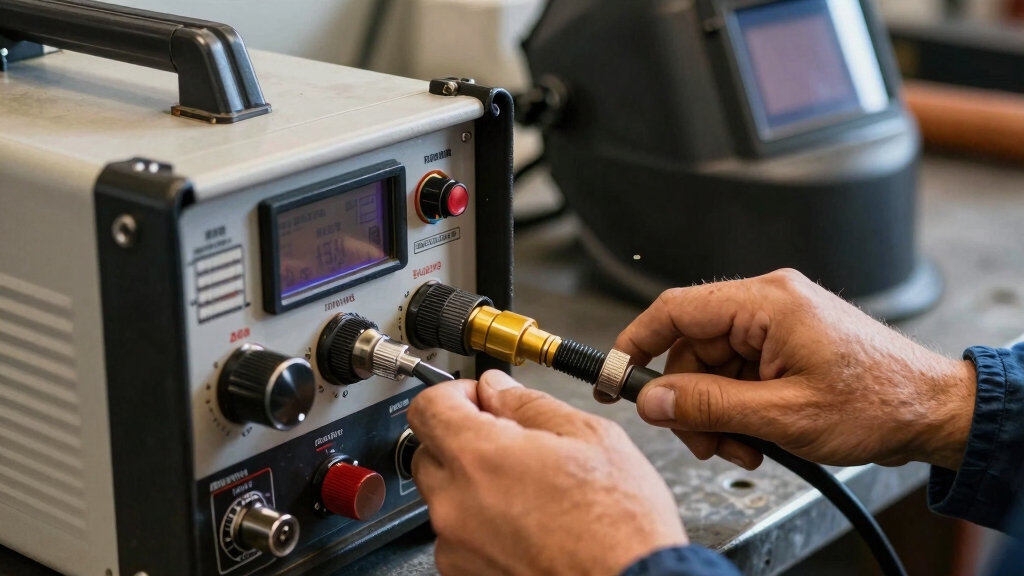
To adjust your MIG welder, set the wire feed speed around 1 amp per 0.001” of material thickness. For 1/8” steel, aim near 120 amps.
Match voltage to maintain arc stability; start around 18V and fine-tune for bead shape. Listen for steady crackling sounds and watch the bead profile as you make small adjustments.
Maintain proper stickout and gas flow to avoid defects. Keeping notes of settings guarantees consistency. Understanding these basics sets you up to optimize your welds further.
Start by setting the wire feed speed based on your wire diameter and mild steel thickness. Use approximately 1 amp per 0.001” thickness as a guideline.
Begin by adjusting wire feed speed according to wire size and steel thickness for optimal welding current.
For example, 1/8” mild steel requires around 120 amps, so set your feed speed to deliver that current. Use your machine’s chart or manual to find the corresponding IPM for your wire size, typically 0.030” or 0.035”.
Begin in the mid-range to avoid burn-through or lack of fusion. Stick to a wire feed speed range that matches your steel thickness: increase for thicker material, decrease for thinner.
Keep the wire feed speed steady to maintain consistent amperage, which controls penetration. Avoid changing voltage now; focus solely on wire feed speed to establish a stable filler rate before adjusting voltage for arc stability.
Also, ensure your polarity is correctly set to DCEP to optimize heat distribution and penetration for mild steel MIG welding.
Once you’ve set a steady wire feed speed, adjusting the voltage becomes essential for achieving arc stability and the desired bead profile.
Voltage controls the arc length and heat input, directly affecting bead width and penetration. If the arc stubs or feels erratic, slightly increase voltage to stabilize it.
Conversely, reduce voltage if the arc is too aggressive or erratic to avoid burn-through. For typical 1/8” mild steel, start near 18V and fine-tune in small increments.
Higher voltage flattens and widens the bead, while lower voltage produces a narrower, taller profile. Keep adjustments subtle to maintain consistent arc behavior.
Always test on scrap material to verify bead shape and penetration before welding your final piece.
If spatter occurs, lowering voltage slightly while increasing wire speed can help achieve a more stable arc and reduce weld defects by balancing these key parameters.
Although you’ve set initial voltage and wire speed values, fine-tuning them using arc sound feedback guarantees peak weld quality.
Fine-tune voltage and wire speed by listening to arc sounds for optimal weld quality.
Listen closely to the arc: a steady crackling “bacon” sound signals ideal settings, while hissing means your voltage or wire speed is too low.
Popping or erratic noises indicate these parameters are too high. Adjust wire speed and voltage incrementally; small tweaks can correct bead shape and penetration.
Test on scrap metal and watch the bead profile alongside sound cues. This real-time feedback helps you balance voltage and wire feed precisely.
Ensuring a stable arc and consistent welds without defects is vital. Maintaining a consistent arc length is also essential to prevent instability and reduce spatter.
When you maintain the proper stickout distance and shielding gas flow, you guarantee consistent arc stability and protect the weld pool from contamination.
Keep the stickout between 3/8” and 1/2” for 0.030” wire, and 5/8” to 3/4” for 1/16” wire to balance heat input and minimize spatter.
Too short a stickout increases amperage and can cause burn-through. Too long reduces penetration and causes arc instability.
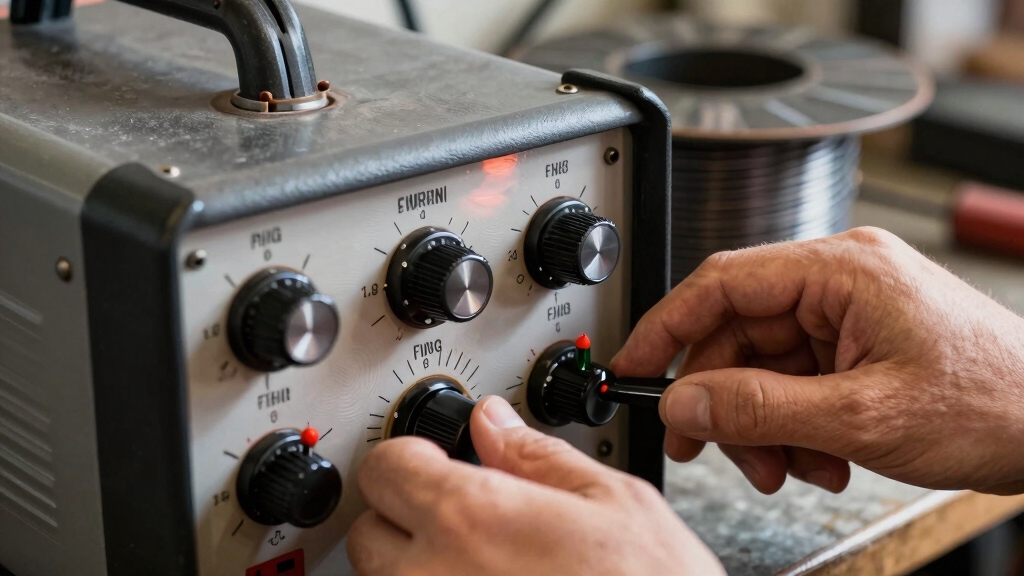
Adjust shielding gas flow to 20–25 cubic feet per hour (CFH) for most steel welding. Insufficient gas flow invites oxidation and porosity, while excessive flow causes turbulence, drawing air into the weld.
Use a flowmeter to monitor and fine-tune gas delivery. This ensures a clean, stable arc and a defect-free weld bead.
Selecting the appropriate gas mixture based on metal type and thickness further enhances weld quality and consistency.
Maintaining proper stickout and gas flow sets the foundation for a stable arc. Confirming your MIG welder’s ideal settings requires testing on scrap material.
Start by setting wire feed speed and voltage per thickness guidelines. Run short beads to evaluate arc sound and bead profile. Adjust incrementally for a crisp arc and consistent penetration.
Focus on these key steps: Inspect bead shape; flat, wide, with good toe tie-in indicates proper settings. Listen for a crackling bacon sound, signaling stable arc conditions.
Record voltage, wire speed, gas flow, and stickout for repeatability. This testing process guarantees consistent weld quality and reduces guesswork in production or repair work.
Keep detailed notes for each material thickness and wire size combination you use.
Using pulsed MIG settings can further optimize speed and minimize spatter during welding.
You’ll want pure Argon for welding non-ferrous metals like aluminum or copper, as it provides a stable arc and smooth bead.
For mild steel, a common choice is a 75% Argon/25% CO2 mix, balancing penetration and spatter control.
Higher CO2 percentages increase penetration but can cause more spatter.
For thicker steels, consider 100% CO2 for deep penetration, though it’s harsher on the weld appearance.
Adjust based on material and weld quality needed.
Polarity drastically changes your weld’s heat and penetration.
Direct Current Electrode Positive (DCEP) offers deeper penetration and a stable arc, ideal for thicker materials.
Reversing to Direct Current Electrode Negative (DCEN) reduces penetration but increases deposition rate, suitable for thin sheets or spray transfer.
Choosing the wrong polarity leads to poor bead quality, resulting in weak fusion or excessive spatter.
Always match polarity to wire type and thickness for best weld integrity.
You should always wear a welding helmet with a proper shade to protect your eyes from UV rays and sparks.
Use flame-resistant gloves and clothing to guard your skin.
Make sure there’s good ventilation to avoid inhaling fumes.
Keep your workspace clear of flammable materials.
Double-check that your equipment is properly grounded to prevent electric shock.
Never weld in wet or damp conditions.
Always follow manufacturer safety guidelines for your MIG welder.
Choose wire diameter based on material thickness and welding current capacity.
For thin steel (up to 1/8”), use 0.023” or 0.030” wire for better control and less heat input.
For medium thickness (around 3/16”), 0.035” wire works well.
Thicker steel (1/4” and above) requires 0.045” wire to guarantee sufficient penetration.
Match wire size with your machine’s amperage range and adjust feed speed accordingly for stable arc and quality welds.
Yes, you can use MIG welding effectively on materials beyond mild steel, such as stainless steel, aluminum, and some alloys.
You’ll need to select appropriate wire types, like stainless steel wire or aluminum wire, and adjust shielding gases accordingly, such as argon for aluminum.
Also, fine-tune voltage, wire feed speed, and polarity to suit each metal’s thermal conductivity and thickness.
This ensures proper penetration and bead quality for a strong weld.
By carefully tweaking your wire feed speed and voltage, you’ll create a welding environment that’s as smooth as silk. This ensures steady arcs and clean bead profiles.
Listening to the arc’s subtle hum guides your fine-tuning. Maintaining stickout and shielding gas flow keeps your welds consistently reliable.
Keep a record of your ideal settings, and you’ll turn every project into a seamless performance. This will make your MIG welder work with precision and grace every time.